-
Android Room database migration and testing in Kotlin
The Android Room database is a popular choice for mobile apps. For the planned improvement for the StockTicker app, the database needs to be upgraded from version 1 to 2. This requires a migration path with a test case for the upgrade from version 1 to version 2.
To get started, the migration test is using the Android migration test helper. It is best to start with the test cases first to ensure a proper data base migration.
@RunWith(RobolectricTestRunner::class)
class MigrationTest {
  private val TEST_DB = "quotes-db"

  val helper: MigrationTestHelper = MigrationTestHelper(
      InstrumentationRegistry.getInstrumentation(),
      QuotesDB::class.java.canonicalName,
      FrameworkSQLiteOpenHelperFactory()
  )
The test case first creates a database with version 1 and adds sample values, either using the ContentValues, or by using the SQL INSERT statement.
  @Test
  @Throws(IOException::class)
  fun migrate1To2() {
    helper.createDatabase(TEST_DB, 1)
        .apply {
          val values = ContentValues()
          values.put("symbol", "ktln")
          values.put("name", "kotlin inc")
          values.put("last_trade_price", 42)
          values.put("change_percent", 4.2)
          values.put("change", 1.764)
          values.put("exchange", "NYSE")
          values.put("currency", "EURO")
          values.put("description", "desc")

          this.insert("QuoteRow", SQLiteDatabase.CONFLICT_REPLACE, values)
          this.execSQL(
              "INSERT INTO QuoteRow (symbol, name, last_trade_price, change_percent, change, exchange, currency, description) VALUES ('a1', '123', 1.2, 1.1, 1.0, 'e1', 'Euro', 'desc1');"
          )
          this.execSQL(
              "INSERT INTO QuoteRow (symbol, name, last_trade_price, change_percent, change, exchange, currency, description) VALUES ('a2', '456', 2.2, 2.1, 2.0, 'e2', 'Euro', 'desc2');"
          )

          this.execSQL("CREATE TABLE IF NOT EXISTS `PropertiesRow` (`id` INTEGER PRIMARY KEY AUTOINCREMENT, `quote_symbol` TEXT NOT NULL, `notes` TEXT NOT NULL, `alert_above` REAL NOT NULL, `alert_below` REAL NOT NULL)")

          // Prepare for the next version.
          this.close()
        }
Once the database is created, the migration test runs the migration path to version 2.
    // Re-open the database with version 2 and provide
    // MIGRATION_1_2 as the migration process.
    val db = helper.runMigrationsAndValidate(TEST_DB, 2, true, MIGRATION_1_2)
The next step is to test the content of the converted database.
    // MigrationTestHelper automatically verifies the schema changes,
    // but you need to validate that the data was migrated properly.
    val cursor = db.query("SELECT * FROM QuoteRow")
    cursor.moveToFirst()

    // Expect 10 columns
    assertThat(cursor.columnCount, Matchers.equalTo(10))

    // Expect 3 entries
    assertThat(cursor.count, Matchers.equalTo(3))

    var stringEntry: String = ""
    var floatEntry: Float = 0.0f

    stringEntry = cursor.getString(cursor.getColumnIndex("symbol"))
    assertThat(stringEntry, Matchers.equalTo("ktln"))

    stringEntry = cursor.getString(cursor.getColumnIndex("name"))
    assertThat(stringEntry, Matchers.equalTo("kotlin inc"))

    floatEntry = cursor.getFloat(cursor.getColumnIndex("last_trade_price"))
    assertThat(floatEntry, Matchers.equalTo(42f))

    floatEntry = cursor.getFloat(cursor.getColumnIndex("change_percent"))
    assertThat(floatEntry, Matchers.equalTo(4.2f))

    floatEntry = cursor.getFloat(cursor.getColumnIndex("change"))
    assertThat(floatEntry, Matchers.equalTo(1.764f))

    stringEntry = cursor.getString(cursor.getColumnIndex("exchange"))
    assertThat(stringEntry, Matchers.equalTo("NYSE"))

    stringEntry = cursor.getString(cursor.getColumnIndex("currency"))
    assertThat(stringEntry, Matchers.equalTo("EURO"))

    // description column is removed
    val index = cursor.getColumnIndex("description")
    assertThat(index, Matchers.equalTo(-1))
  }
The actual migration is done by the creating a table of the new version, copying over the content from the table of the old version.
  val MIGRATION_1_2 = object : Migration(1, 2) {
    override fun migrate(database: SupportSQLiteDatabase) {
      val TABLE_NAME = "QuoteRow"
      val TABLE_NAME_TEMP = "new_QuoteRow"

      database.execSQL(
          """
          CREATE TABLE `${TABLE_NAME_TEMP}` (
            symbol TEXT NOT NULL,
            name TEXT NOT NULL,
            last_trade_price REAL NOT NULL,
            change_percent REAL NOT NULL,
            change REAL NOT NULL,
            exchange TEXT NOT NULL,
            currency TEXT NOT NULL,
            is_post_market INTEGER NOT NULL,
            annual_dividend_rate REAL NOT NULL,
            annual_dividend_yield REAL NOT NULL,
            PRIMARY KEY(symbol)
          )
          """.trimIndent()
      )
      database.execSQL(
          """
          INSERT INTO `${TABLE_NAME_TEMP}` (symbol, name, last_trade_price, change_percent, change, exchange, currency, is_post_market, annual_dividend_rate, annual_dividend_yield)
          SELECT symbol, name, last_trade_price, change_percent, change, exchange, currency, 0, 0, 0 FROM `${TABLE_NAME}`
          """.trimIndent()
      )
      database.execSQL("DROP TABLE `${TABLE_NAME}`")
      database.execSQL("ALTER TABLE `${TABLE_NAME_TEMP}` RENAME TO `${TABLE_NAME}`")

      database.execSQL("CREATE TABLE IF NOT EXISTS `PropertiesRow` (`id` INTEGER PRIMARY KEY AUTOINCREMENT, `quote_symbol` TEXT NOT NULL, `notes` TEXT NOT NULL, `alert_above` REAL NOT NULL, `alert_below` REAL NOT NULL)")
    }
  }
}
The migration function is then used by the database builder to perform the upgrade.
return Room.databaseBuilder(
    context.applicationContext,
    QuotesDB::class.java, "quotes-db")
    .addMigrations(MIGRATION_1_2)
    .build()
To ensure you have the latest schema available, add
exportSchema = trueto the Database definition.@Database( entities = [QuoteRow::class, HoldingRow::class, PropertiesRow::class], version = 2, exportSchema = true )If you run into the problem that the automatic generated schema is not found while the test is run, add this to the app/build.gradle.
sourceSets { debug.assets.srcDirs += files("$projectDir/schemas".toString()) } -
Xamarin - change image for ImageButton
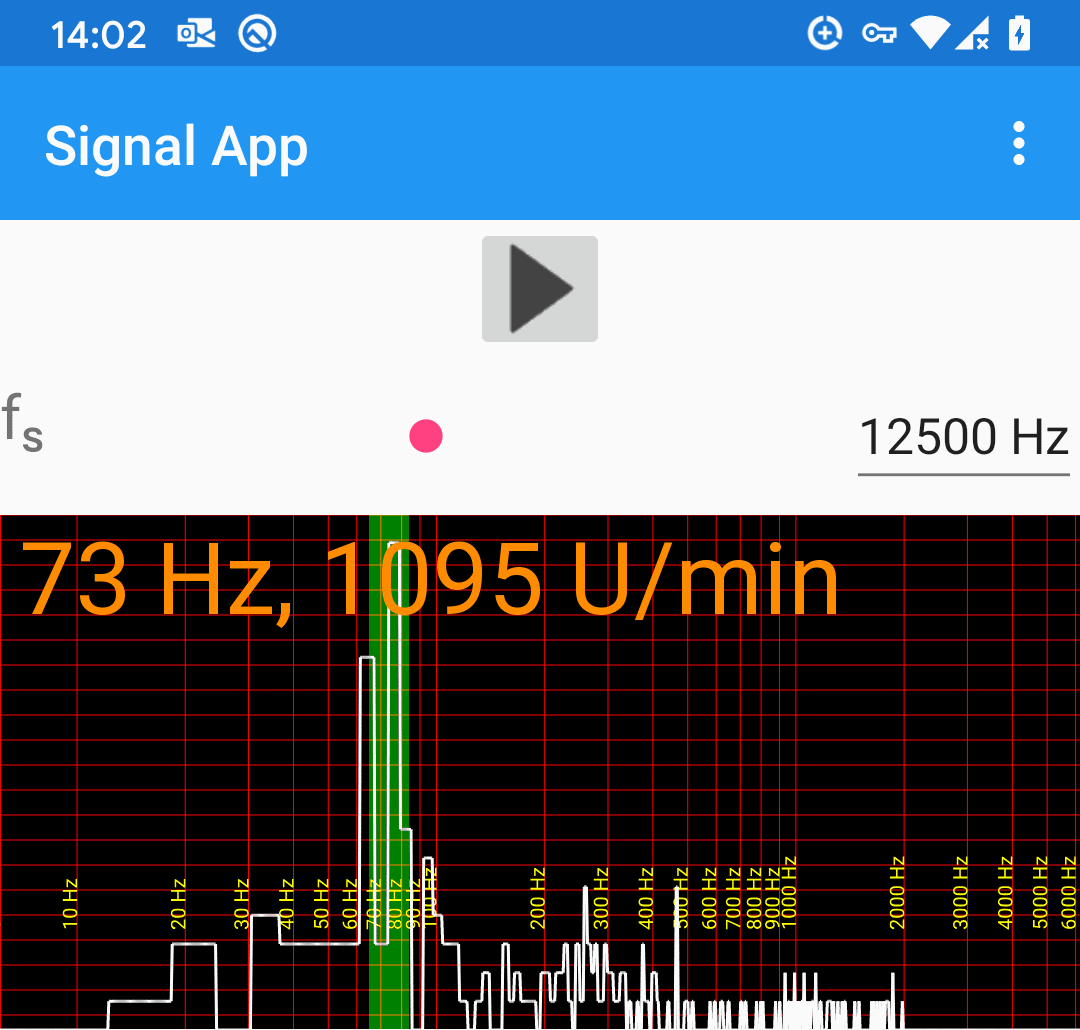
For my project I'm working on I needed a button with an image that needs to be changed according to a state variable using XAML and MVVM. In this case, the changing image for a start / stop button:
Add the ImageButton to the MainPage.xaml:
<ContentPage.BindingContext>
    <local:MainPageViewModel />
</ContentPage.BindingContext>

<StackLayout>
    <ImageButton Source="{Binding StartStopImage}"
                 Command="{Binding StartStopCommand}"
                 WidthRequest="50"
                 HeightRequest="50"
                 HorizontalOptions="Center"
                 VerticalOptions="Center" >
    </ImageButton>
Add the implementation for MVVM:
public MainPageViewModel() { StartStopCommand = new Command(async () => await StartStop()); } public async Task StartStop() { recordEnabled = !recordEnabled; StartStopImage = recordEnabled ? "stop.png" : "start.png"; } public Command StartStopCommand { get; } private string startStopImage = "stop.png"; public string StartStopImage { get => startStopImage; set { startStopImage = value; OnPropertyChanged(nameof(StartStopImage)); } } public event PropertyChangedEventHandler PropertyChanged; protected void OnPropertyChanged([CallerMemberName] string propertyName = null) { PropertyChanged?.Invoke(this, new PropertyChangedEventArgs(propertyName)); } -
Engineering Pi Day
It was in one of my first physics courses that the professor used 22/7 in an equation as an approximation. Within a few steps, he calculated the result on the board, leaving us impressed.
So simple, and yet so close:
$$\frac{22}{7} = 3.\overline{142857}$$
$$\pi = 3.14159265358\ldots$$
$$\frac{22}{7} - \pi \approx 0.00126$$
The math department would not have approved, but we engineers were perfectly fine with it!
-
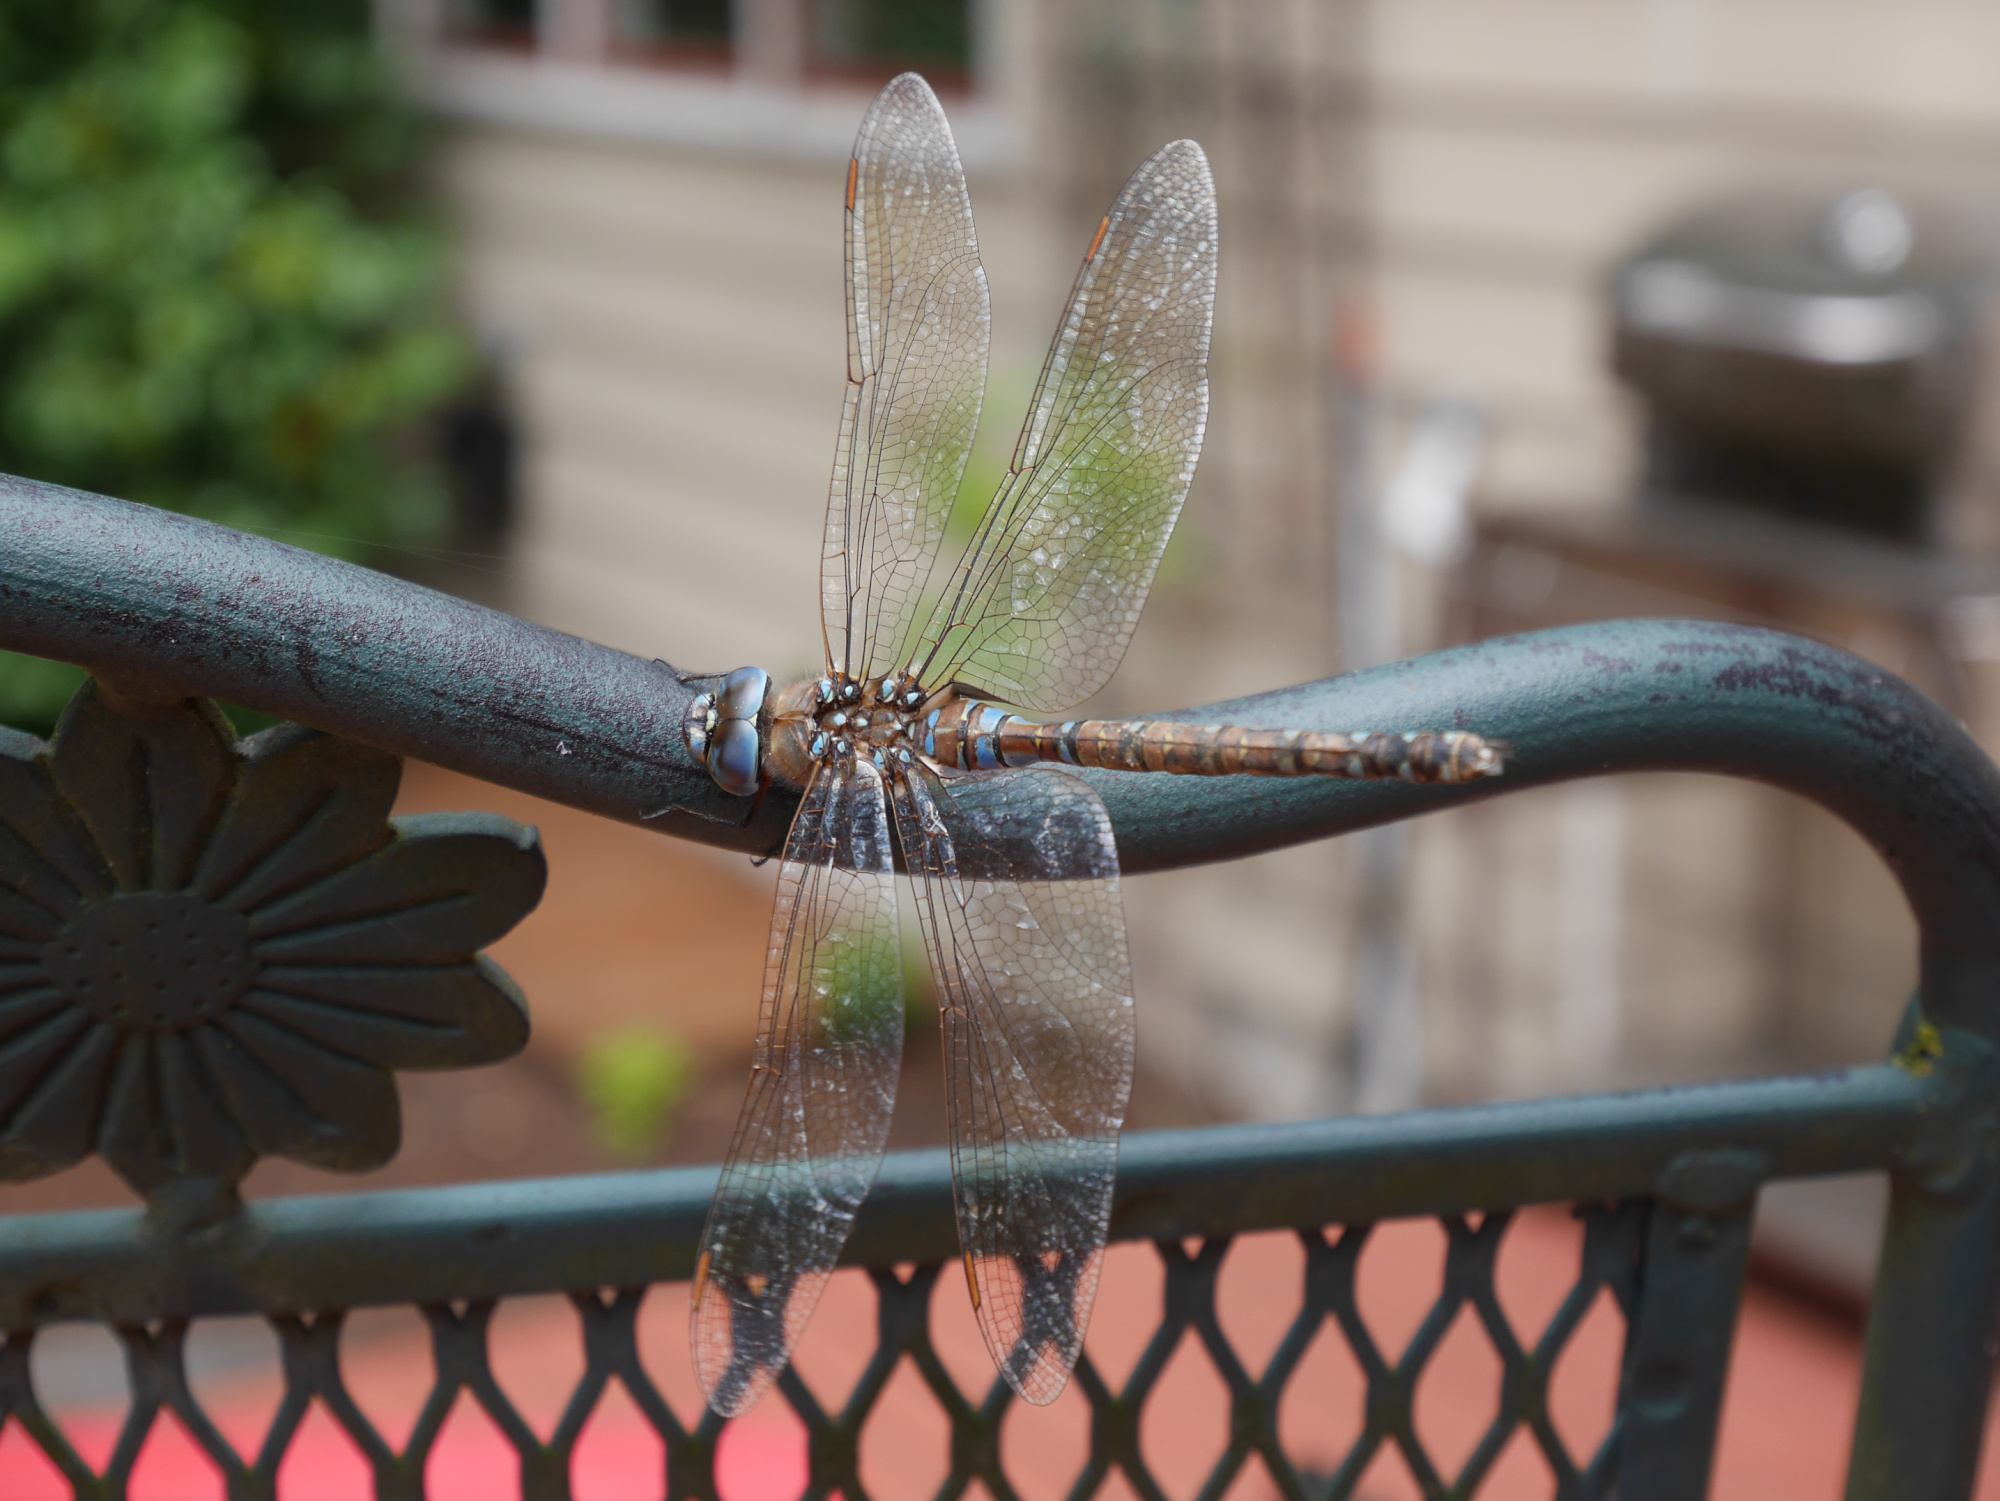
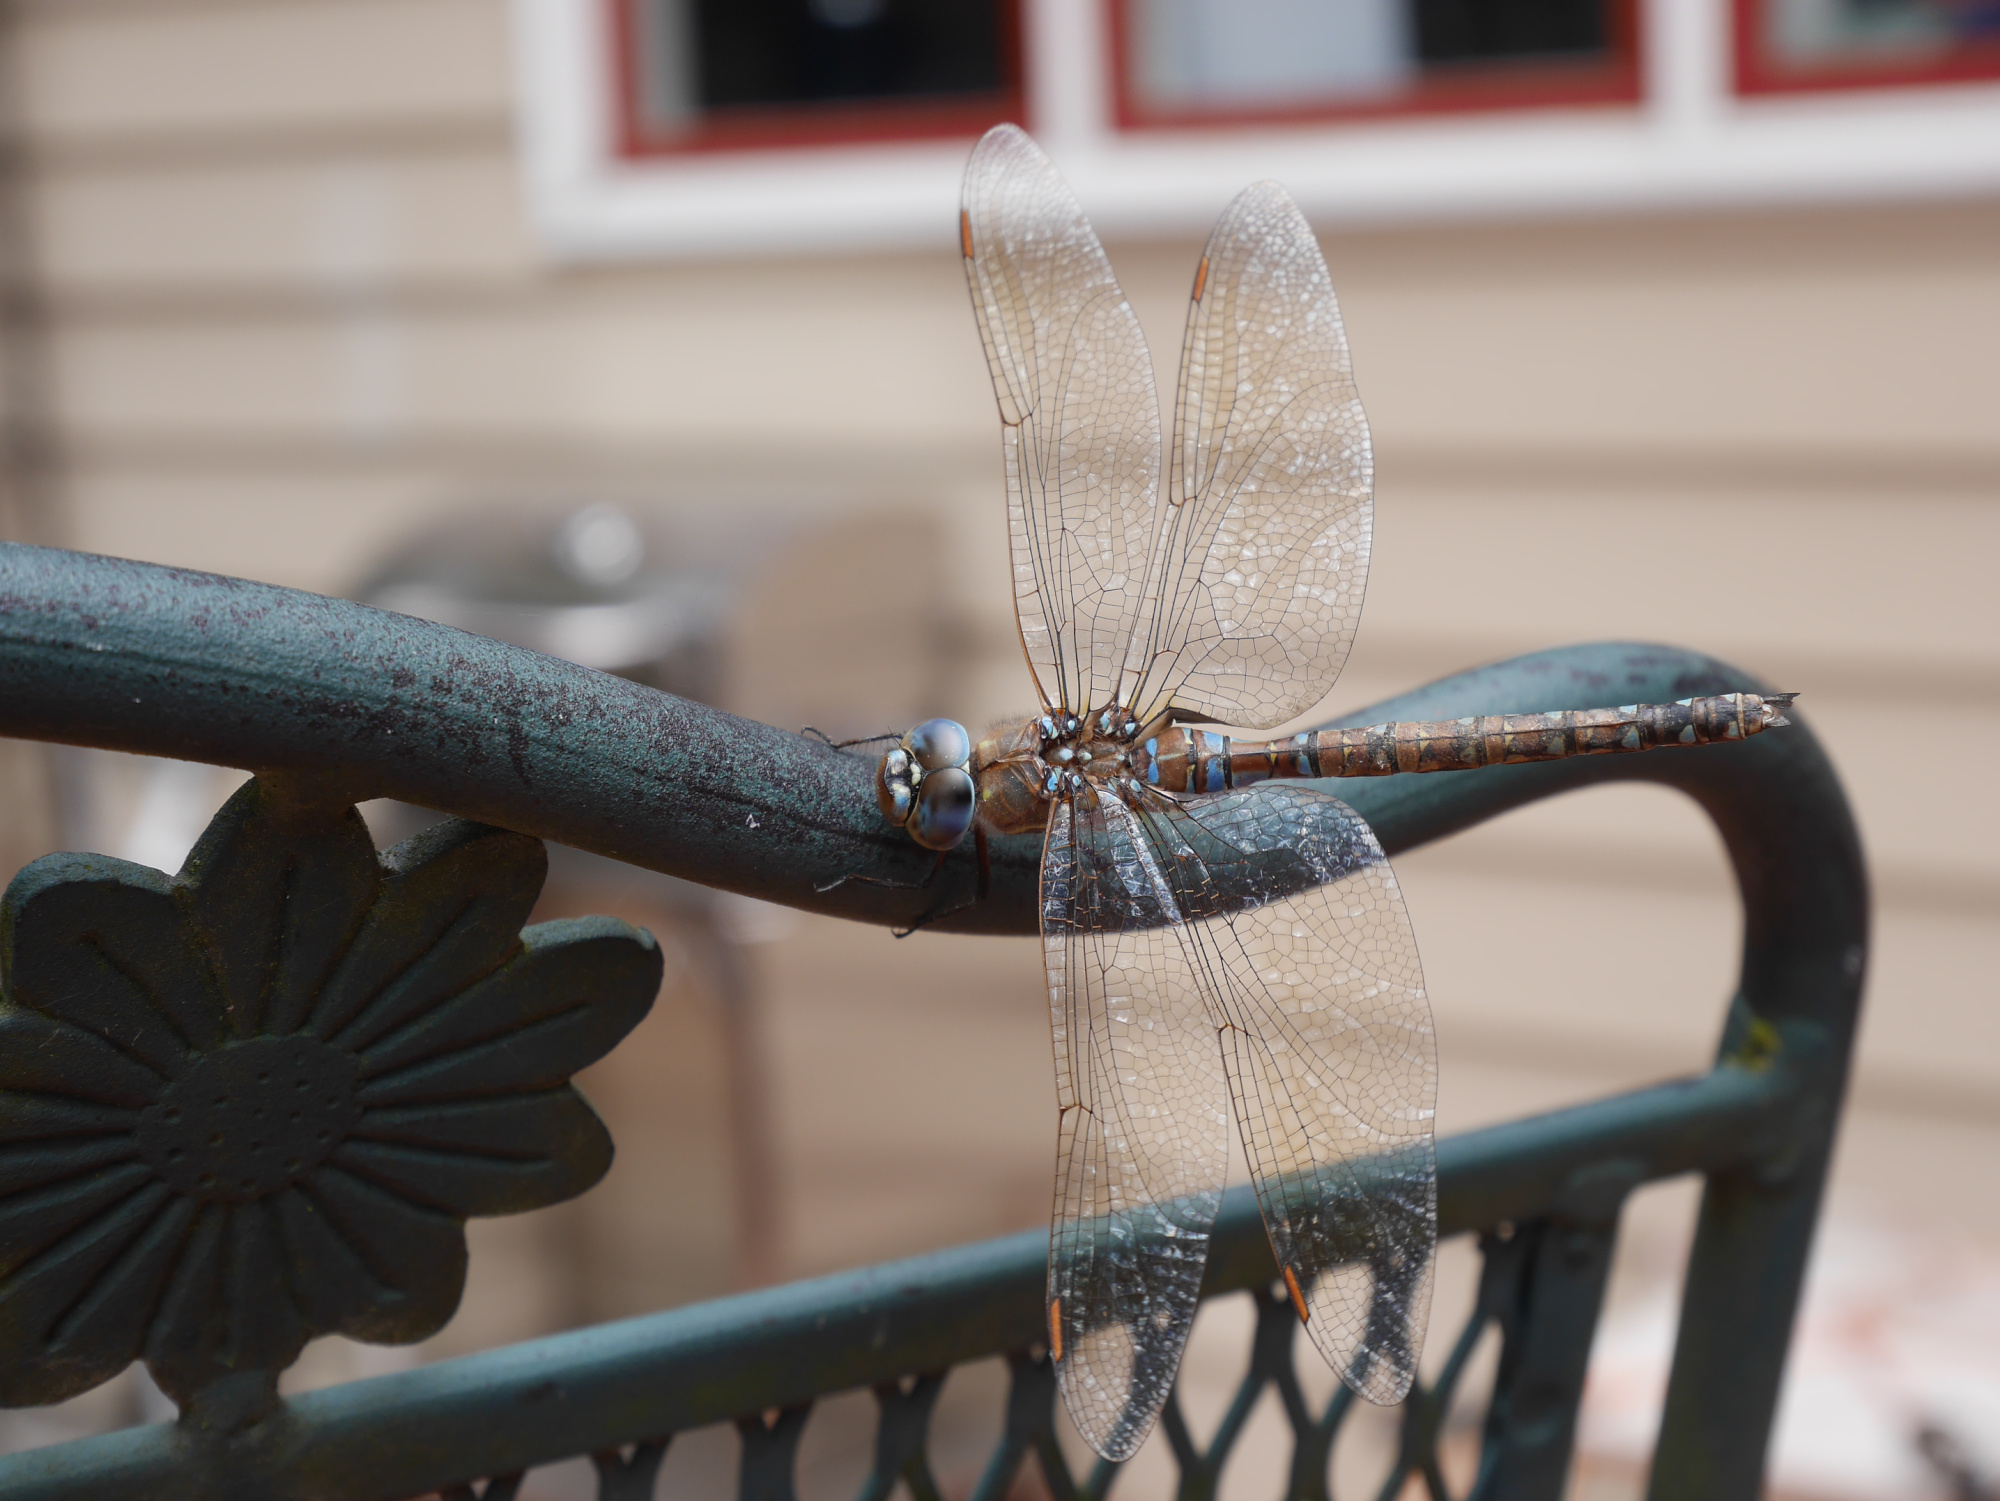
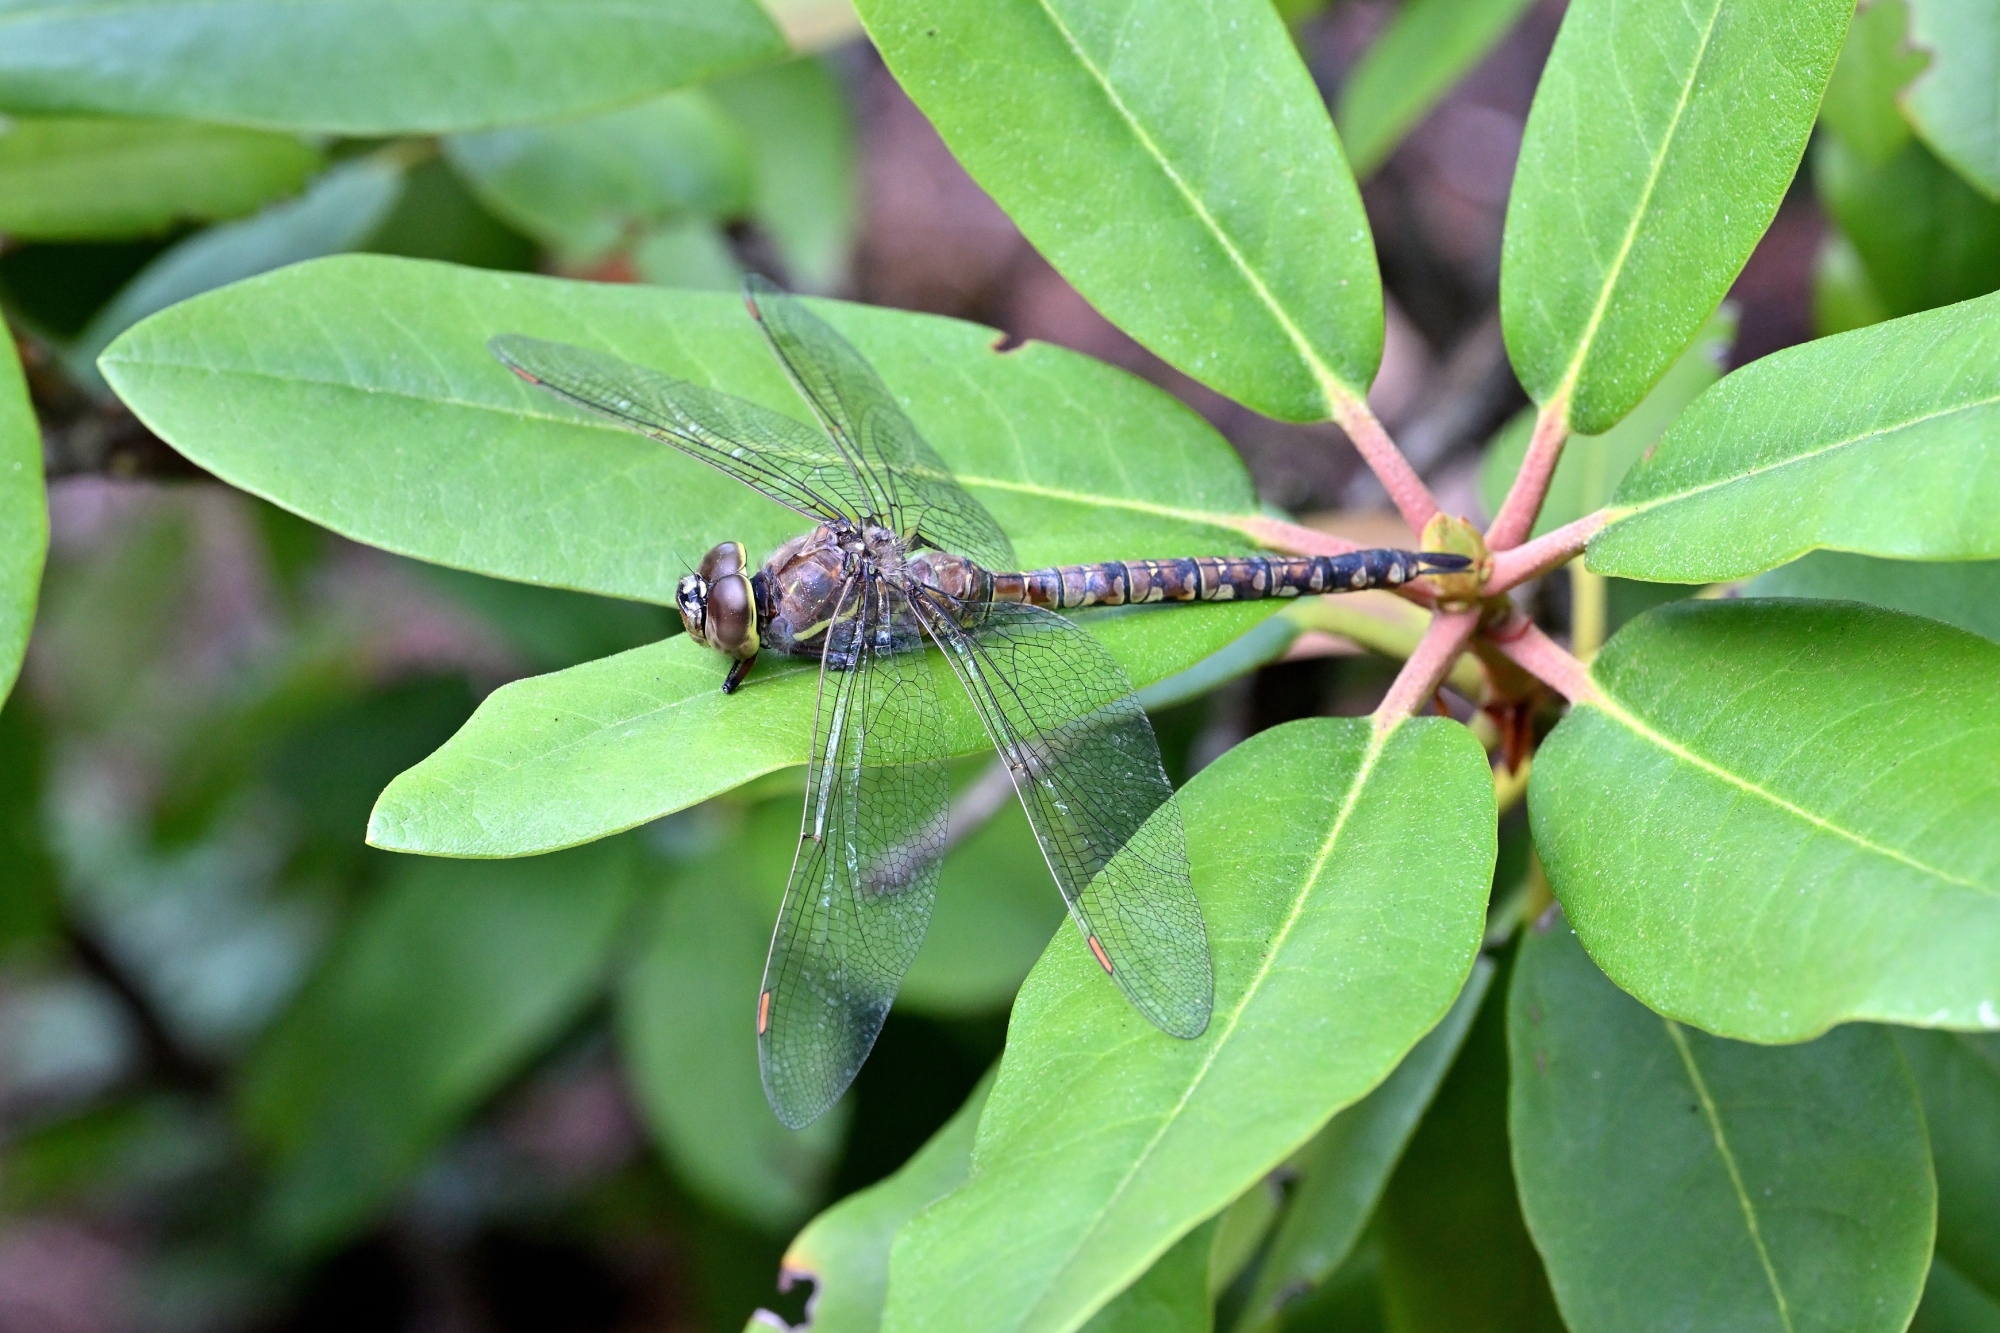
Dragonfly landed safely
A dragonfly made it safely to our garden, fresh from its latest airshow performance.
Panasonic DMC-GM1 1/160s f/5,6 ISO 200/24° f=32mm/64mm
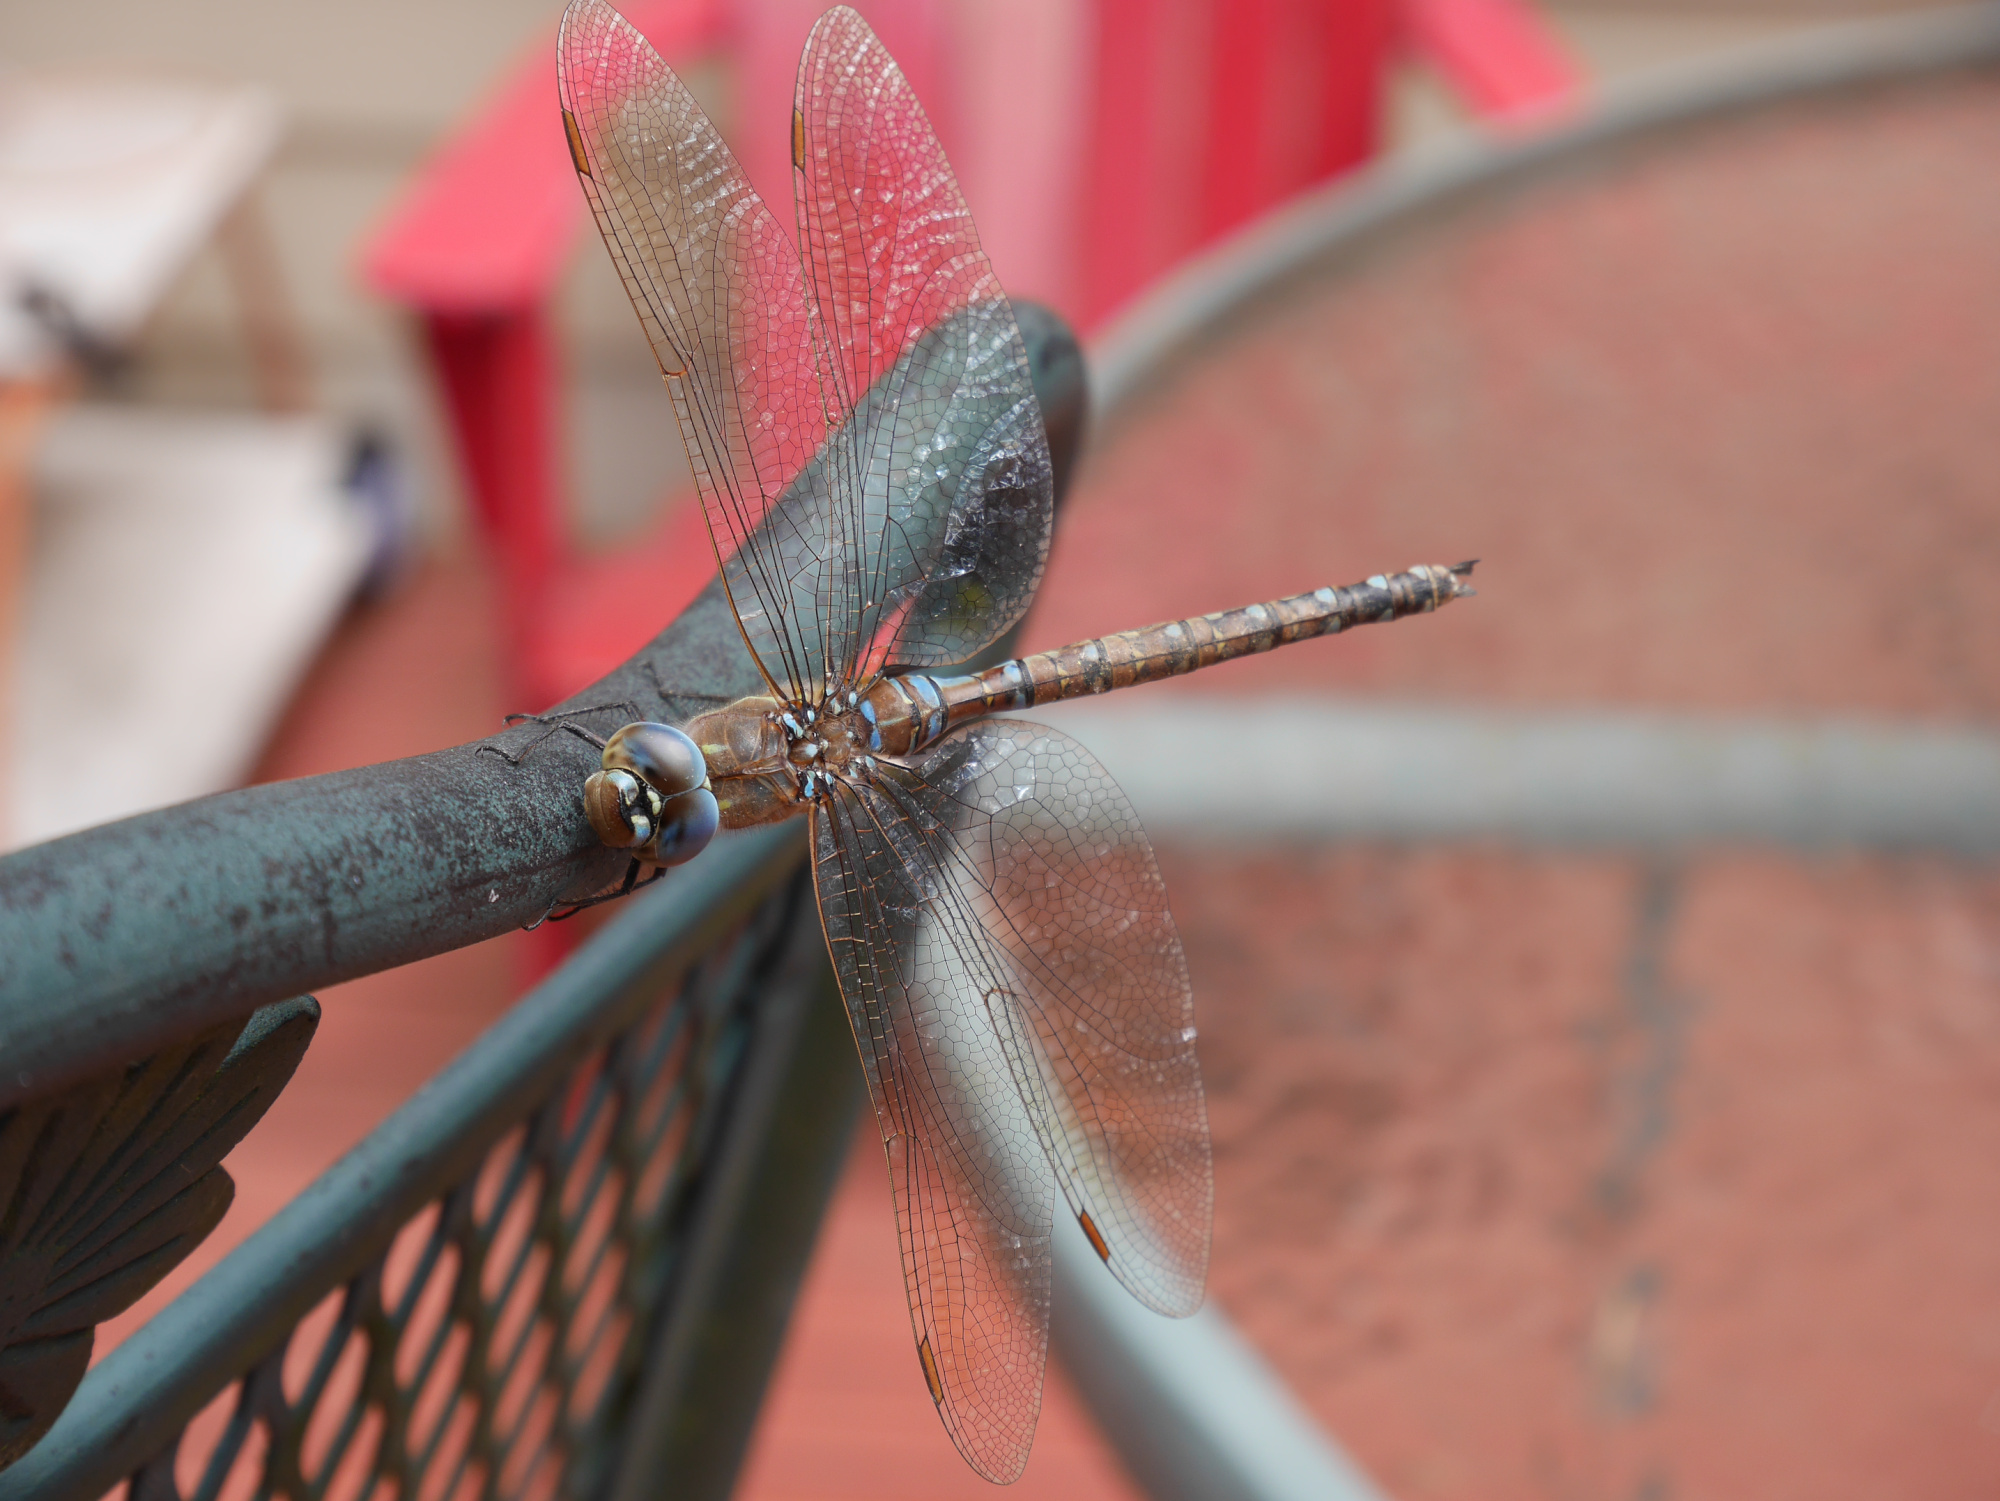
Panasonic DMC-GM1 1/160s f/6,3 ISO 200/24° f=32mm/64mm
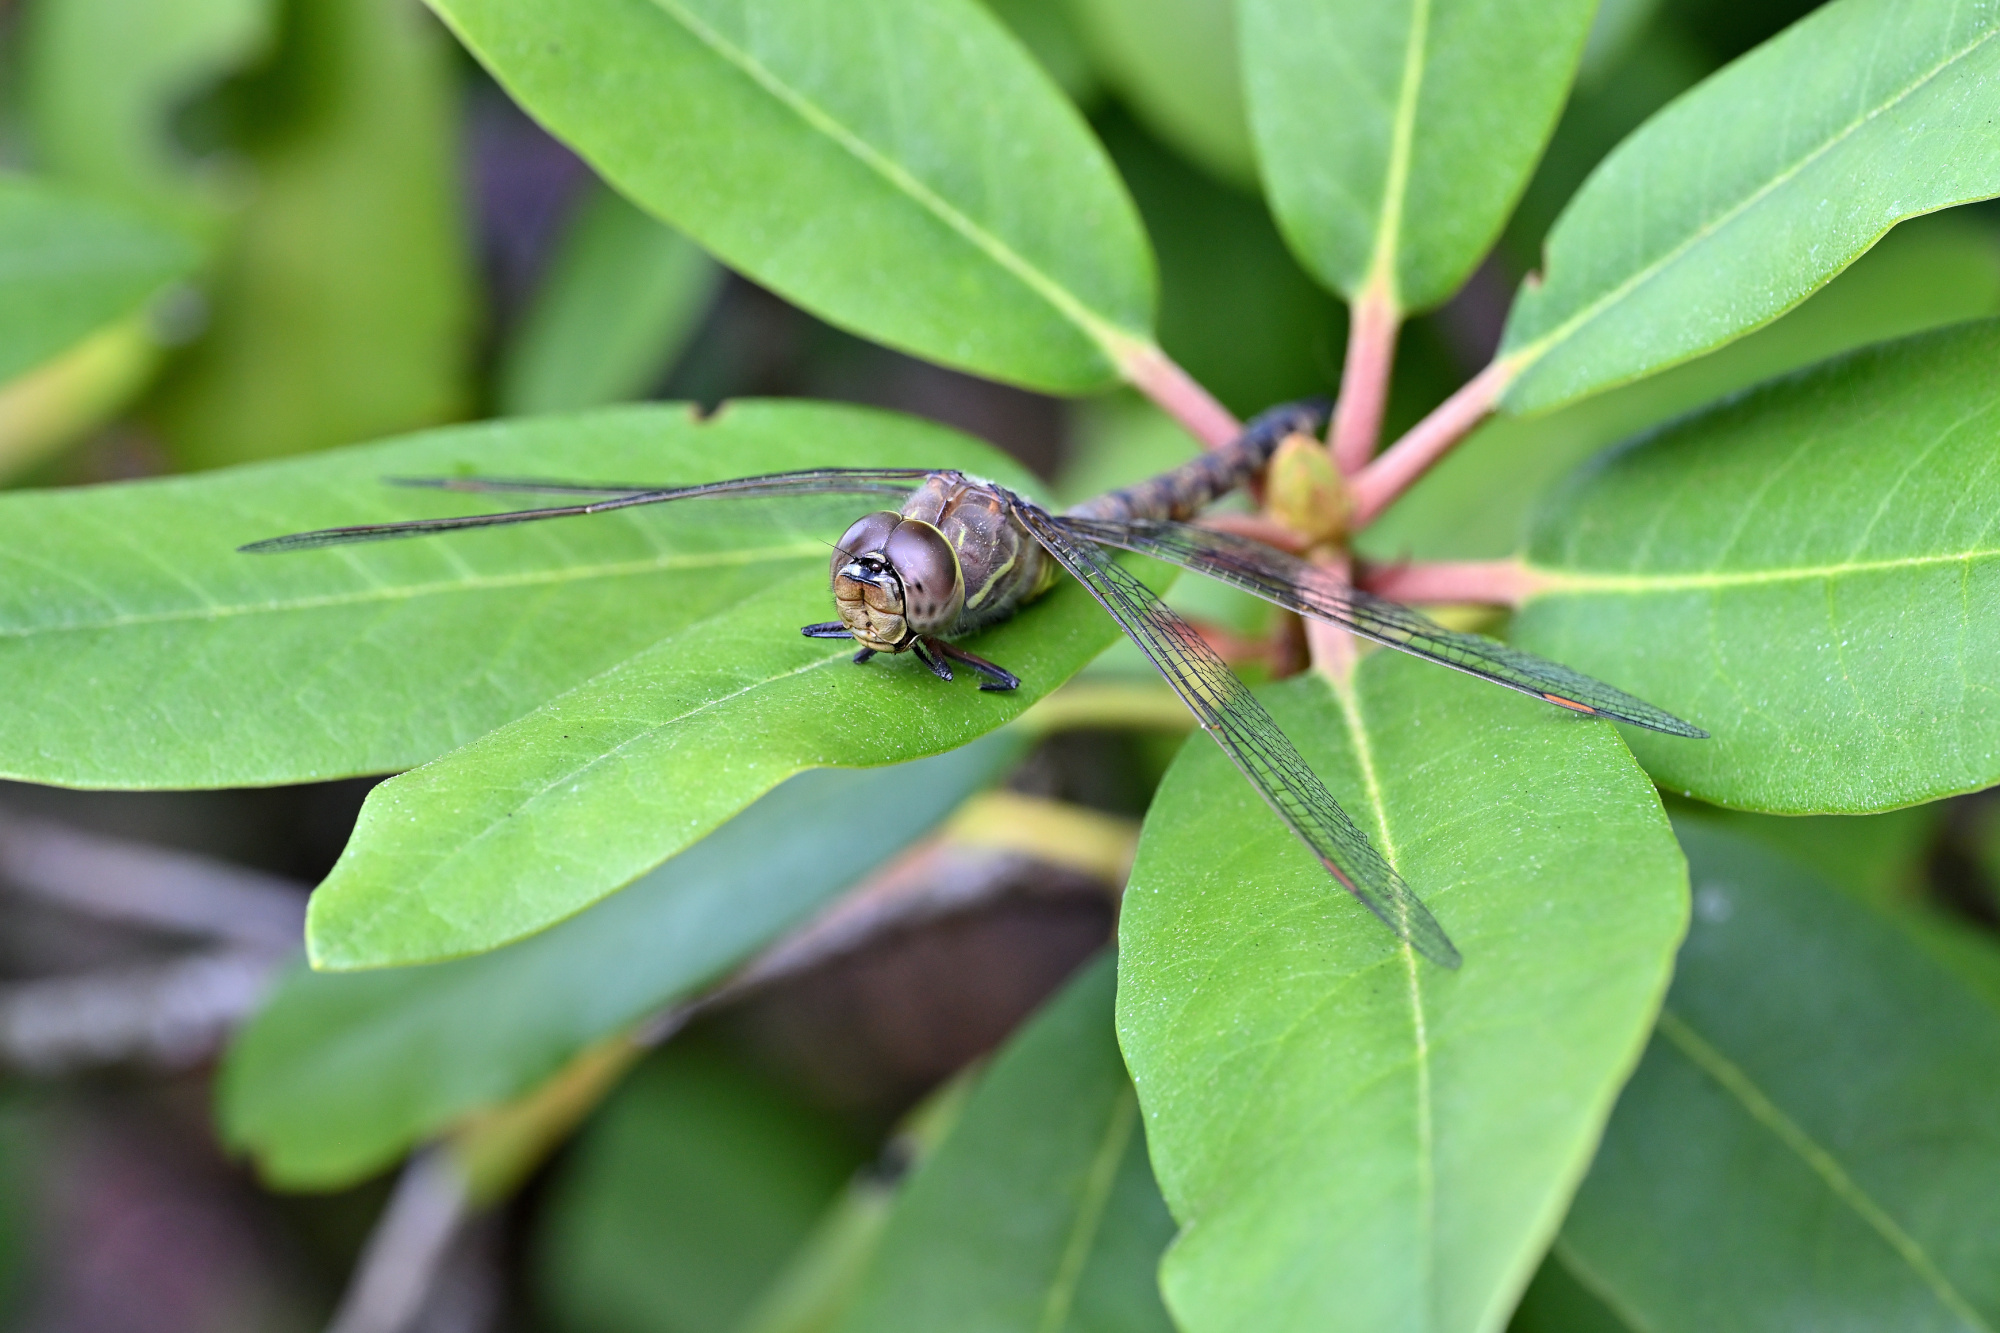
Captains view
Panasonic DMC-GM1 1/160s f/6,3 ISO 200/24° f=32mm/64mm
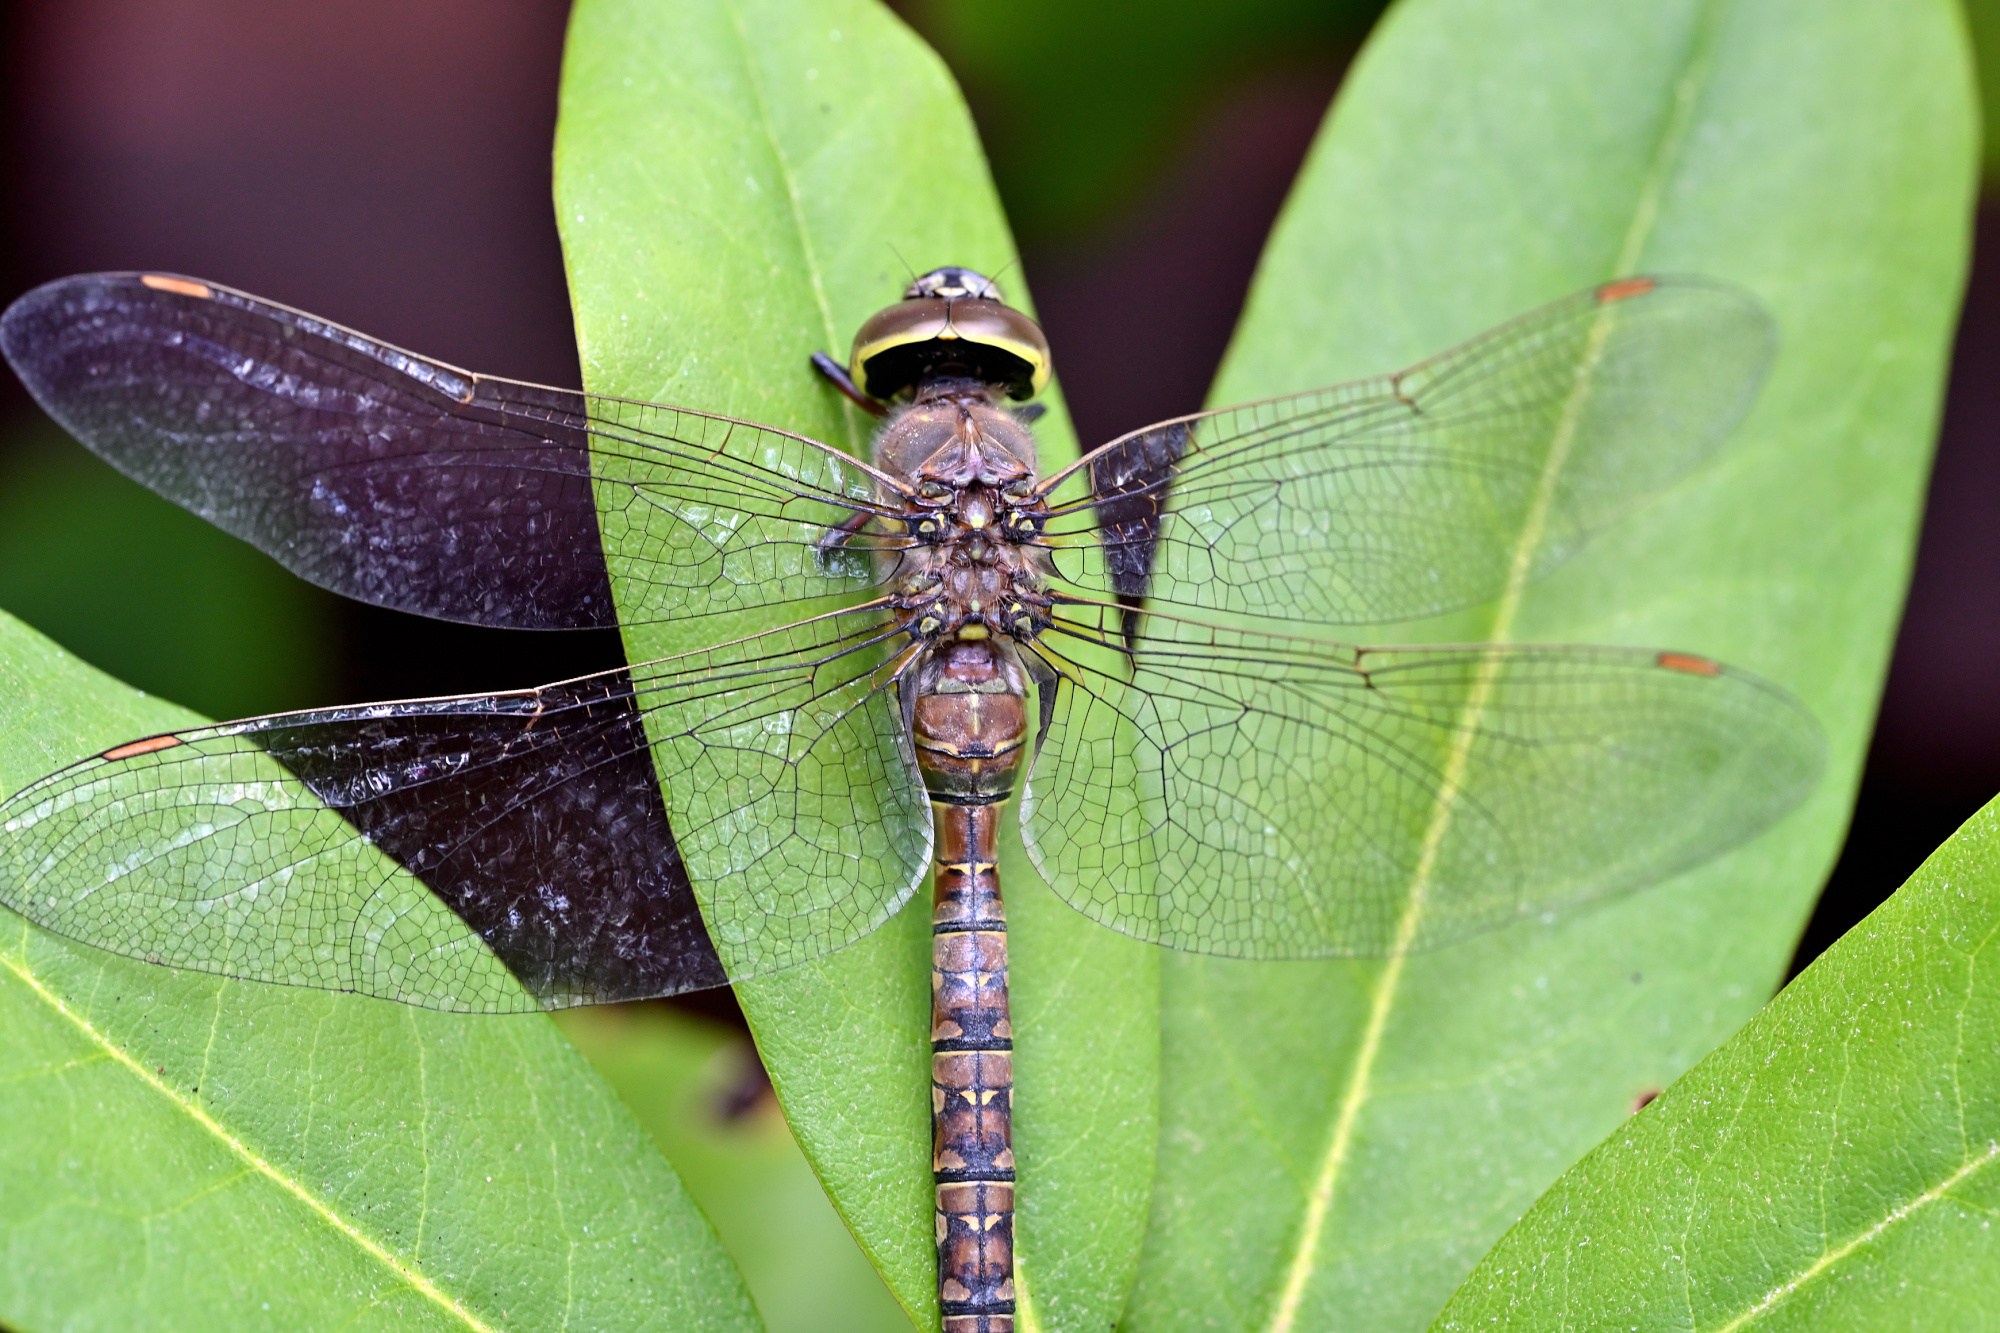
Update: Anisoptera at Rest — A Moment on the Leaf
Nikon Z30 1/125s f/6,3 ISO 900 16-50mm f/3,5-6,3 VR f=50mm/75mm

Nikon Z30 1/50s f/6,3 ISO 400/27° 105mm f/2,8 VR

Nikon Z30 1/60s f/7,1 ISO 400/27° 105mm f/2,8 VR
Nikon Z30 1/60s f/7,1 ISO 400/27° 105mm f/2,8 VR

Nikon Z30 1/60s f/7,1 ISO 400/27° 105mm f/2,8 VR
Nikon Z30 1/80s f/10 ISO 1250 105mm f/2,8 VR
-
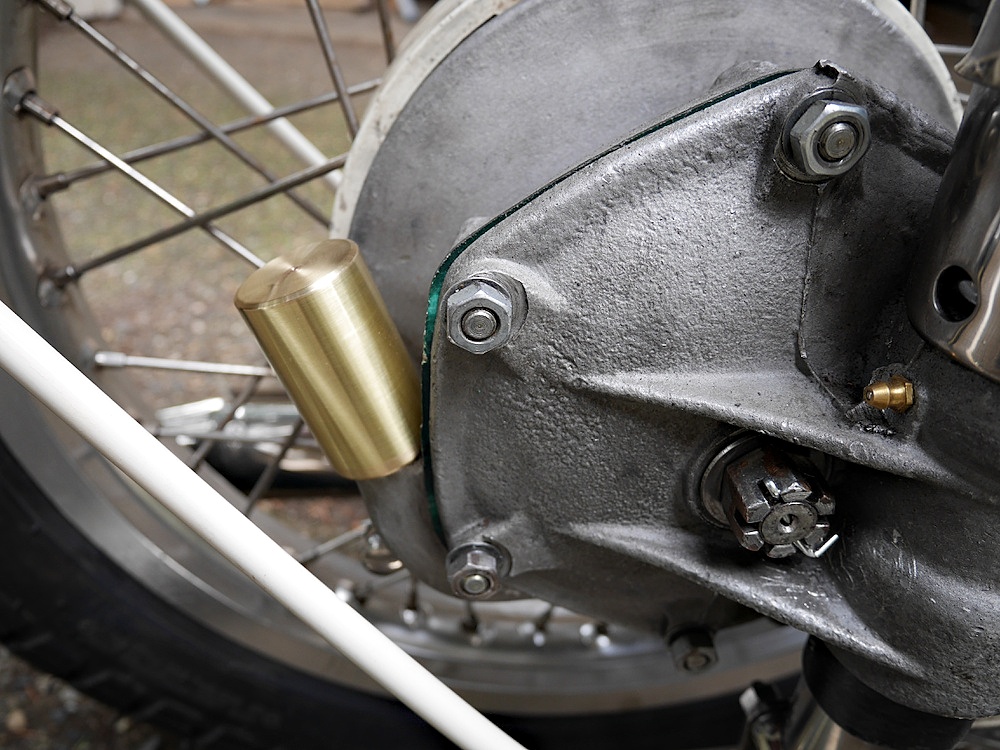
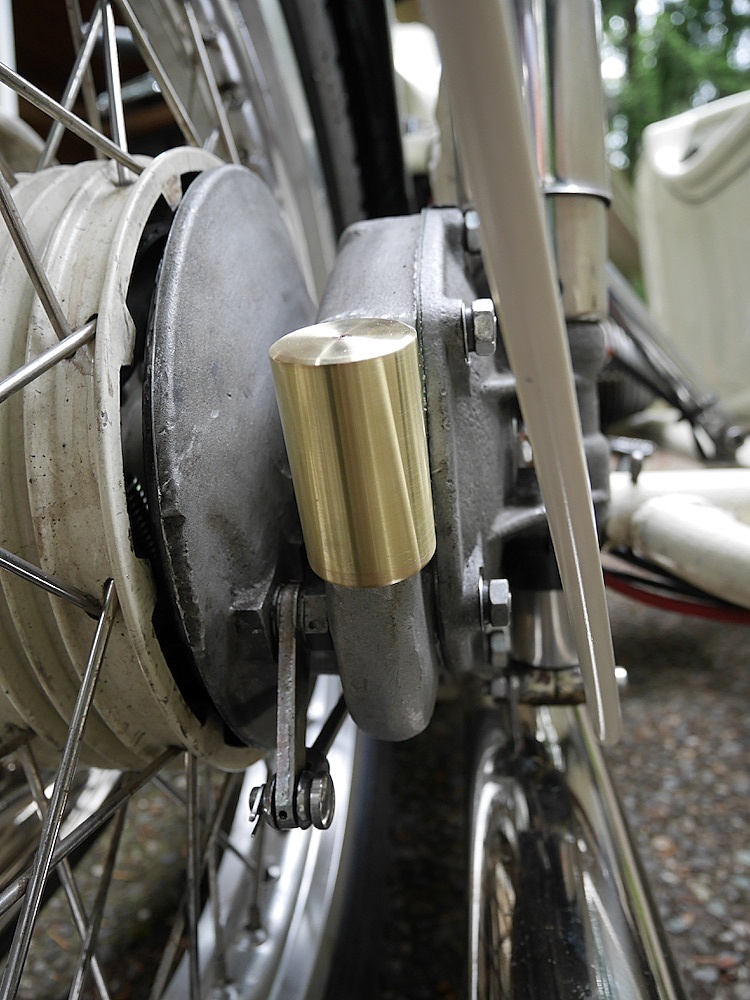
Overflow valve for CJ750 / M72 final drive
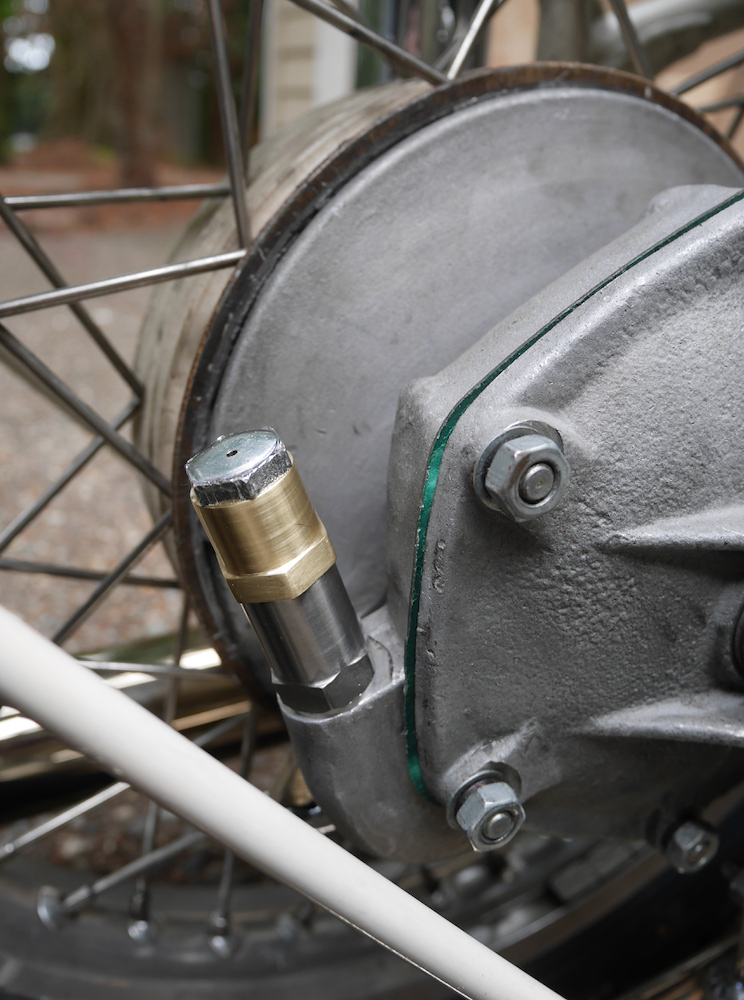
The amount of oil in final drive of the CJ750 / M72 motorcycle needs to be very precise, otherwise the oil is pushed out through the main seal. The reason for this is the small volume of the final drive gear. Even the slightest overfilling push out oil when the final drive gets warm during driving.
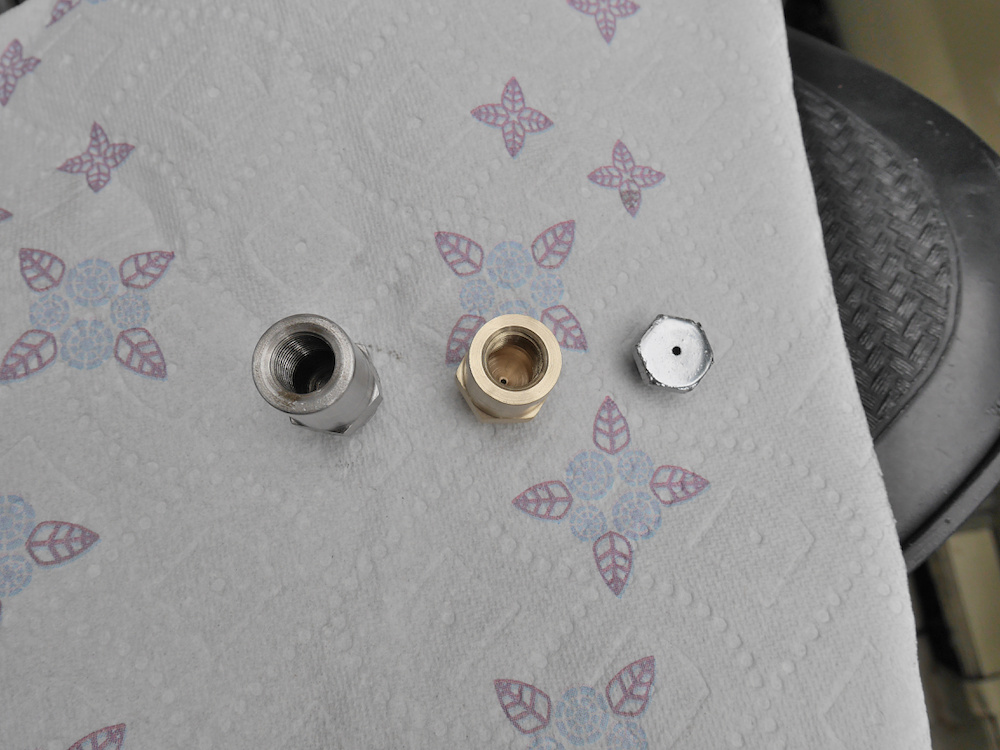
To solve the problem, I had installed a small cylindric chamber (1) to collect the oil. But there was still some oil splashed out of the breathing hole so I added another chamber on top of it (2).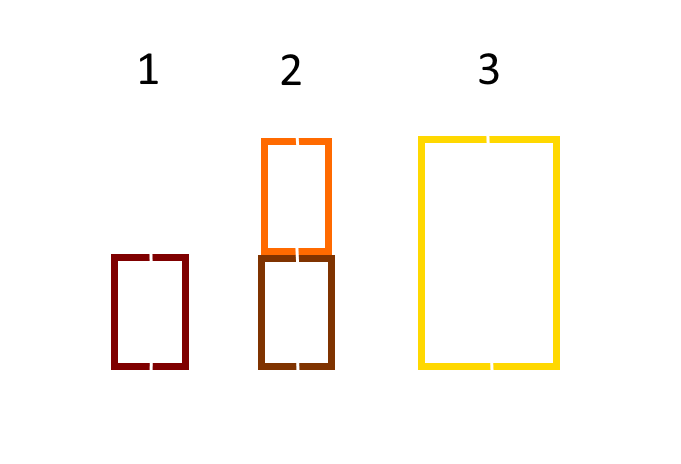
With the recommended 0.15l oil, there was still some splashing. Especially driving uphill.
To get around this problem once and for all, I have made an even larger chamber (3) holding a fair amount of oil that allows a slight overfilling to ensure I have always enough oil.
The thread size is M14x1.5.