-
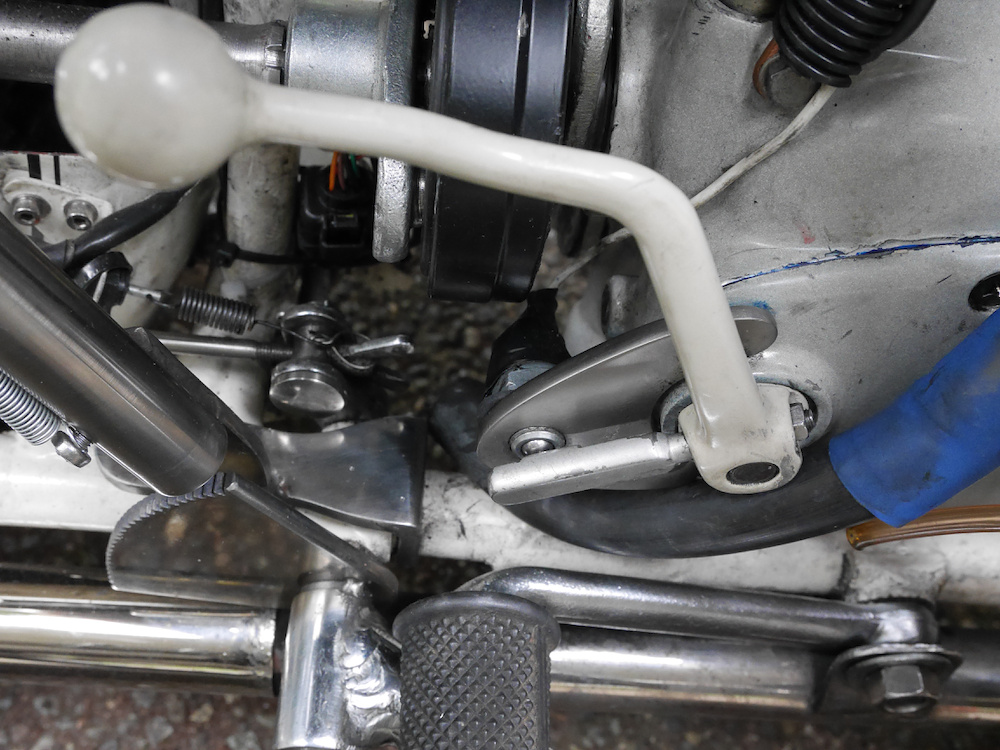
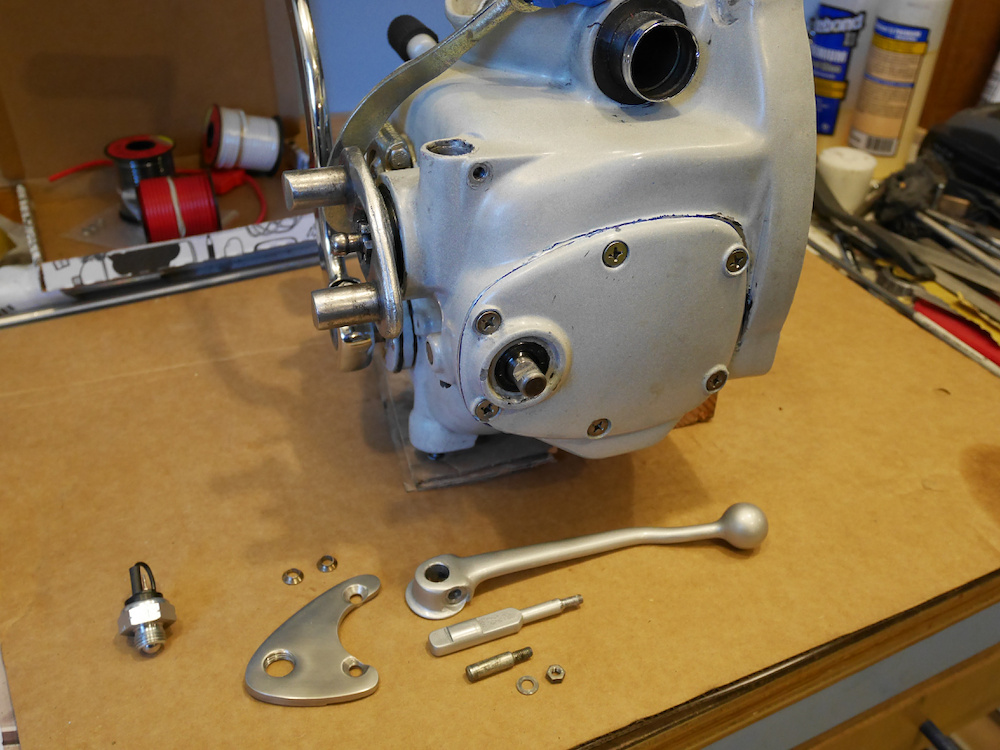
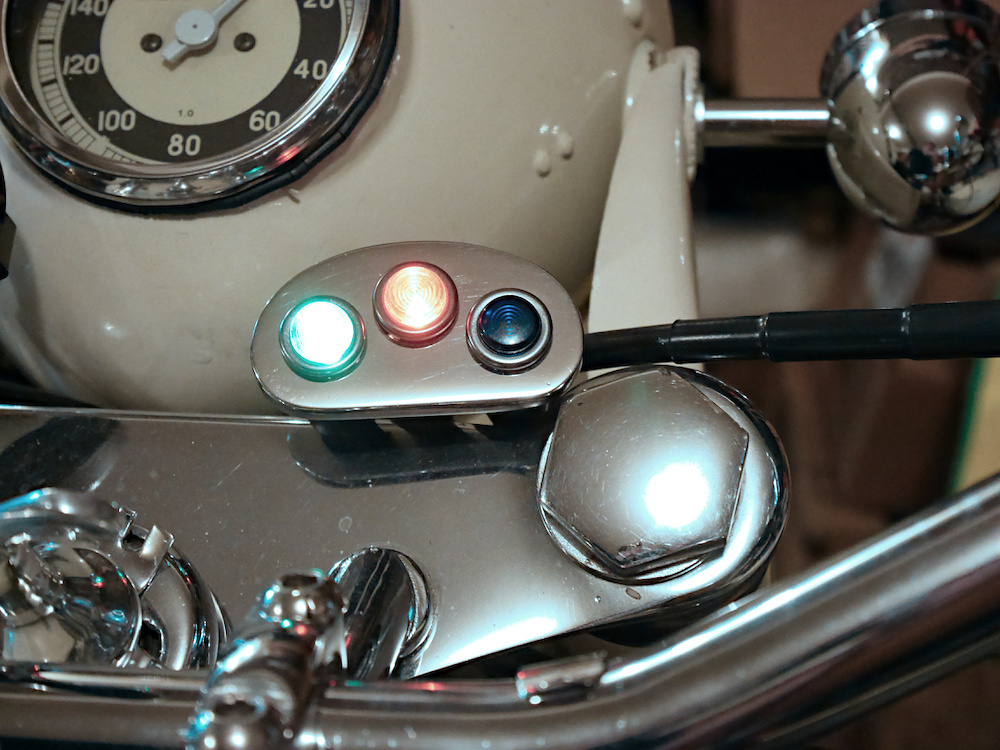
Neutral switch for CJ750 / M72
The CJ750 / M72 motorcycle does not have a neutral indicator. With a simple switch extension to the gearbox lever you can add a neutral indicator.
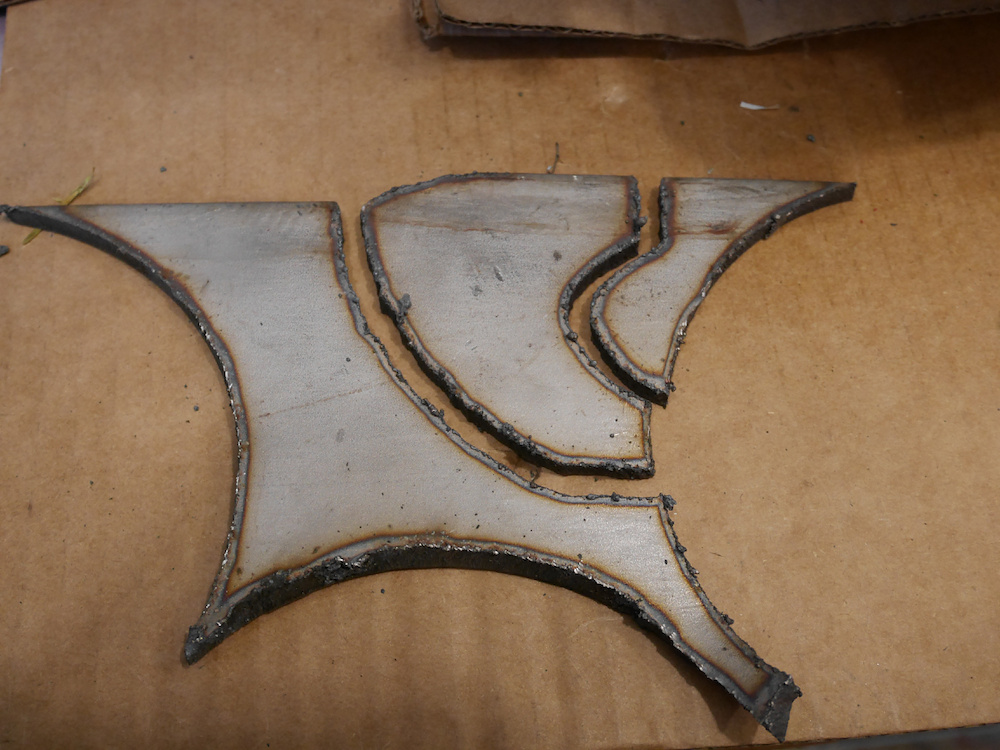
It starts with the switch plate that gets attached to the gearbox lever cut out from stainless steel.

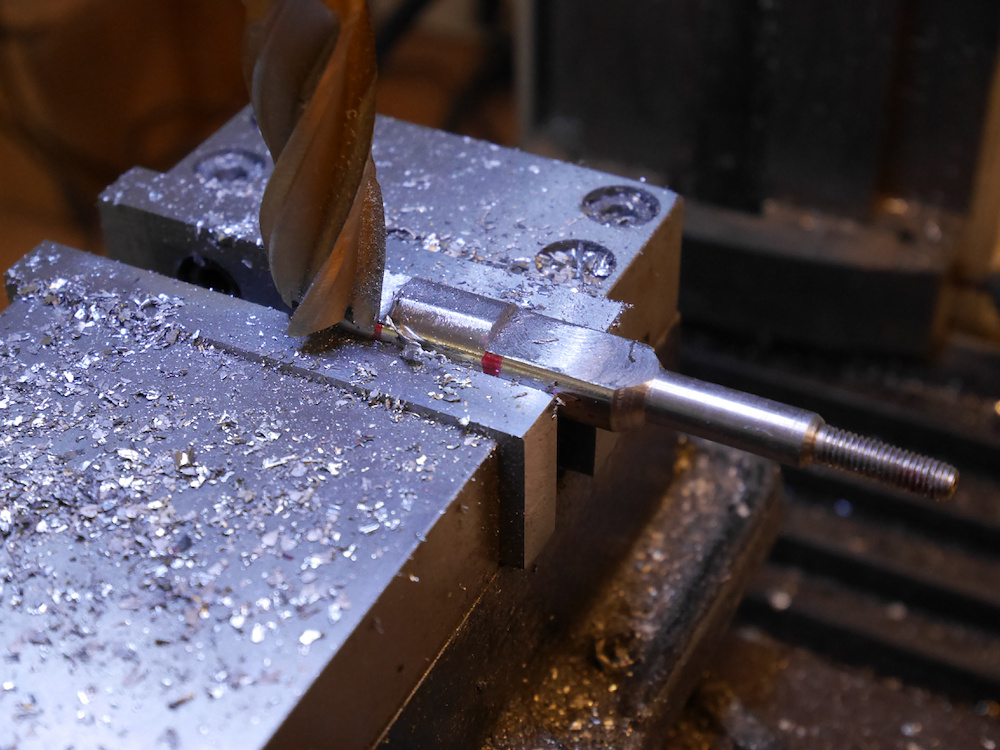
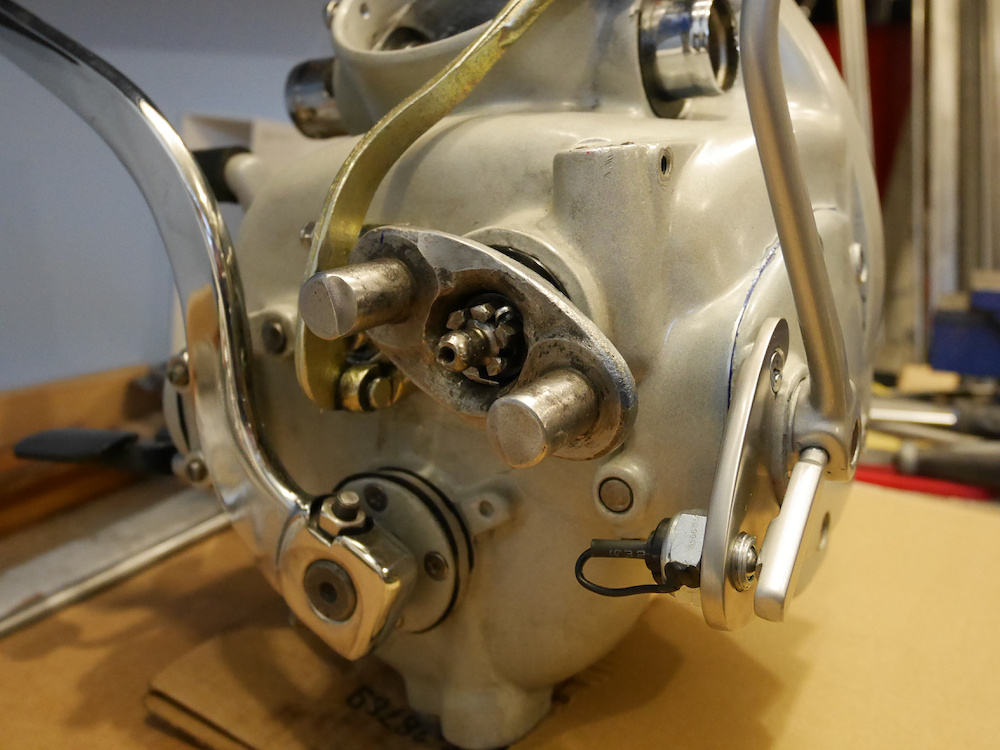
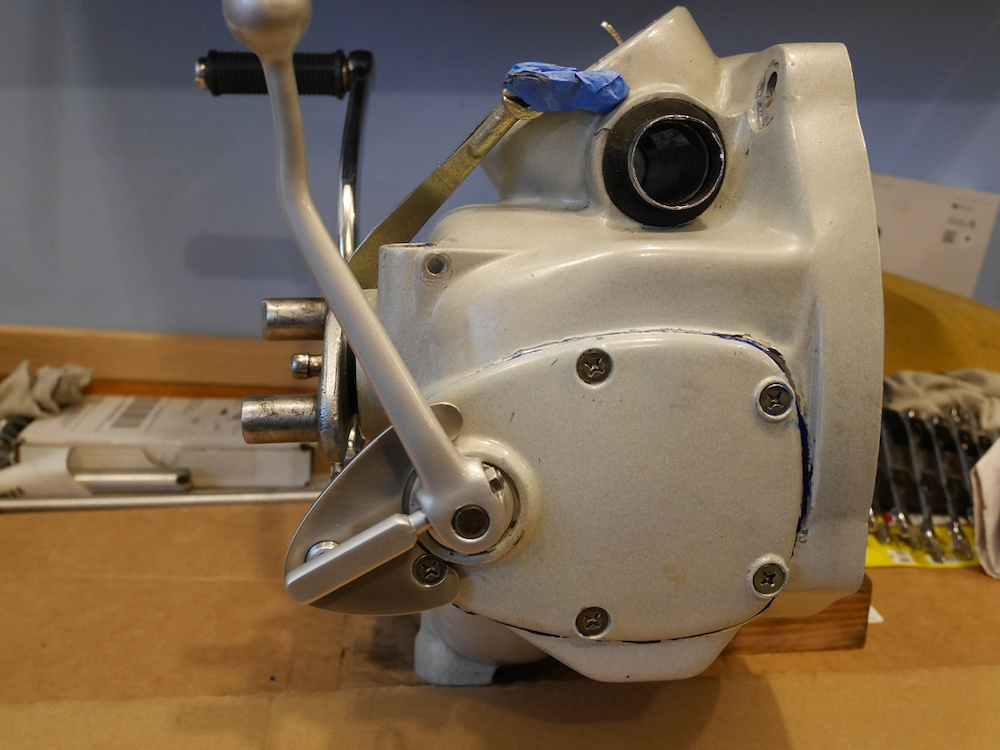
Now with the parts fabricated, the switch holder gets attached to the gearbox.
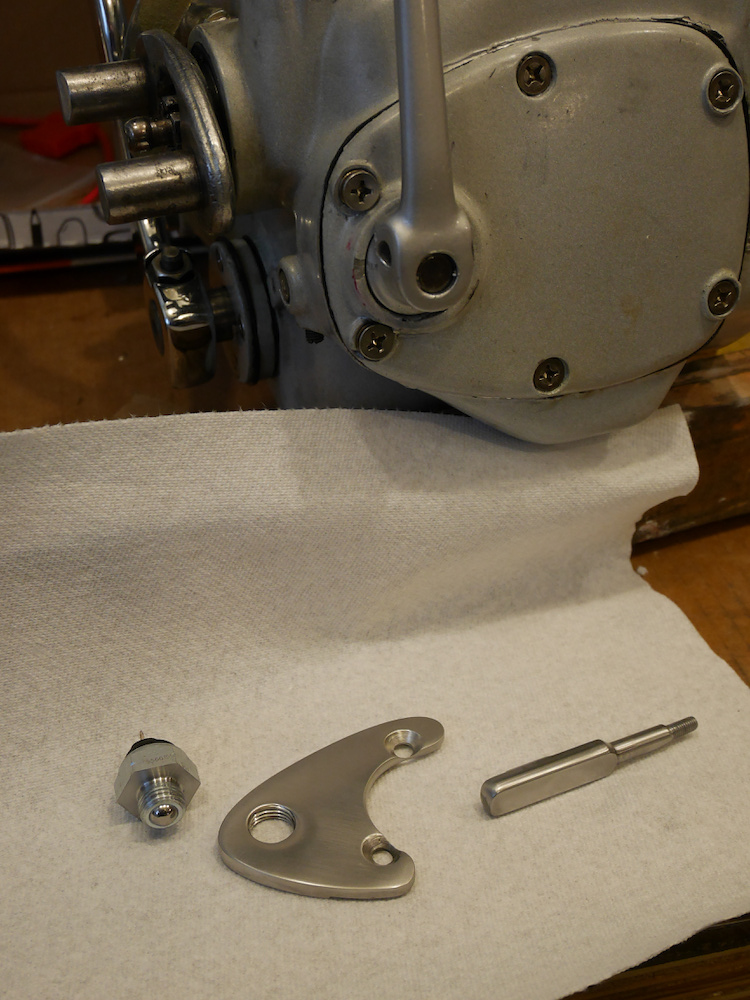
You can use any ball switch for automotive purpose.
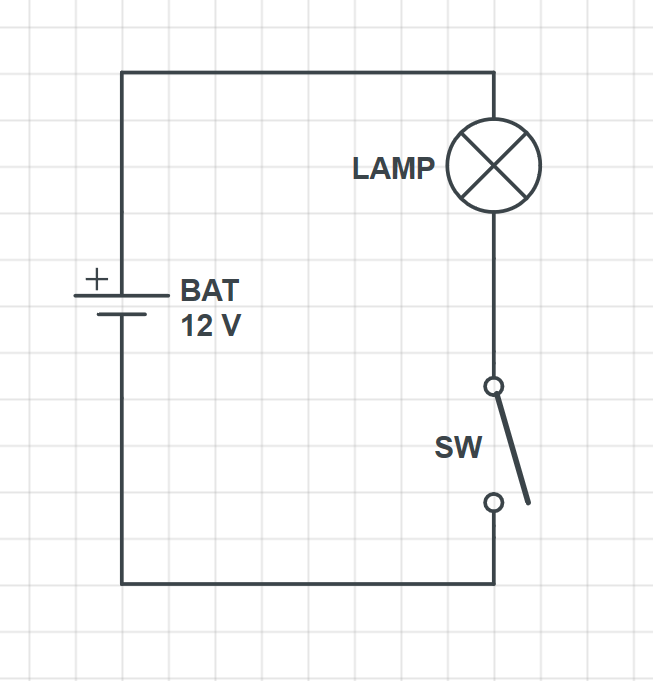
The neutral lamp is added to a simple mini dashboard, that also contains the high beam and oil lamp.
-
Replace substring in substrings with Regular expressions (regex)
A regular expression defines a search pattern for strings. Replace is possible for text matches, but repeated substring replace in substrings is difficult. Especially if the text you want to replace is also outside of the initial substrings. Using cascaded match evaluators, this replacements gets very easy. For example to replace quoted text withing square brackets.
Please note the middle text "text" in this example which must not be replaced.["text1"] "text" ["text2"]
Begin[Pre"1txet"Post]End "text" Begin[Pre"2txet"Post]EndFirst the text is splitted by the primary substrings defined by square brackets.
Then these substrings are recomposed according to the business logic. In this example the string gets enclosed in a "Pre" / "Post" and then reverted. The primary substrings gets enclosed in "Begin" / "End".string inputText = "[\"text1\"] "text" [\"text2\"]"; string replacedText = Regex.Replace( inputText, $"(\\[)(.*?)(\\])", arrayMatch => { return $"Begin" + arrayMatch.Groups[1].Value + Regex.Replace( arrayMatch.Groups[2].Value, $"(\".*?\")+", contentMatch => { return $"Pre" + new string(contentMatch.Groups[1].Value.Reverse().ToArray()) + "Post"; }) + arrayMatch.Groups[3].Value + $"End"; });Or modify a text section to add a link from a markdown link to the following picture:
from:
[Interactive Panorama title](link.htm)
to:
[Interactive Panorama title](link.htm)

Using PowerShell:[string]$content = [System.IO.File]::ReadAllText($FileName) # using '(?s)', the dot '.' matches the newline and allows for multiline replace [string]$StringsRegex = "(?s)(?<section>\[Interactive Panorama.*?\]\((?<link>.*?)\).*?)(?<bild>\!\[\]\(.*?\))" $updatedContent = $content -replace $StringsRegex, { $match = $_ $section = $match.Groups["section"].Value $link = $match.Groups["link"].Value $bild = $match.Groups["bild"].Value # already replaced? if(-not $section.Contains("<")) { # insert link # '$section$bild' -> 'section<a href="$link">$bild</a>' "$section<a href=""$link"">$bild</a> } } if($updated) { [string]$outFile = FileName + ".updated" [IO.File]::WriteAllText($outFile, $updatedContent) } -
Math126, Taylor series
For Math126 we were talking about the Taylor series for
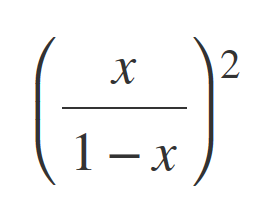
It looks difficult at first glance, but it is actually quite simple. Let me explain:
Using this as a base:
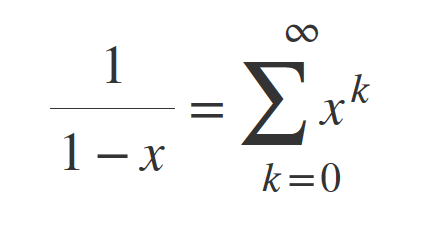
The derivative of this term is:
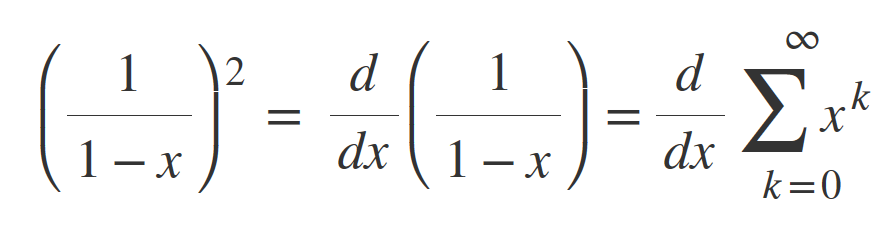
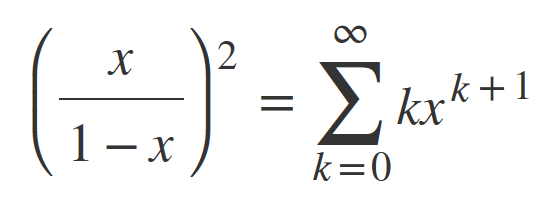
Which gets to:
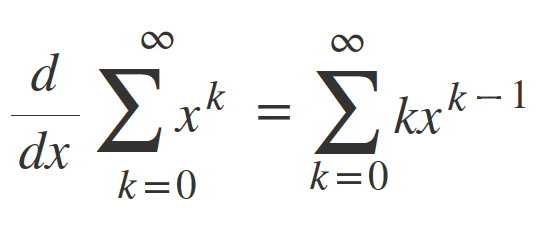
Now move the nominator in the sum to get the solution:
Time for a small PowerShell script for the Taylor series:
function f([double]$x)
{
    [Math]::Pow($x/(1-$x), 2)
}

function T([double]$x, [int]$k)
{
    0..$k | % { $sum = 0 } { $sum += $_ * [Math]::Pow($x, $_ + 1) } { $sum }
}


[int]$K = 16

for([int]$xi = -5; $xi -le 5; $xi += 1)
{
    [double]$x = $xi / 10

    [PSCustomObject]@{
        'x' = $x
        'f(x)' = f $x
        'T(x)' = T $x $K
    }
}
x f(x) T(x) - ---- ---- -0,5 0,111111111111111 0,111068725585938 -0,4 0,0816326530612245 0,0816318326348185 -0,3 0,0532544378698225 0,0532544328723274 -0,2 0,0277777777777778 0,0277777777741005 -0,1 0,00826446280991736 0,00826446280991734 0 0 0 0,1 0,0123456790123457 0,0123456790123457 0,2 0,0625 0,0624999999943475 0,3 0,183673469387755 0,183673459741776 0,4 0,444444444444445 0,444442421037629 0,5 1 0,999862670898438The convergence is | x | < 1
T15 is used for this test.k Tk(x) - ----- 0 0 1 0,25 2 0,5 3 0,6875 4 0,8125 5 0,890625 6 0,9375 7 0,96484375 8 0,98046875 9 0,9892578125 10 0,994140625 11 0,996826171875 12 0,998291015625 13 0,99908447265625 14 0,99951171875 15 0,999740600585938 -
Indexer for Atlas 7B Shaper, Part 1
The Altas 7B shaper is a rare metal shaper dating back 70+ years. Even more rare is the optional indexer.
And a perfect new project to replicate this rotary indexer for my Atlas shaper!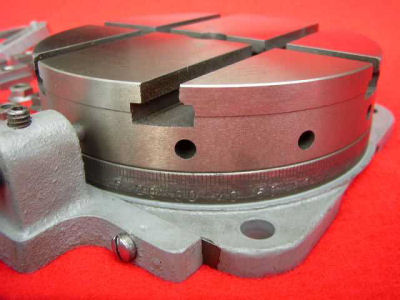
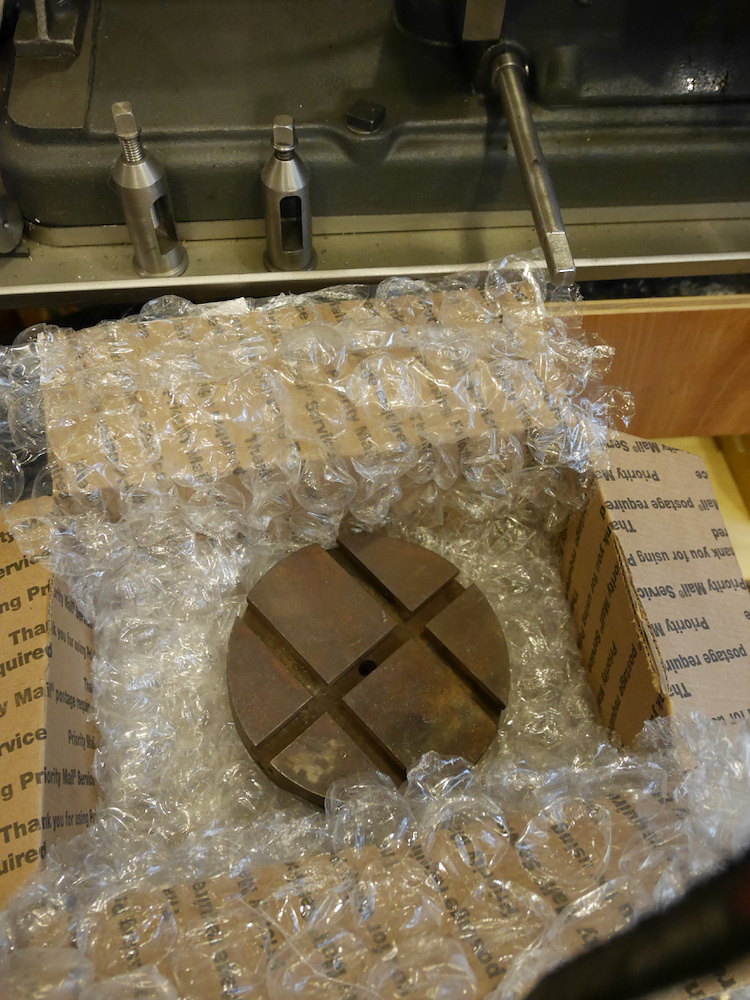
While browsing eBay for some suitable round table with t-nuts I could use to get started for the project, I found this:
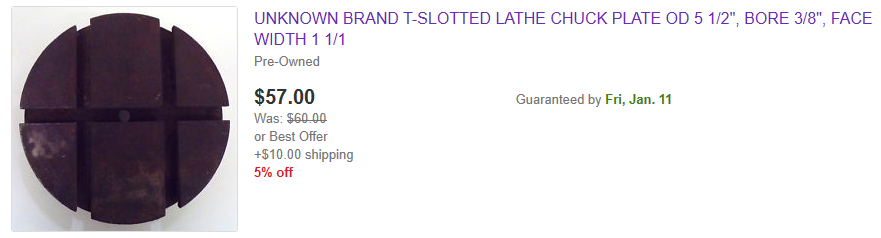
An original S7-425 rotary indexer table! Arrived a few days later:
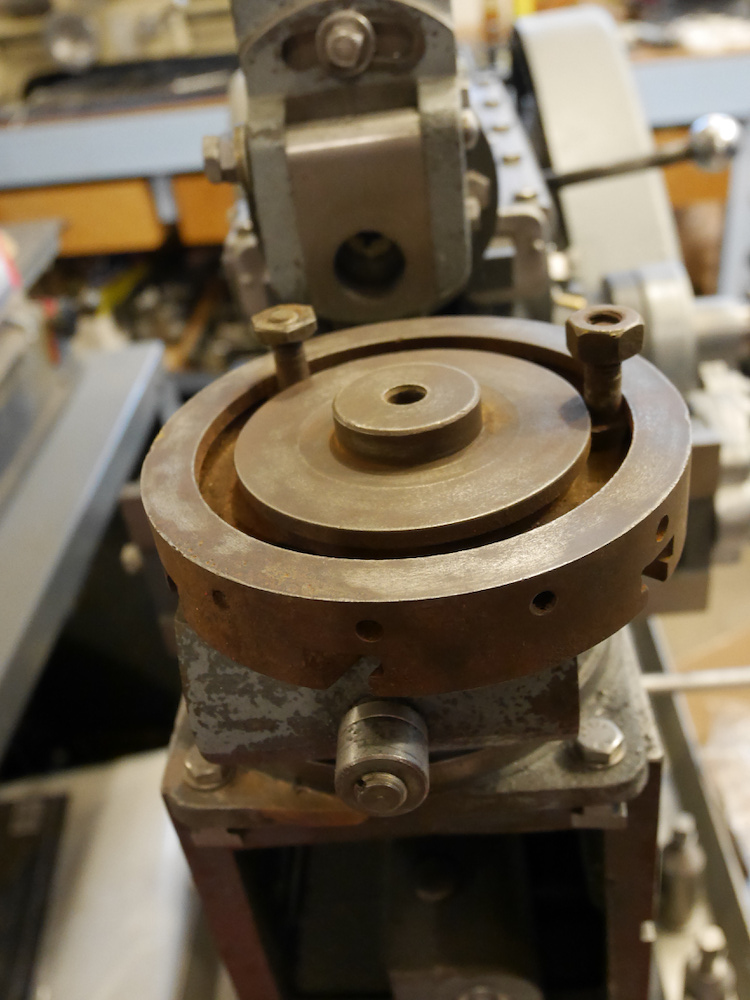
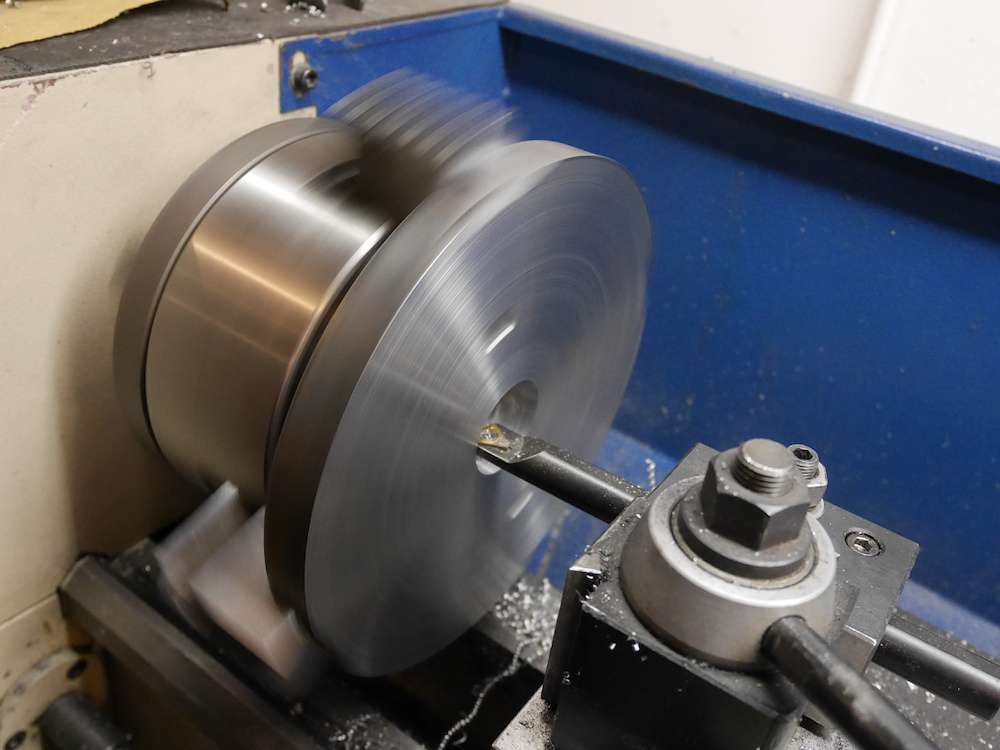
With the top of the indexer covered, I needed material for the base. Lots of 3/4" thick 8" round plate available at eBay:
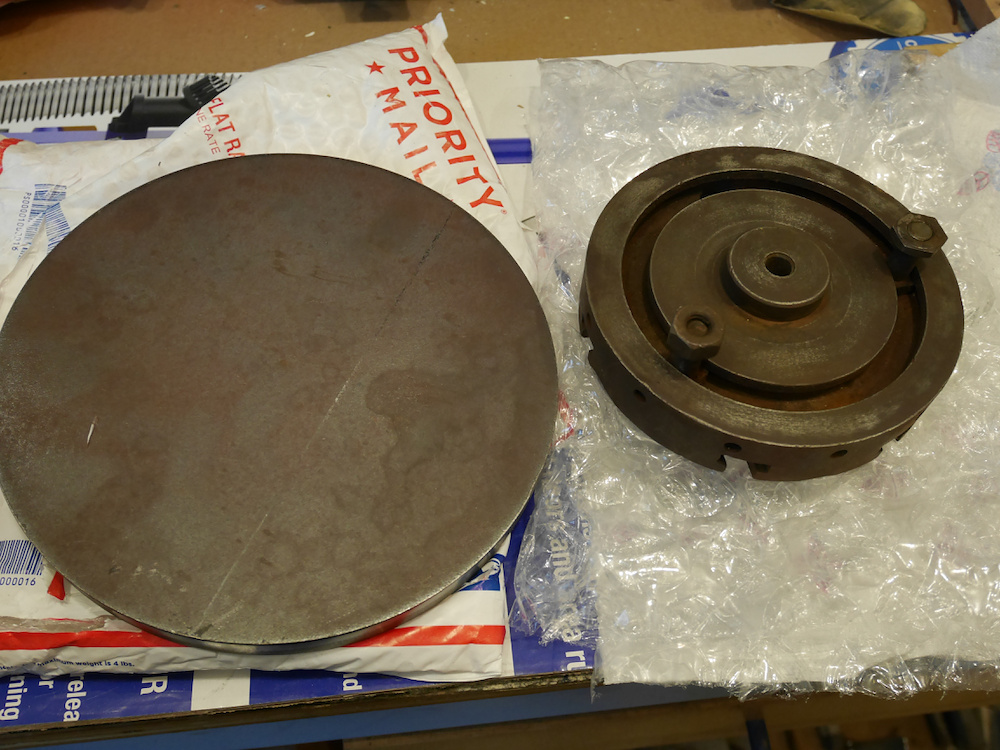
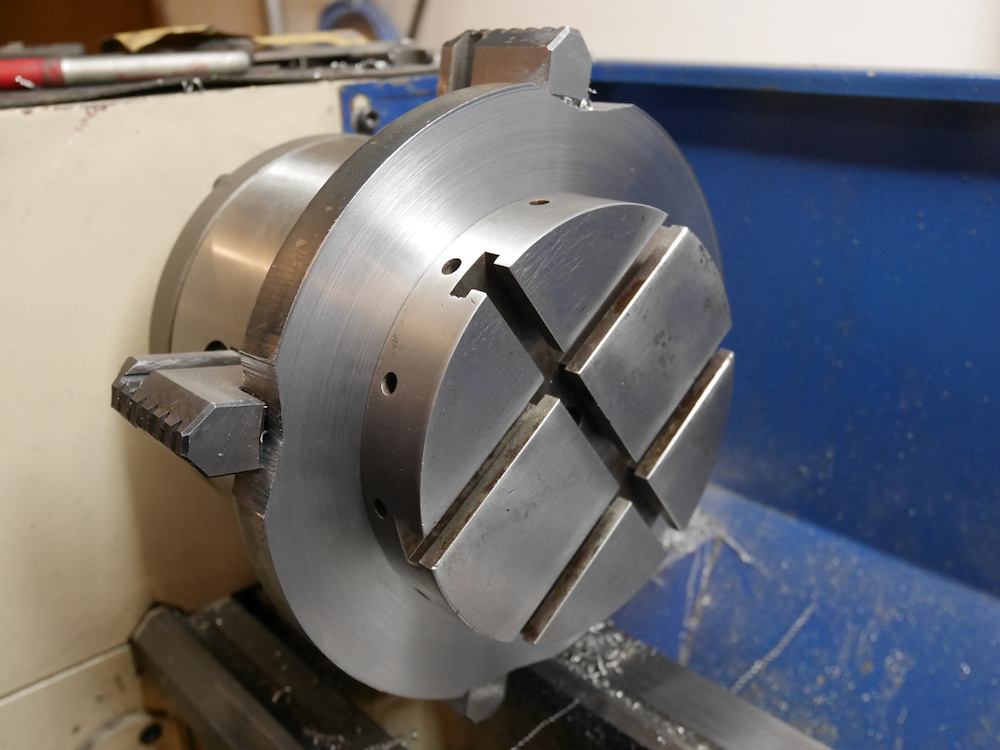
But a few mm to large for the lathe. To get the jaws a good grip and to pass the bed of the lathe, I had to cut out the four sides to make it fit.
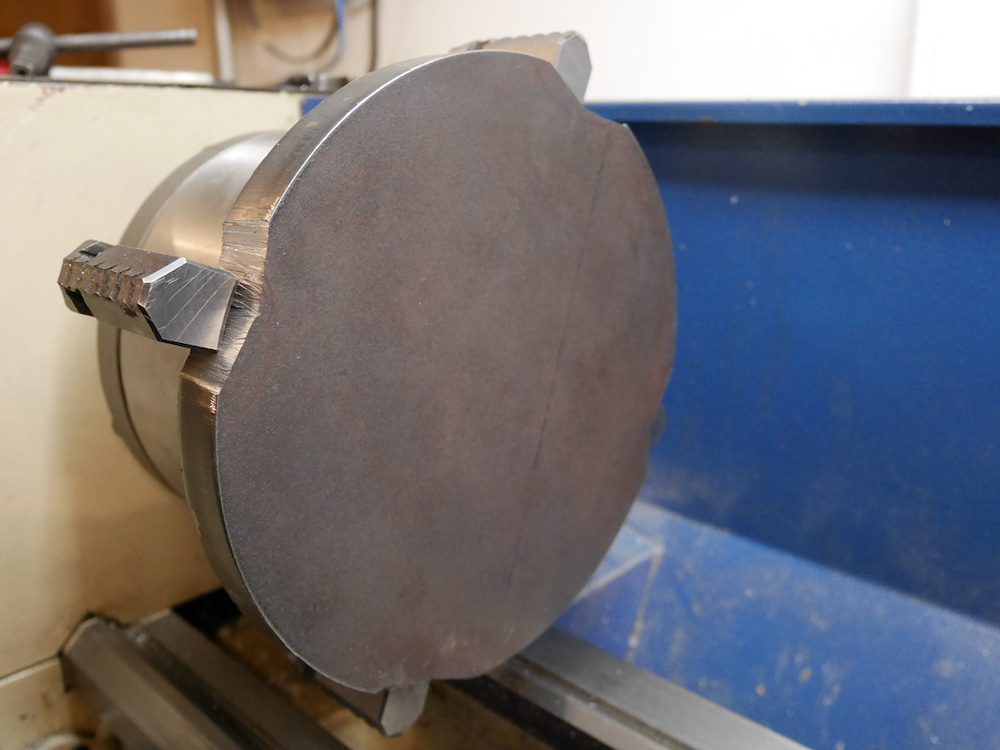
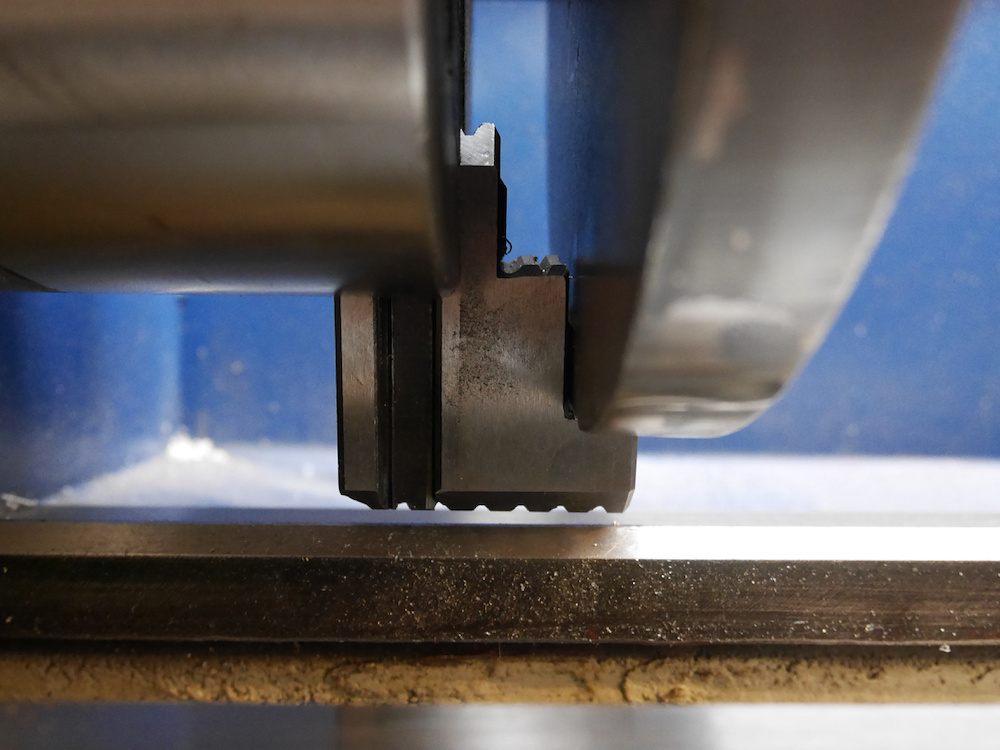
Cutting out the hole for the plate:
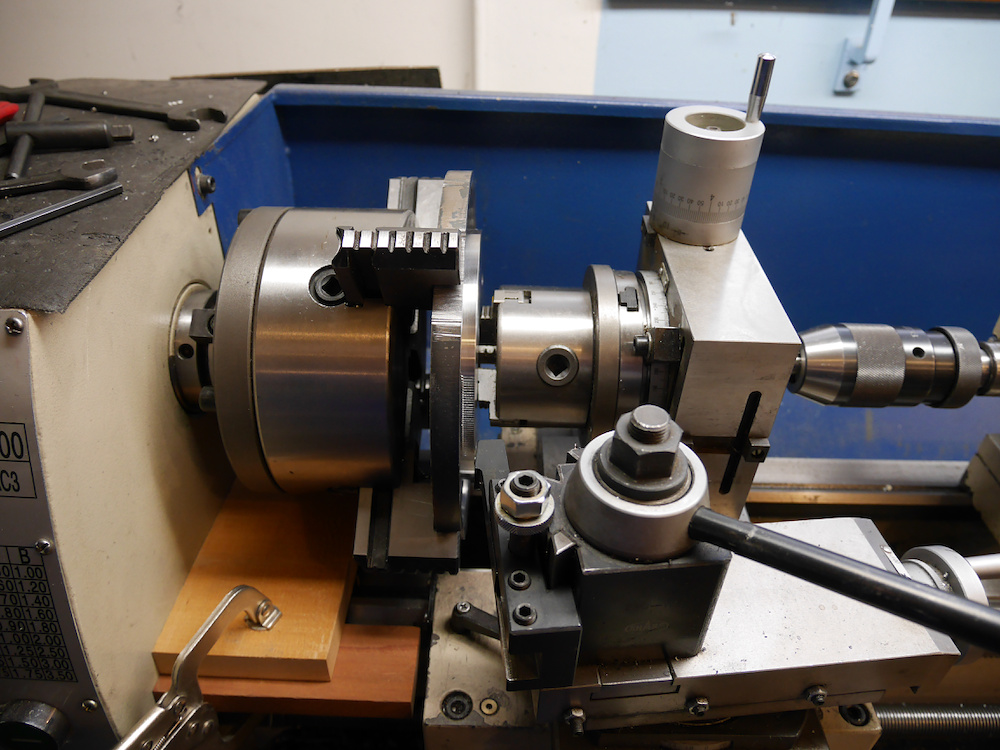
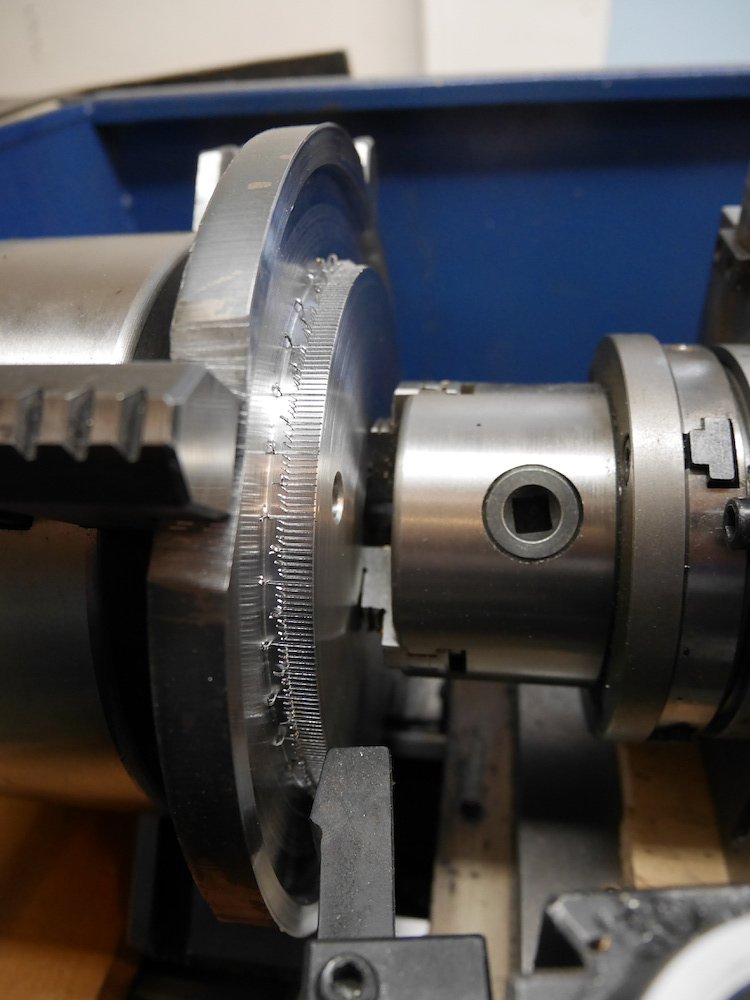
This setup is for the engraving. With a insert for cutting threads, the degree ticks were done. A simple wood block ensured a constant length of the tick marks. Once done, the 5 and 10 degree marks were done with a slightly larger depth.
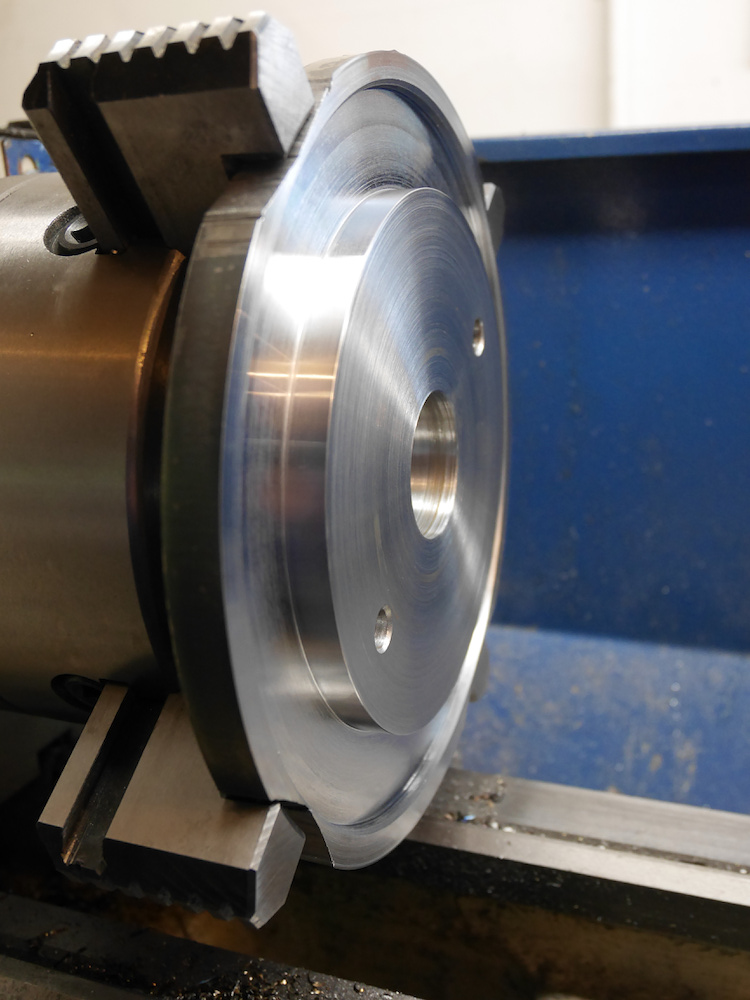
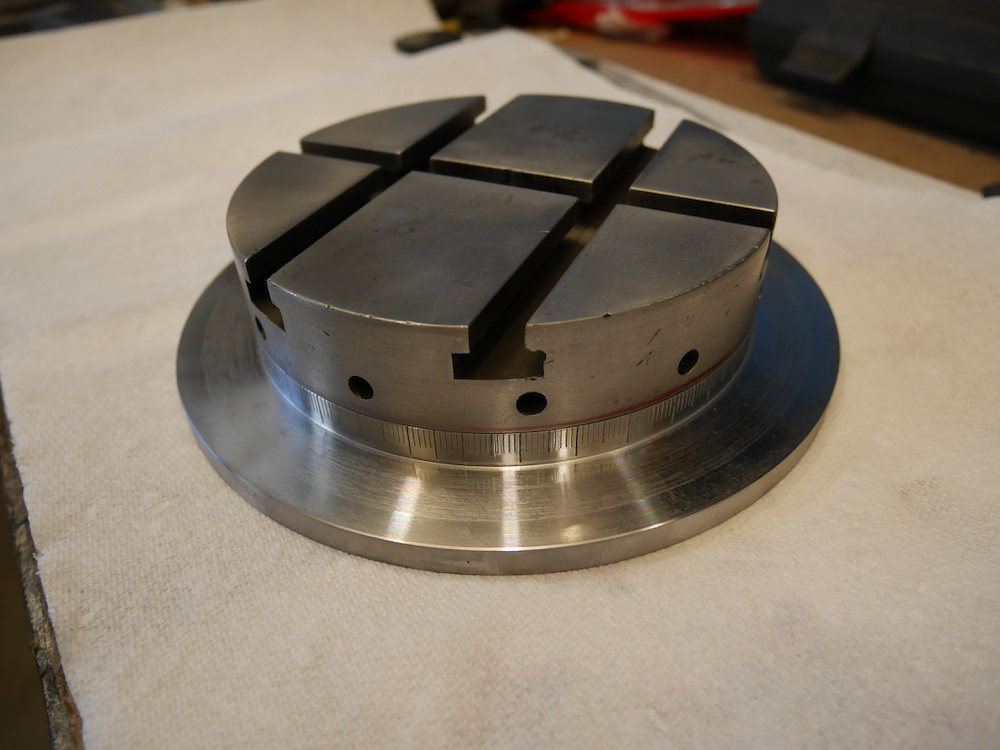
First part of the base is finished.
-
Visited the Snowflake Lane Parade
Next to Bellevue Square was the annual Snowflake Lane parade.
With no fisheye but a normal focal length lens, taking the pictures were challenging with the close distance to the parade, but turned out not too bad.