-
The Evolution of the Turkey 🦃
Every masterpiece begins in silence. The 👩🏻🍳 sets the stage, then time, heat and patience compose a quiet piece of culinary art.
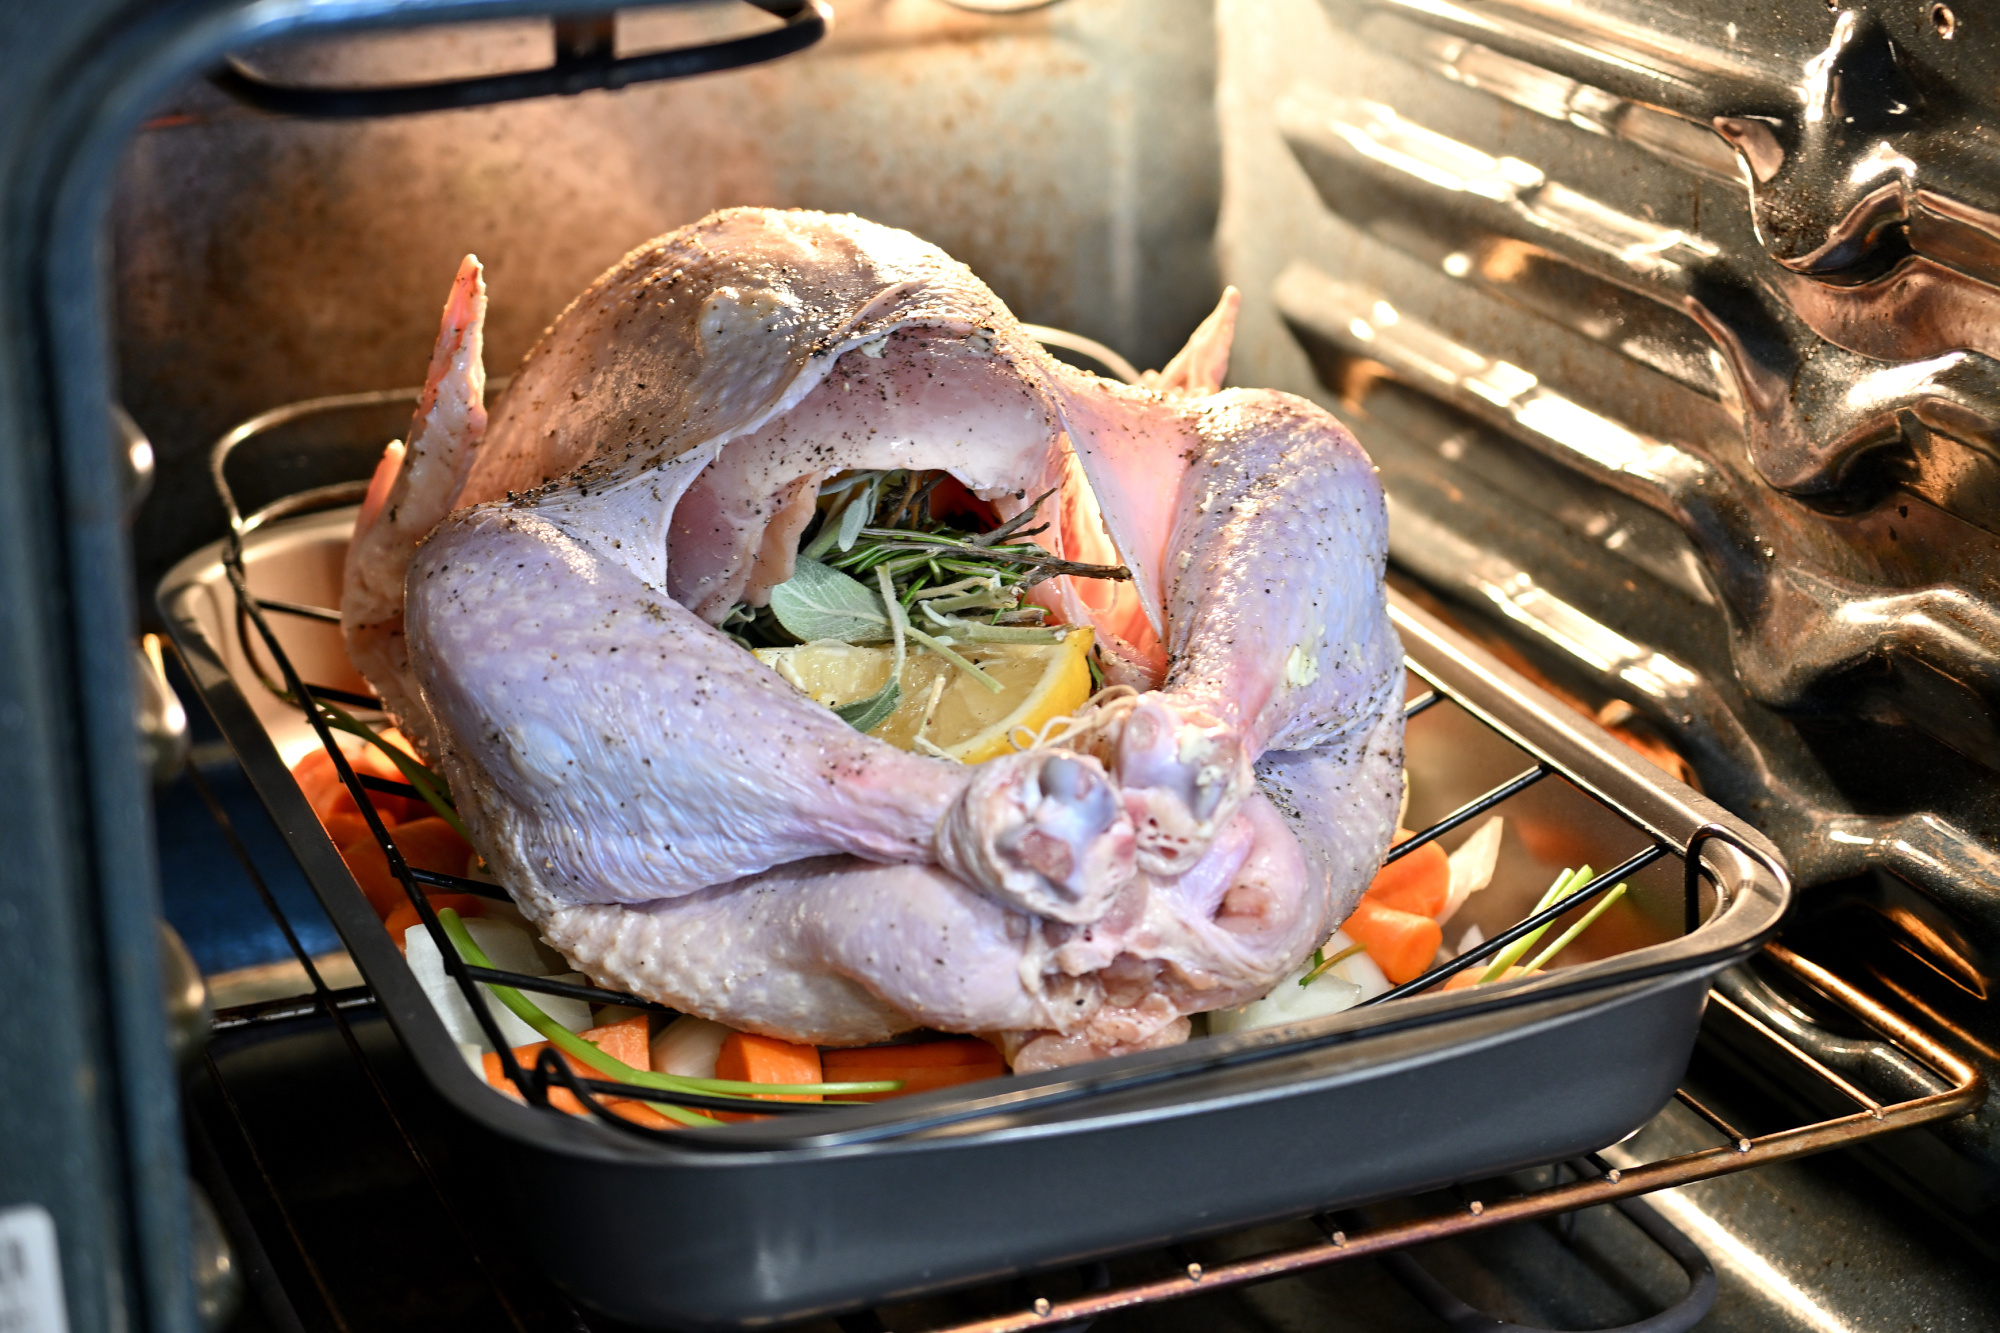
Stage 1: Raw Ambition
A turkey in its natural state is like an unread book, full of potential, but mostly cold and uninviting. At this point, the only evolution is your growing doubt about oven size.
1/13s f/2,8 ISO 250/25° 16-50mm f/2,8 VR f=28mm/42mm

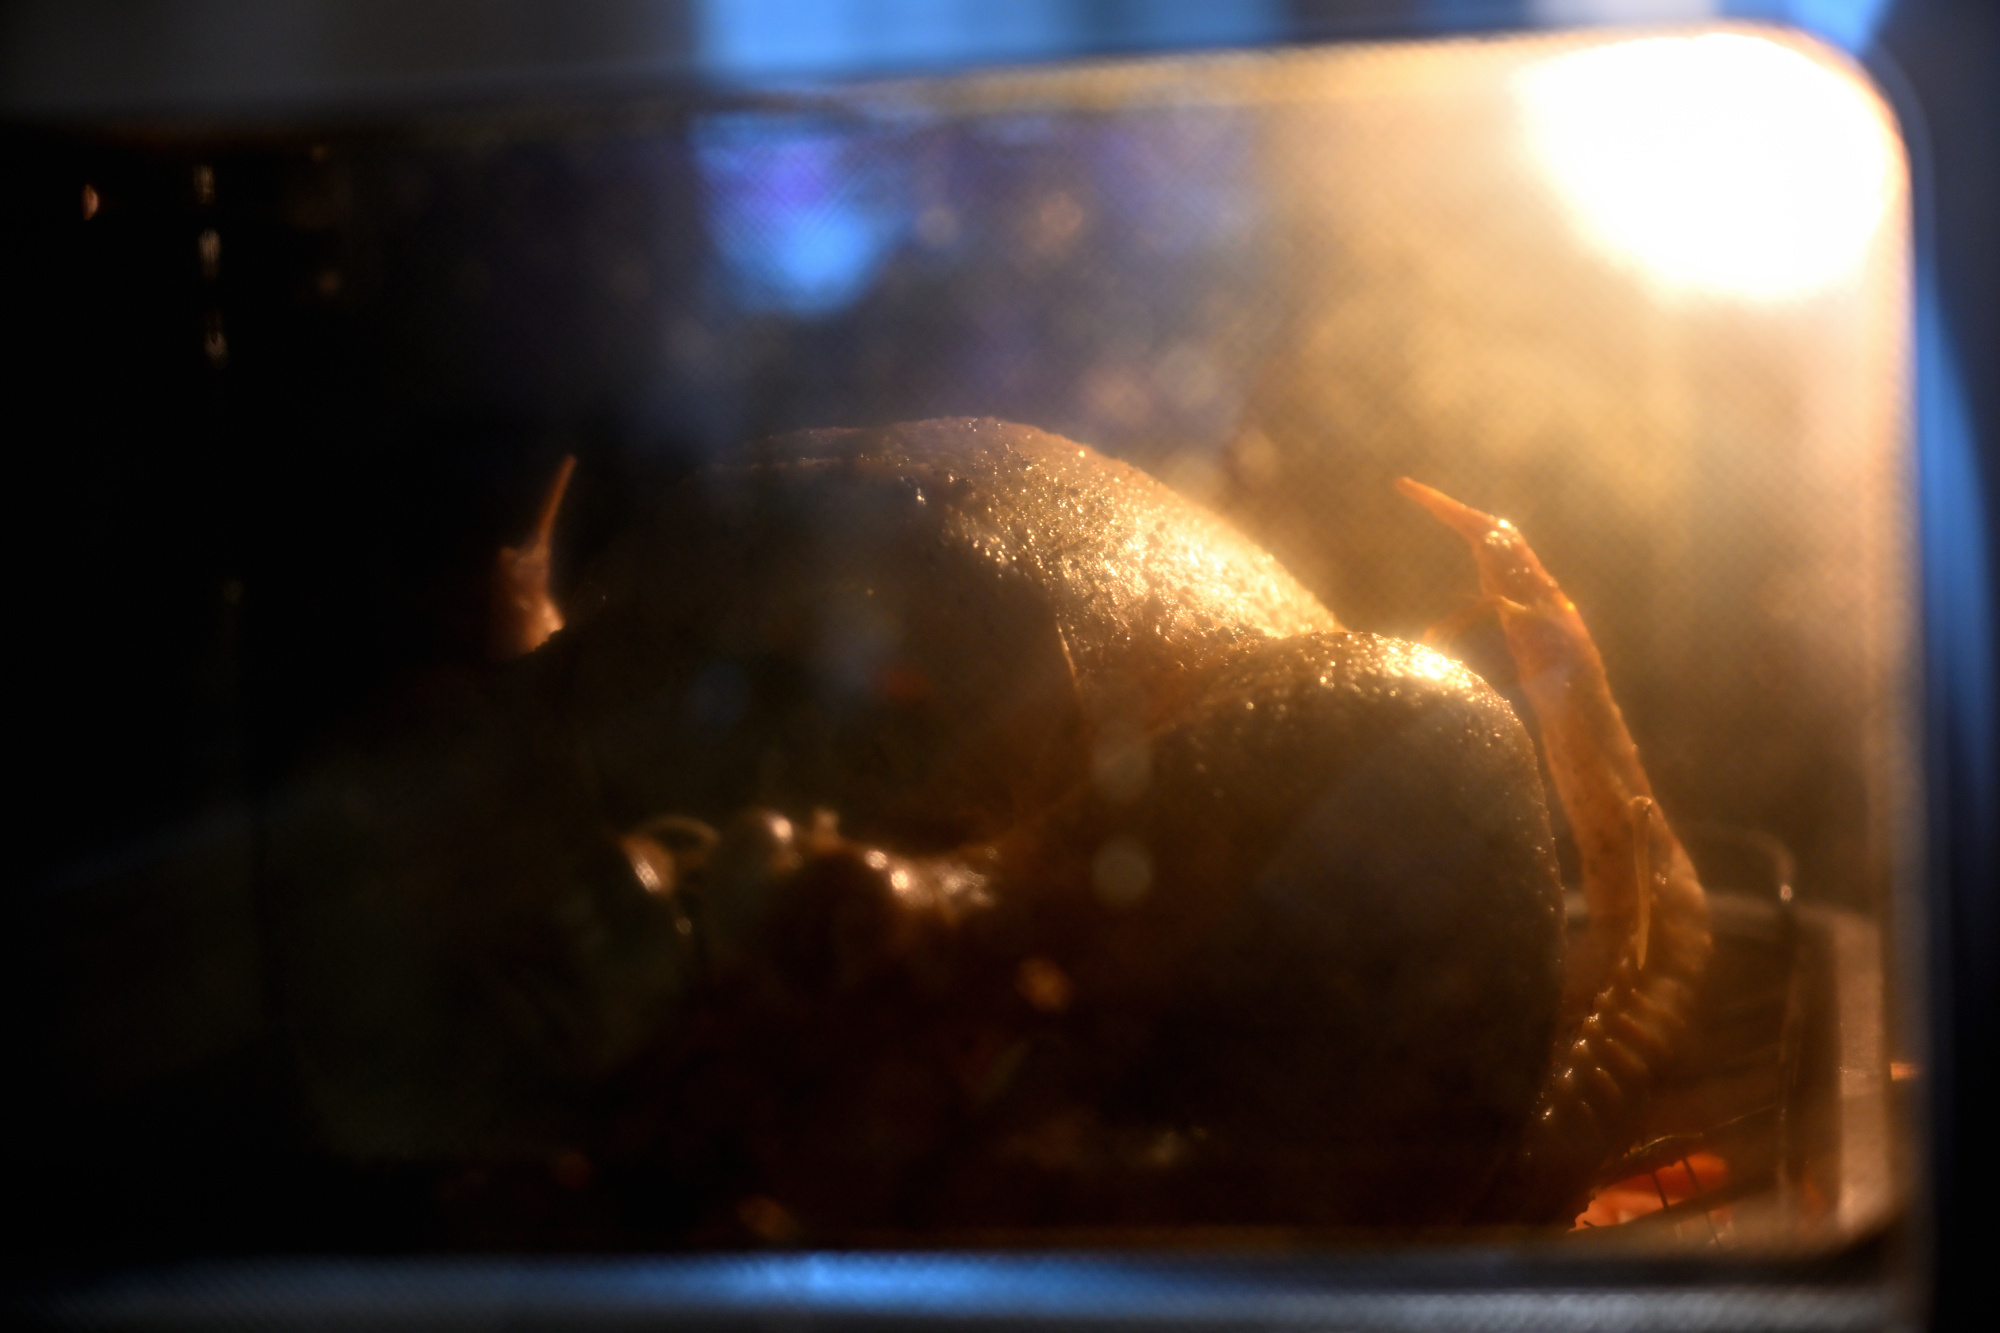
Stage 2: The Great Migration
It moves from countertop to oven, a journey as inevitable as Monday mornings. Here, transformation begins quietly under heat and time.
1/10s f/2,8 ISO 250/25° 16-50mm f/2,8 VR f=44mm/66mm
Stage 3: The Slow Enlightenment
Hours pass. The turkey meditates in 170°C silence, contemplating its purpose. It emerges wiser, crispier, and slightly golden, proof that patience and heat can turn blandness into brilliance.
1/40s f/3,2 ISO 250/25° 16-50mm f/2,8 VR f=50mm/75mm1
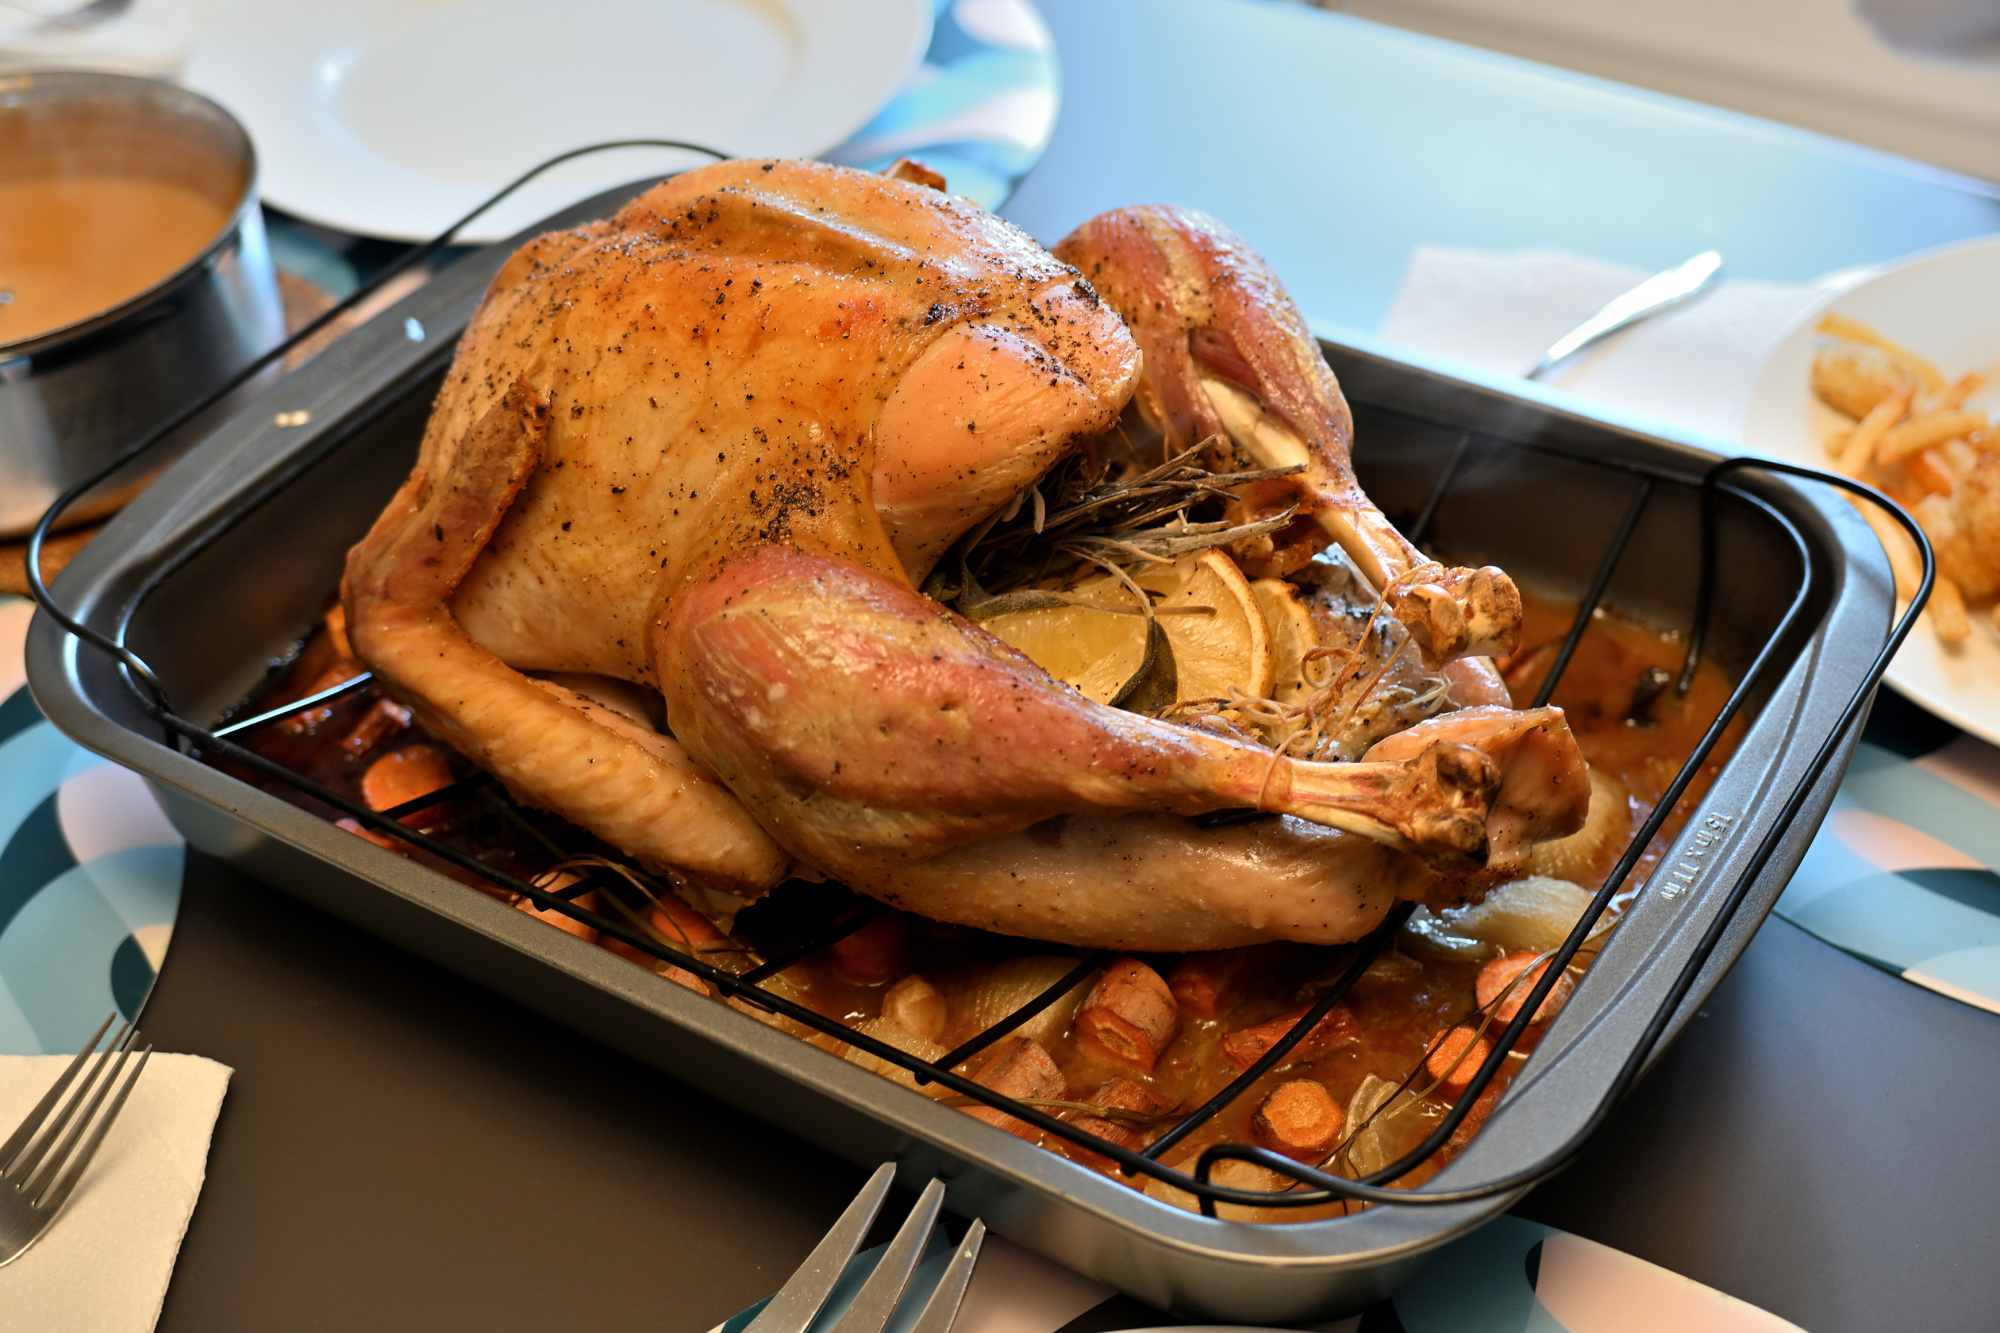
Stage 4: The Final Form
On the table, surrounded by sides and expectations, the turkey achieves peak relevance. For a brief moment, it is the influencer of the dining room. Then, like all trends, it is consumed and forgotten.
1/20s f/2,8 ISO 400/27° 16-50mm f/2,8 VR f=34mm/51mm
A picture impossible to make with a single exposure
1/25s f/2,8 ISO 400/27° 16-50mm f/2,8 VR f=27mm/41mm
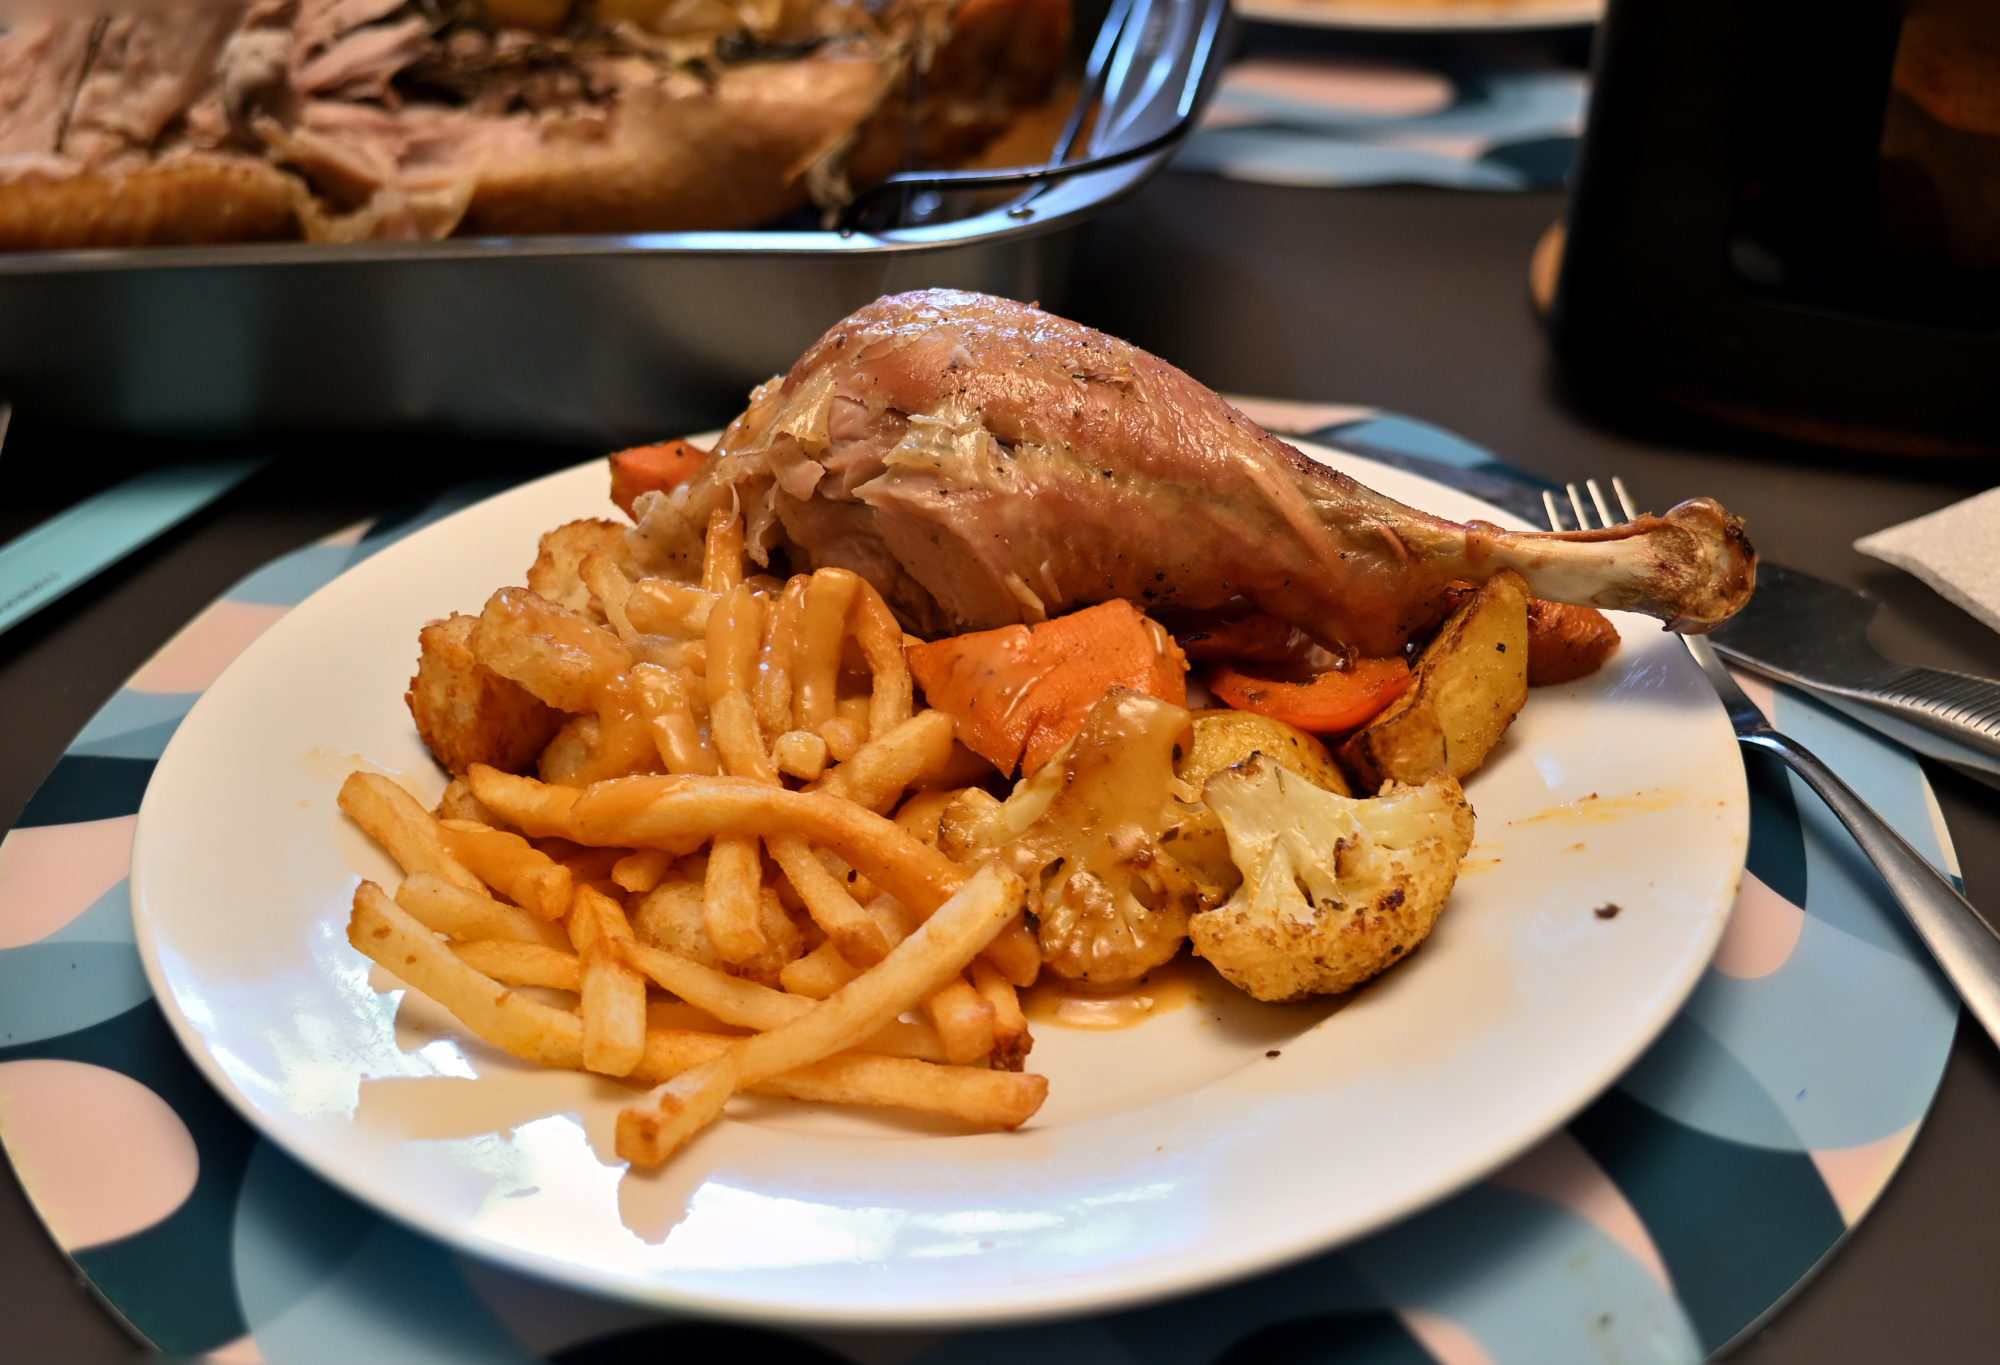
The shallow depth of field creates a beautifully blurred background, something that gives the image its depth and character. To achieve sharpness across the entire plate without losing that blur, two shots were taken: one focused on the front, the other on the back of the plate and then combined using Focus Stacking
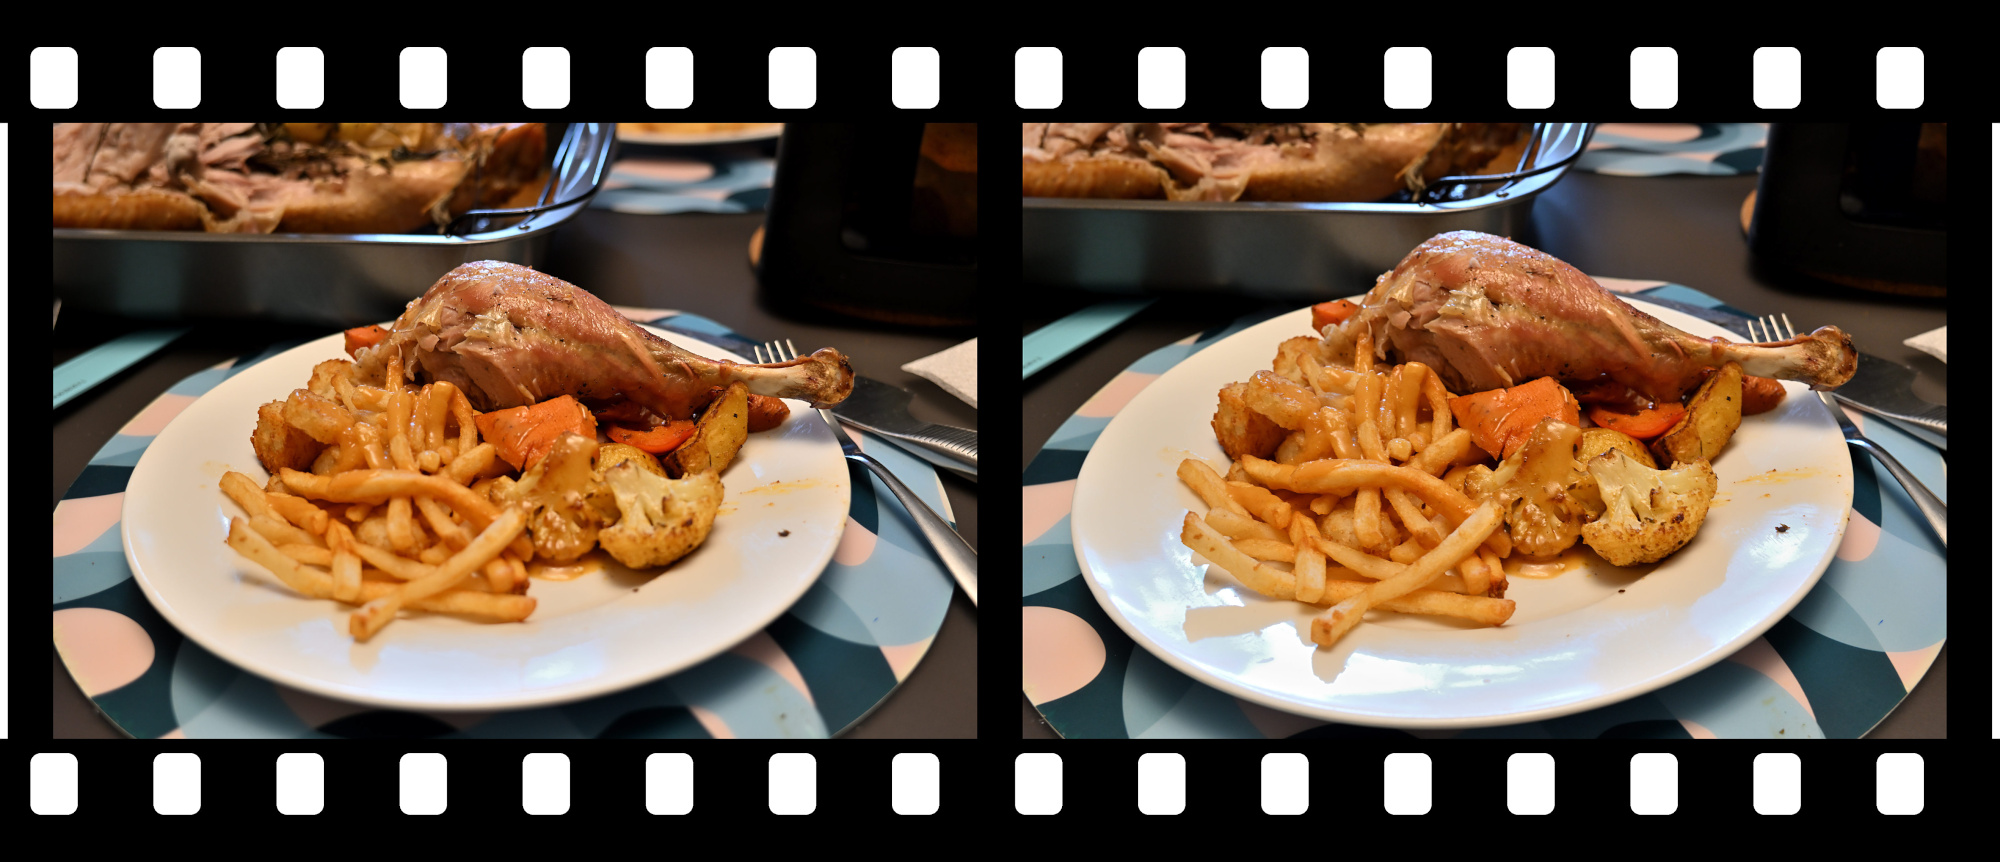
Simply stopping down the aperture for more depth of field would have rendered the plate sharp, but also flattened the scene, turning it into the kind of phone photo where the background looks lifeless. This blend keeps the plate crisp while preserving the softness behind it.
Back to the kitchen:
At first it hides its promise. Add time, heat, and a little seasoning and it becomes a quiet piece of culinary work.
-
Focused manually because autofocus would have locked on the oven glass instead of the turkey inside.
And absolutely no permission from the chef to open the oven for a quick snap. This picture had to be captured through the glass, in the heat and haze, without disturbing the masterpiece in progress. ↩
-
-
Nikon Z DX 16-50mm f/2.8 VR
The day Nikon announced their new DX 16-50mm f/2.8 lens2, I opened the optical upgrade protocol with a preorder 🚀
My previous lenses lined up for eBay, forming a support group titled "Former Stars of the Camera Bag". They successfully negotiated their exit strategy with descriptions that read like dating profiles: "Still sharp, loves sunsets, seeks photographer who appreciates vintage charm and no diffraction tests under f/8".
Inside the Upgrade Shop3
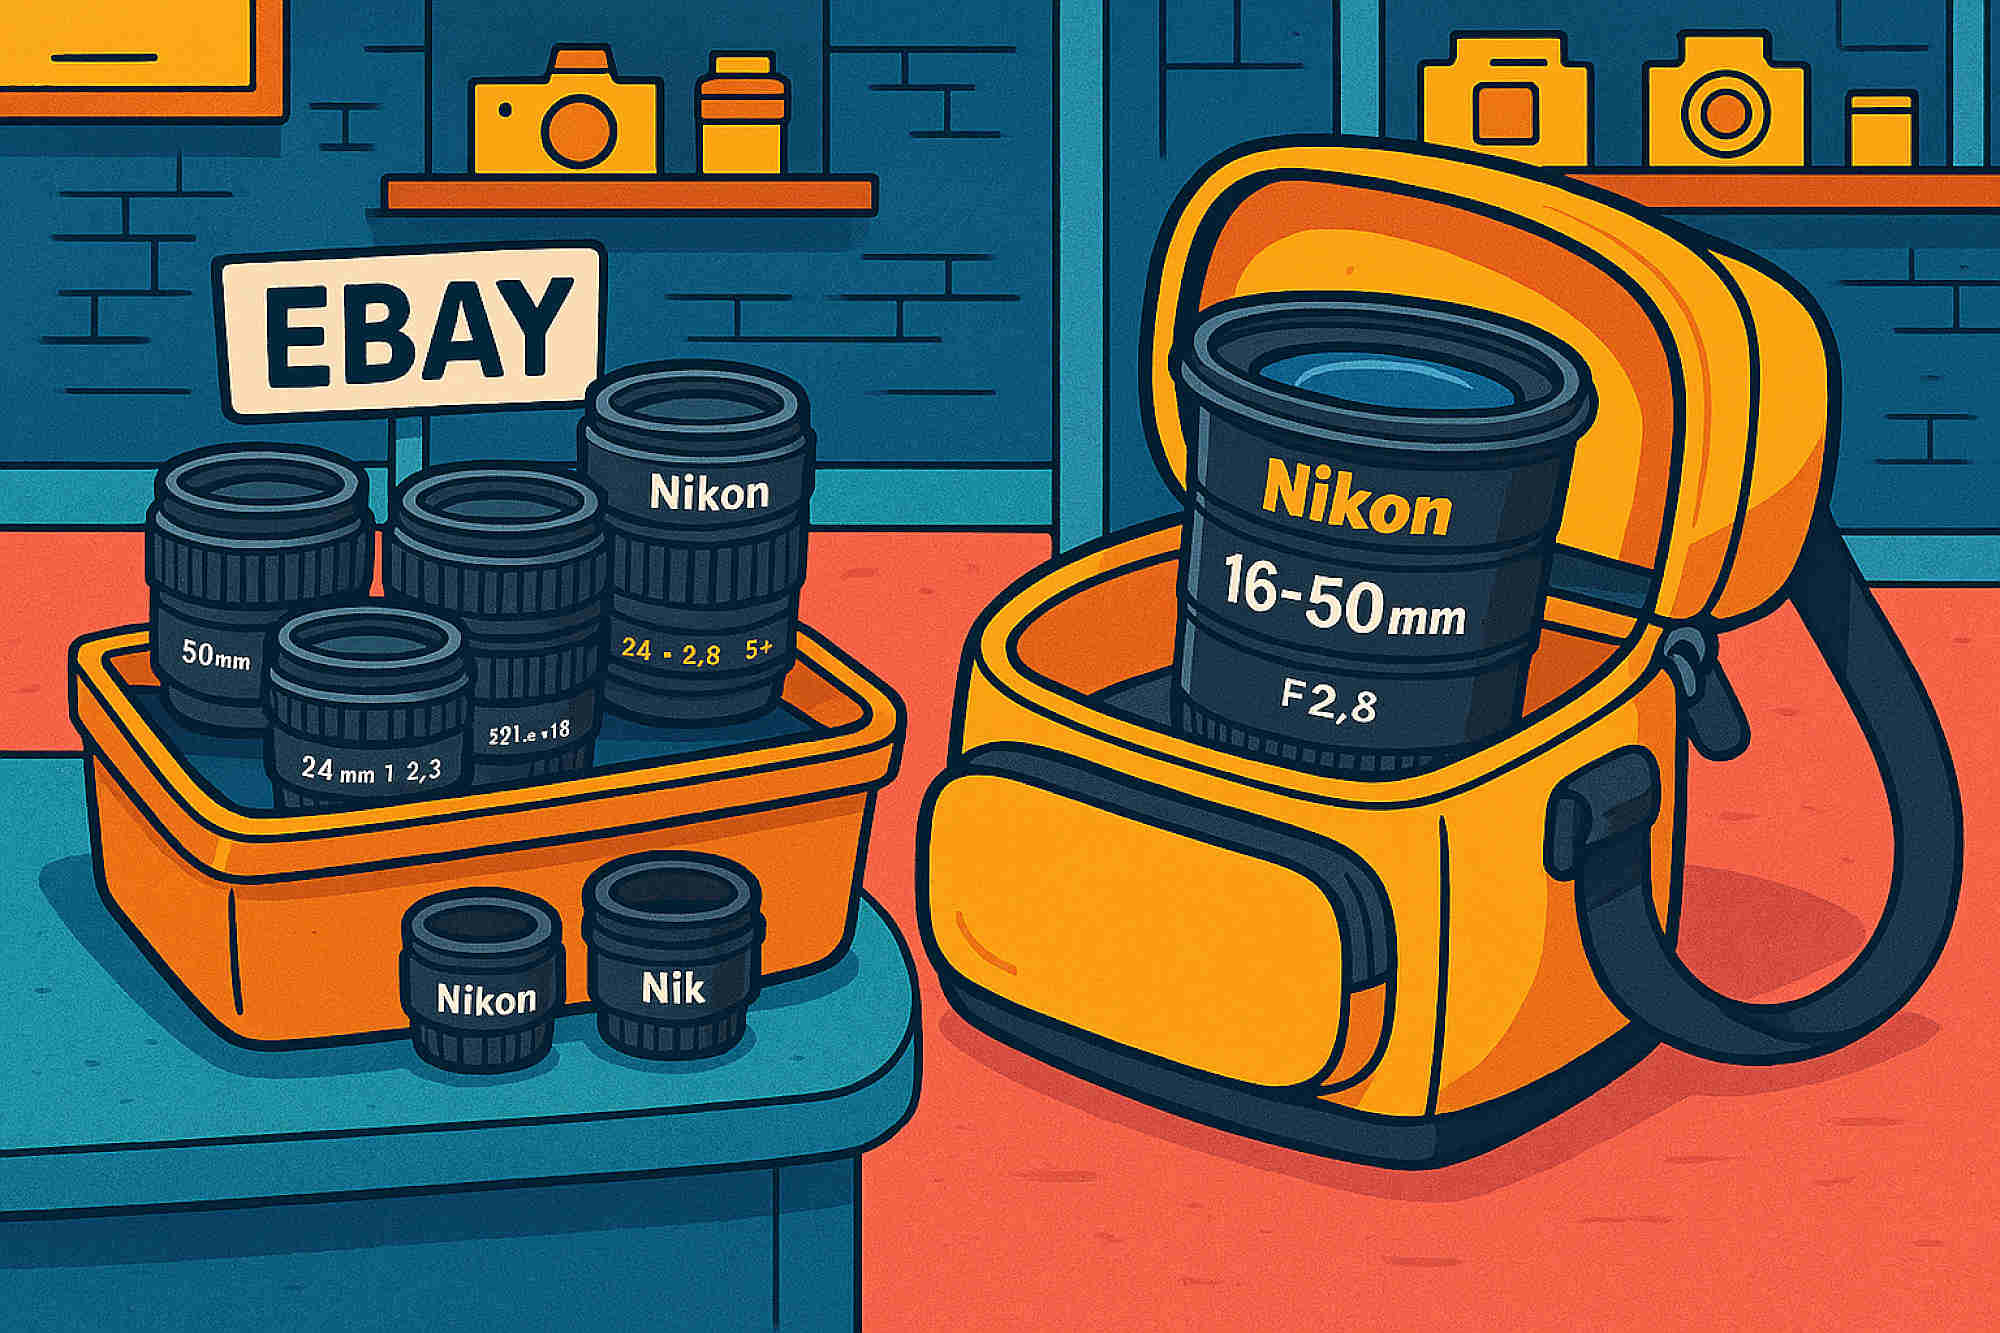
Announcement - October 16, 2025 📰
The new NIKKOR DX lens is available soon. Compact, fast, and ready to redefine the setup.
Optical upgrade protocol signaled.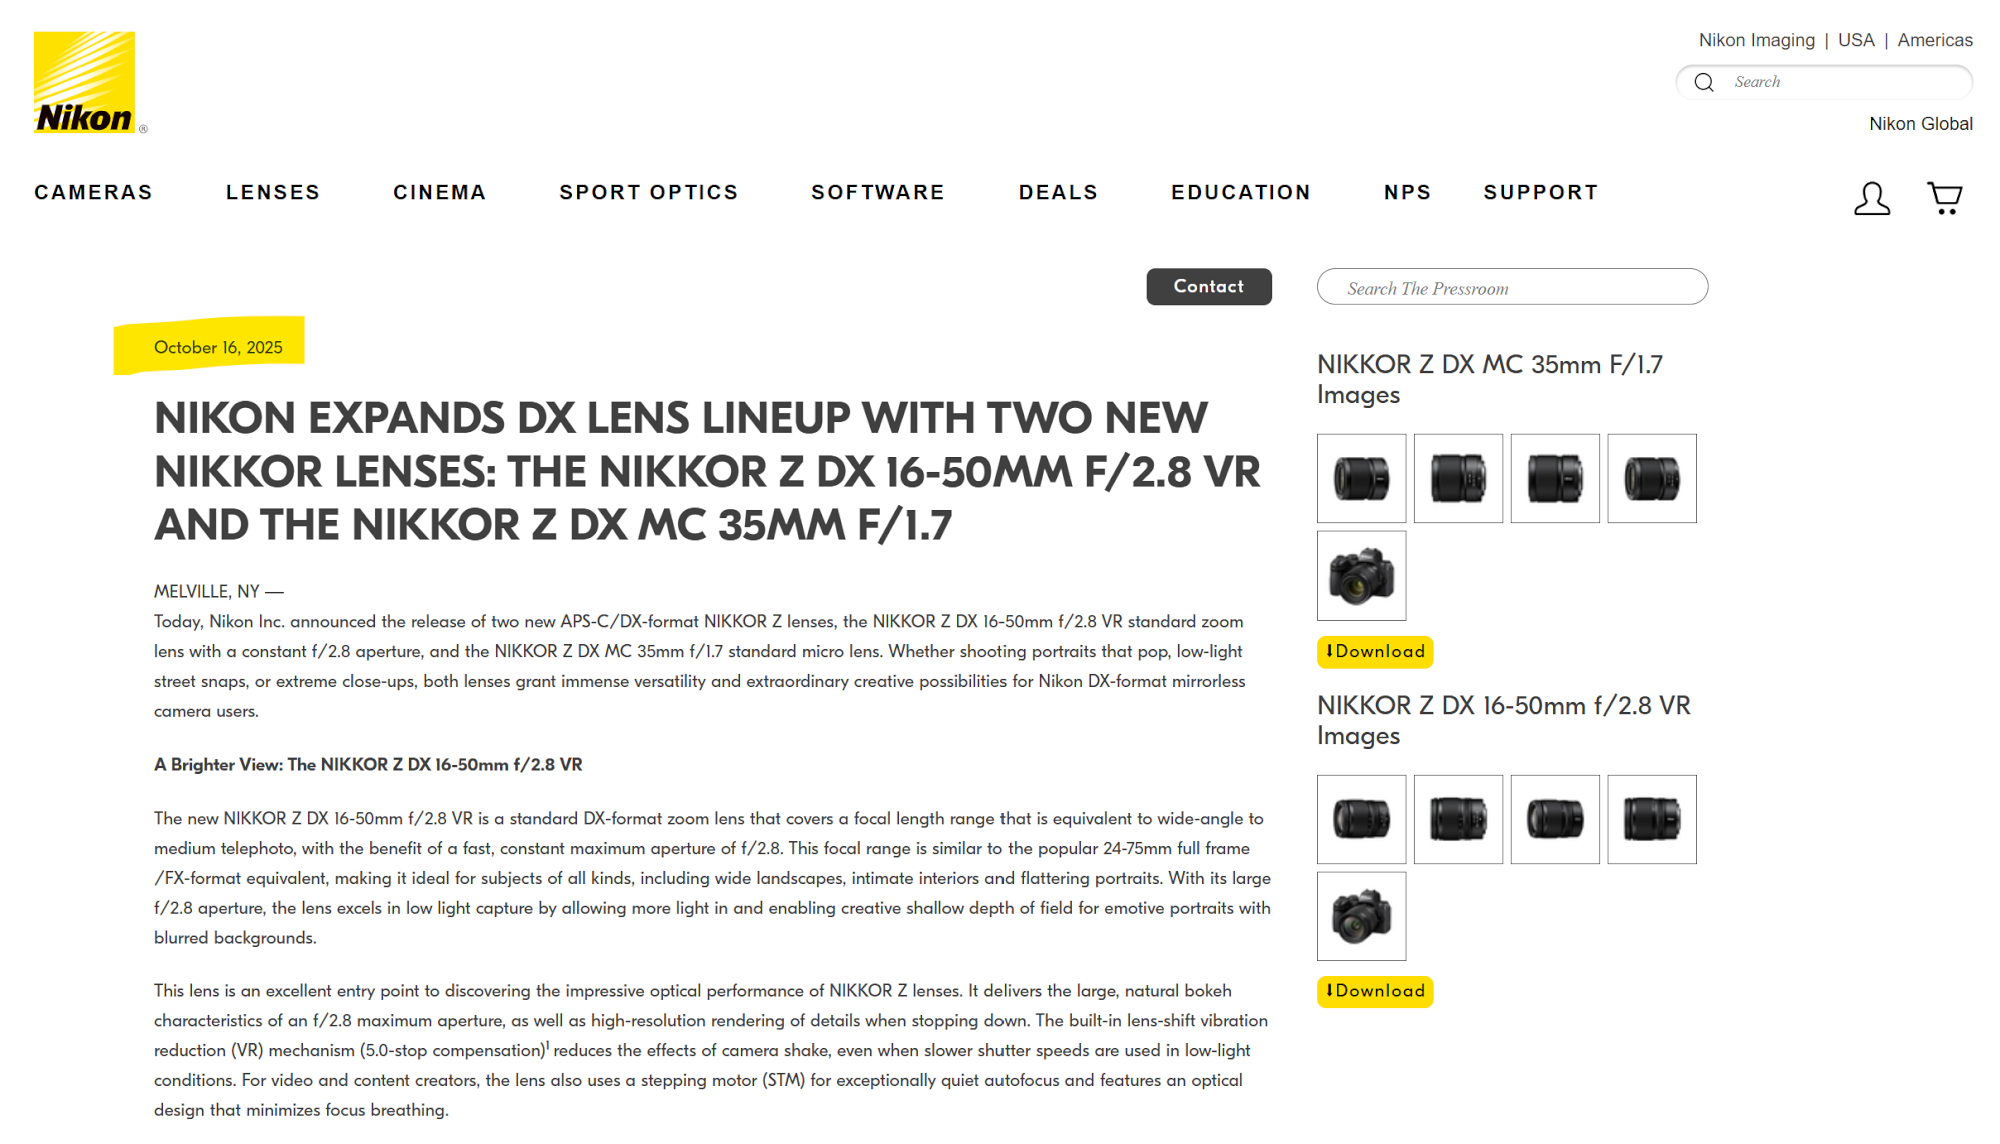
Preorder - October 16, 2025 🛒
Optical upgrade protocol opened.
Shipping date: October 30, just in time for the Halloween magic4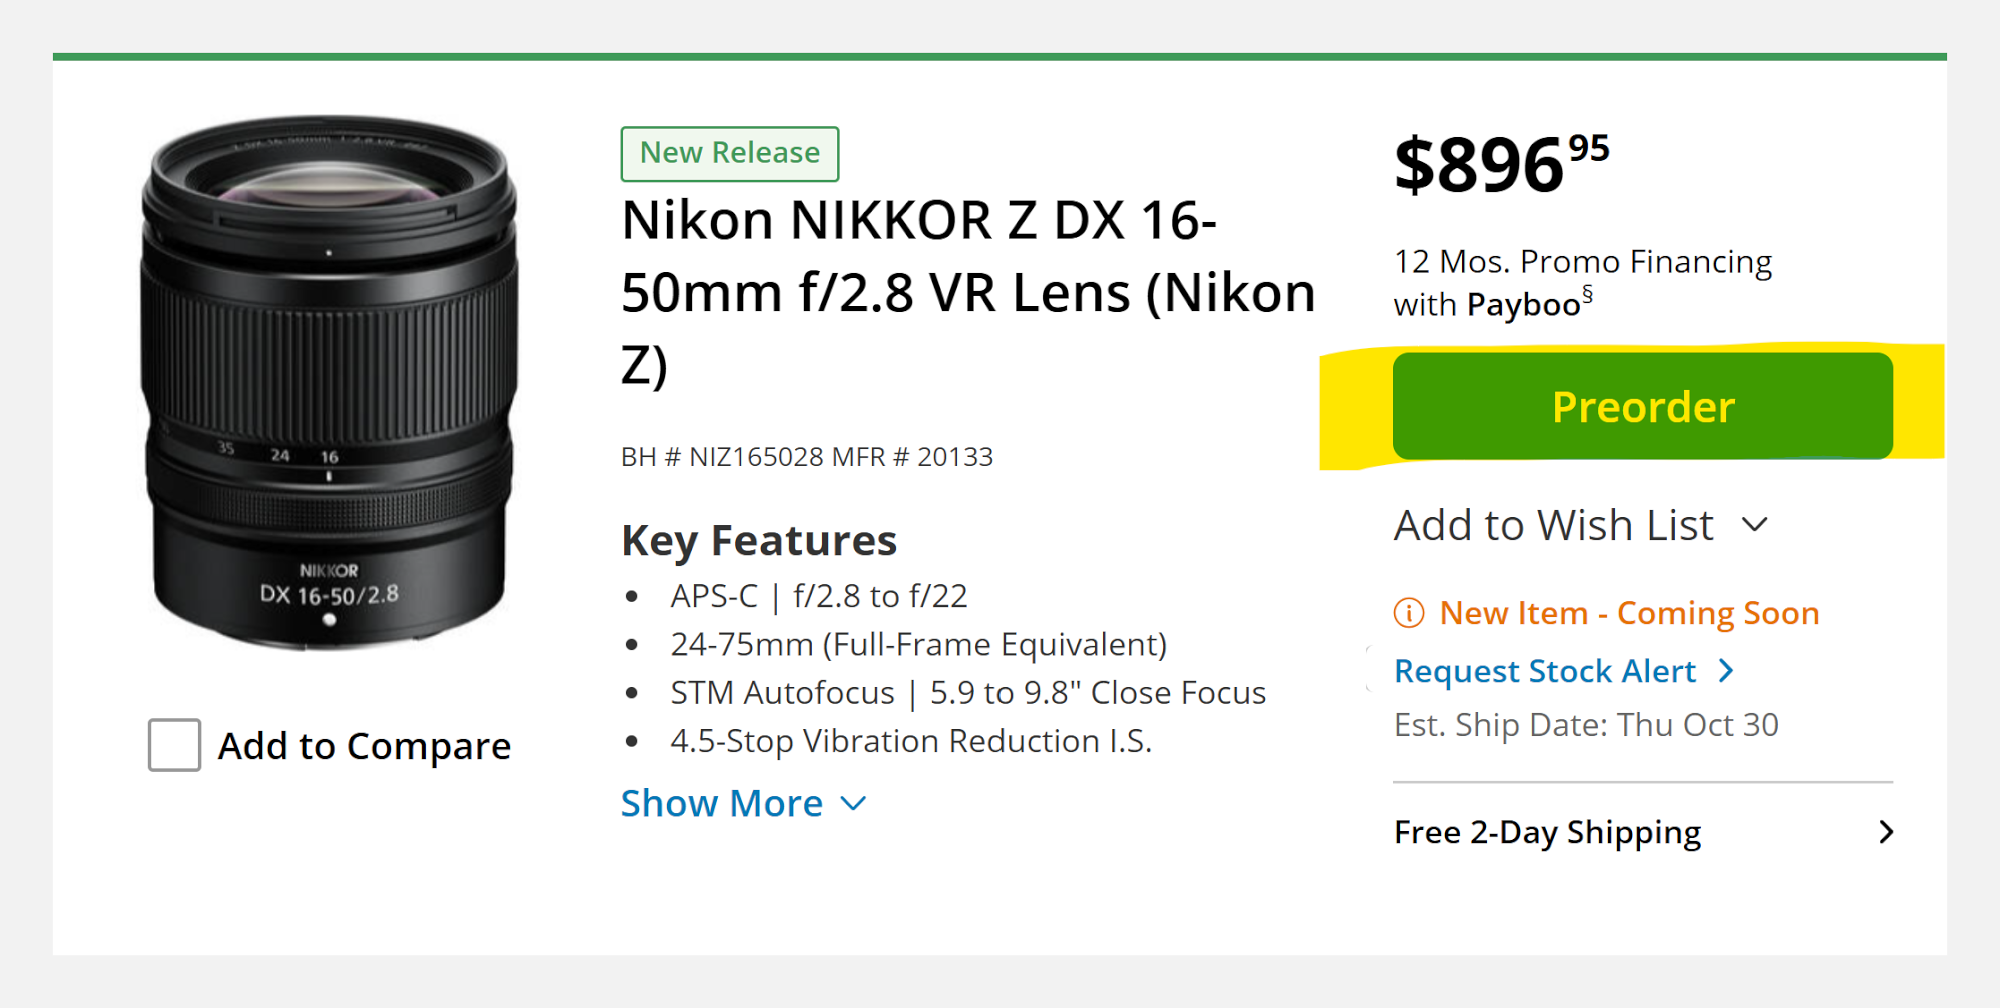
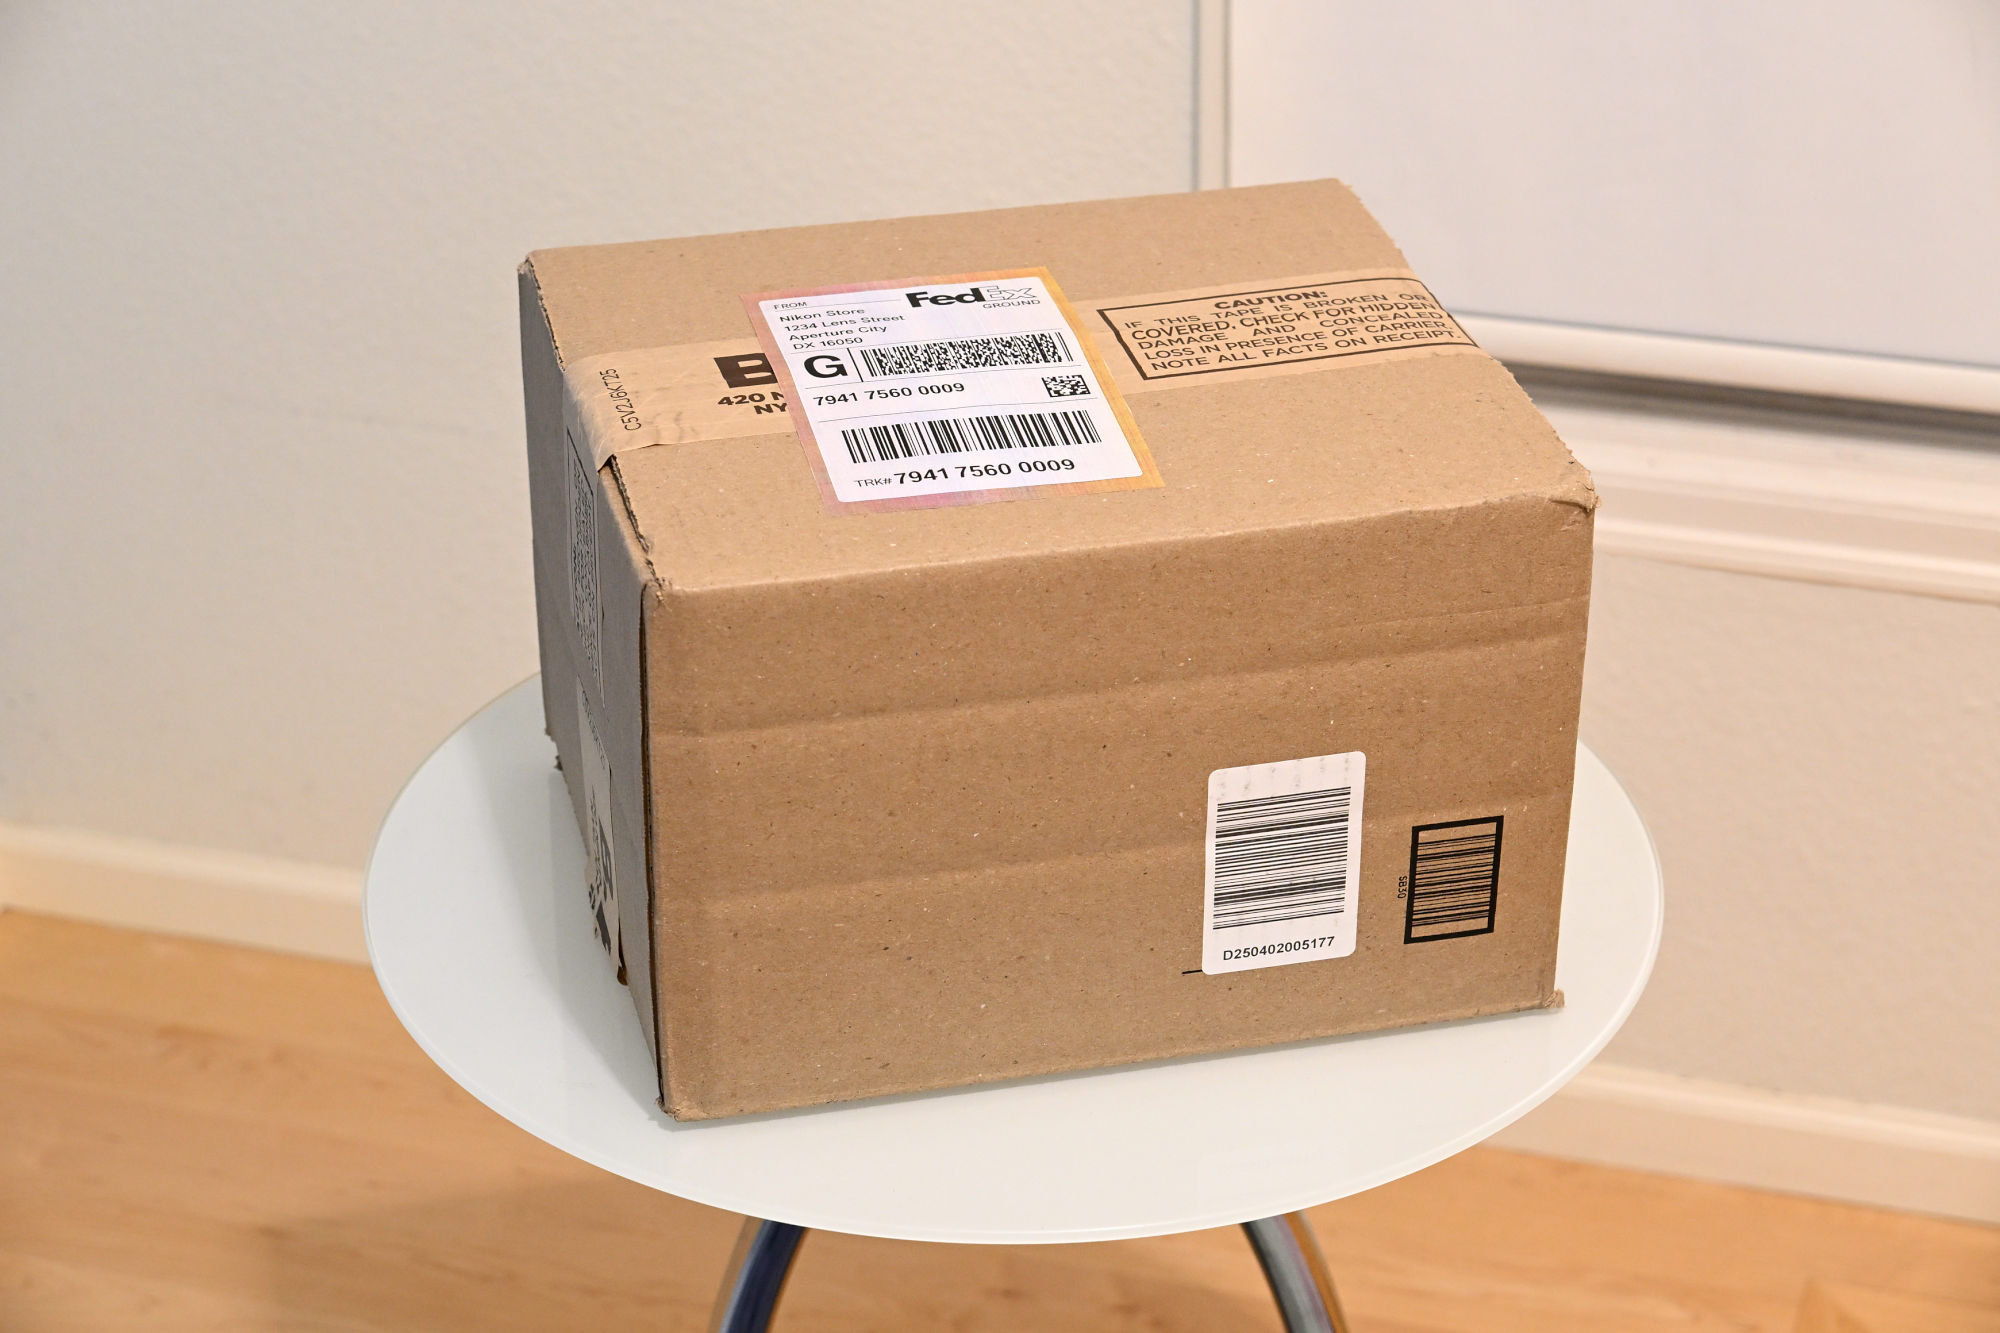
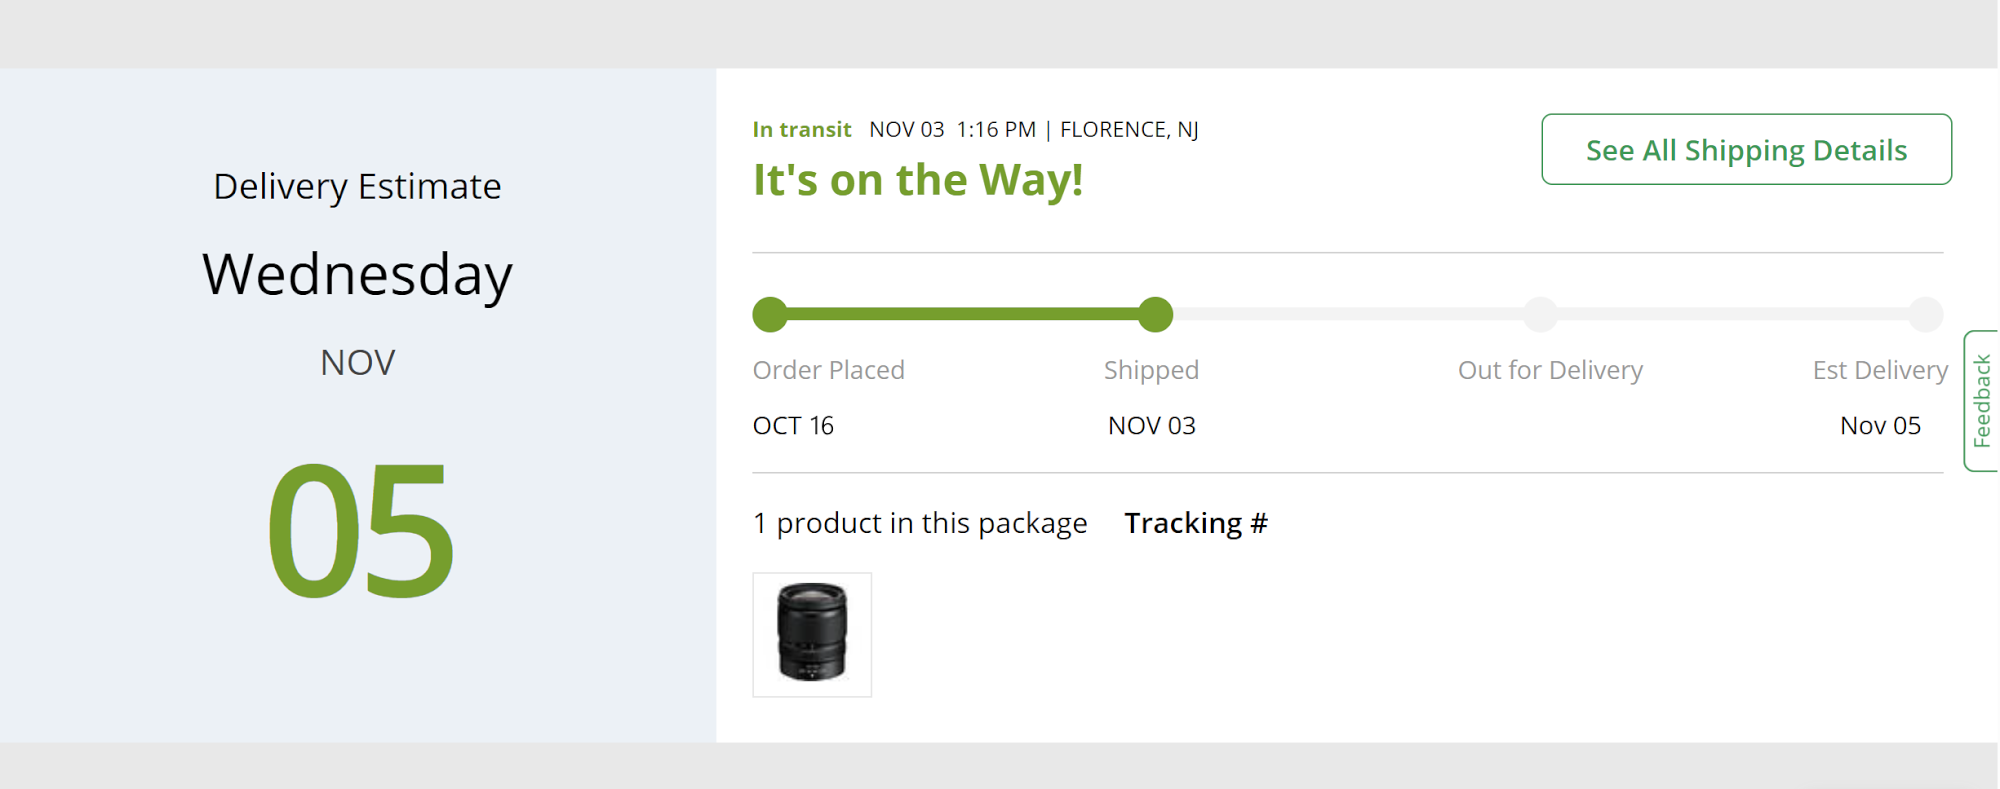
Delivery - November 5, 2025 📦
Signature required delivery confirmed, package has achieved indoor status.
The First Light 🌅
Optical upgrade protocol in progress: lens mounted and ready for action.
Lens on a Z30 and Z50 II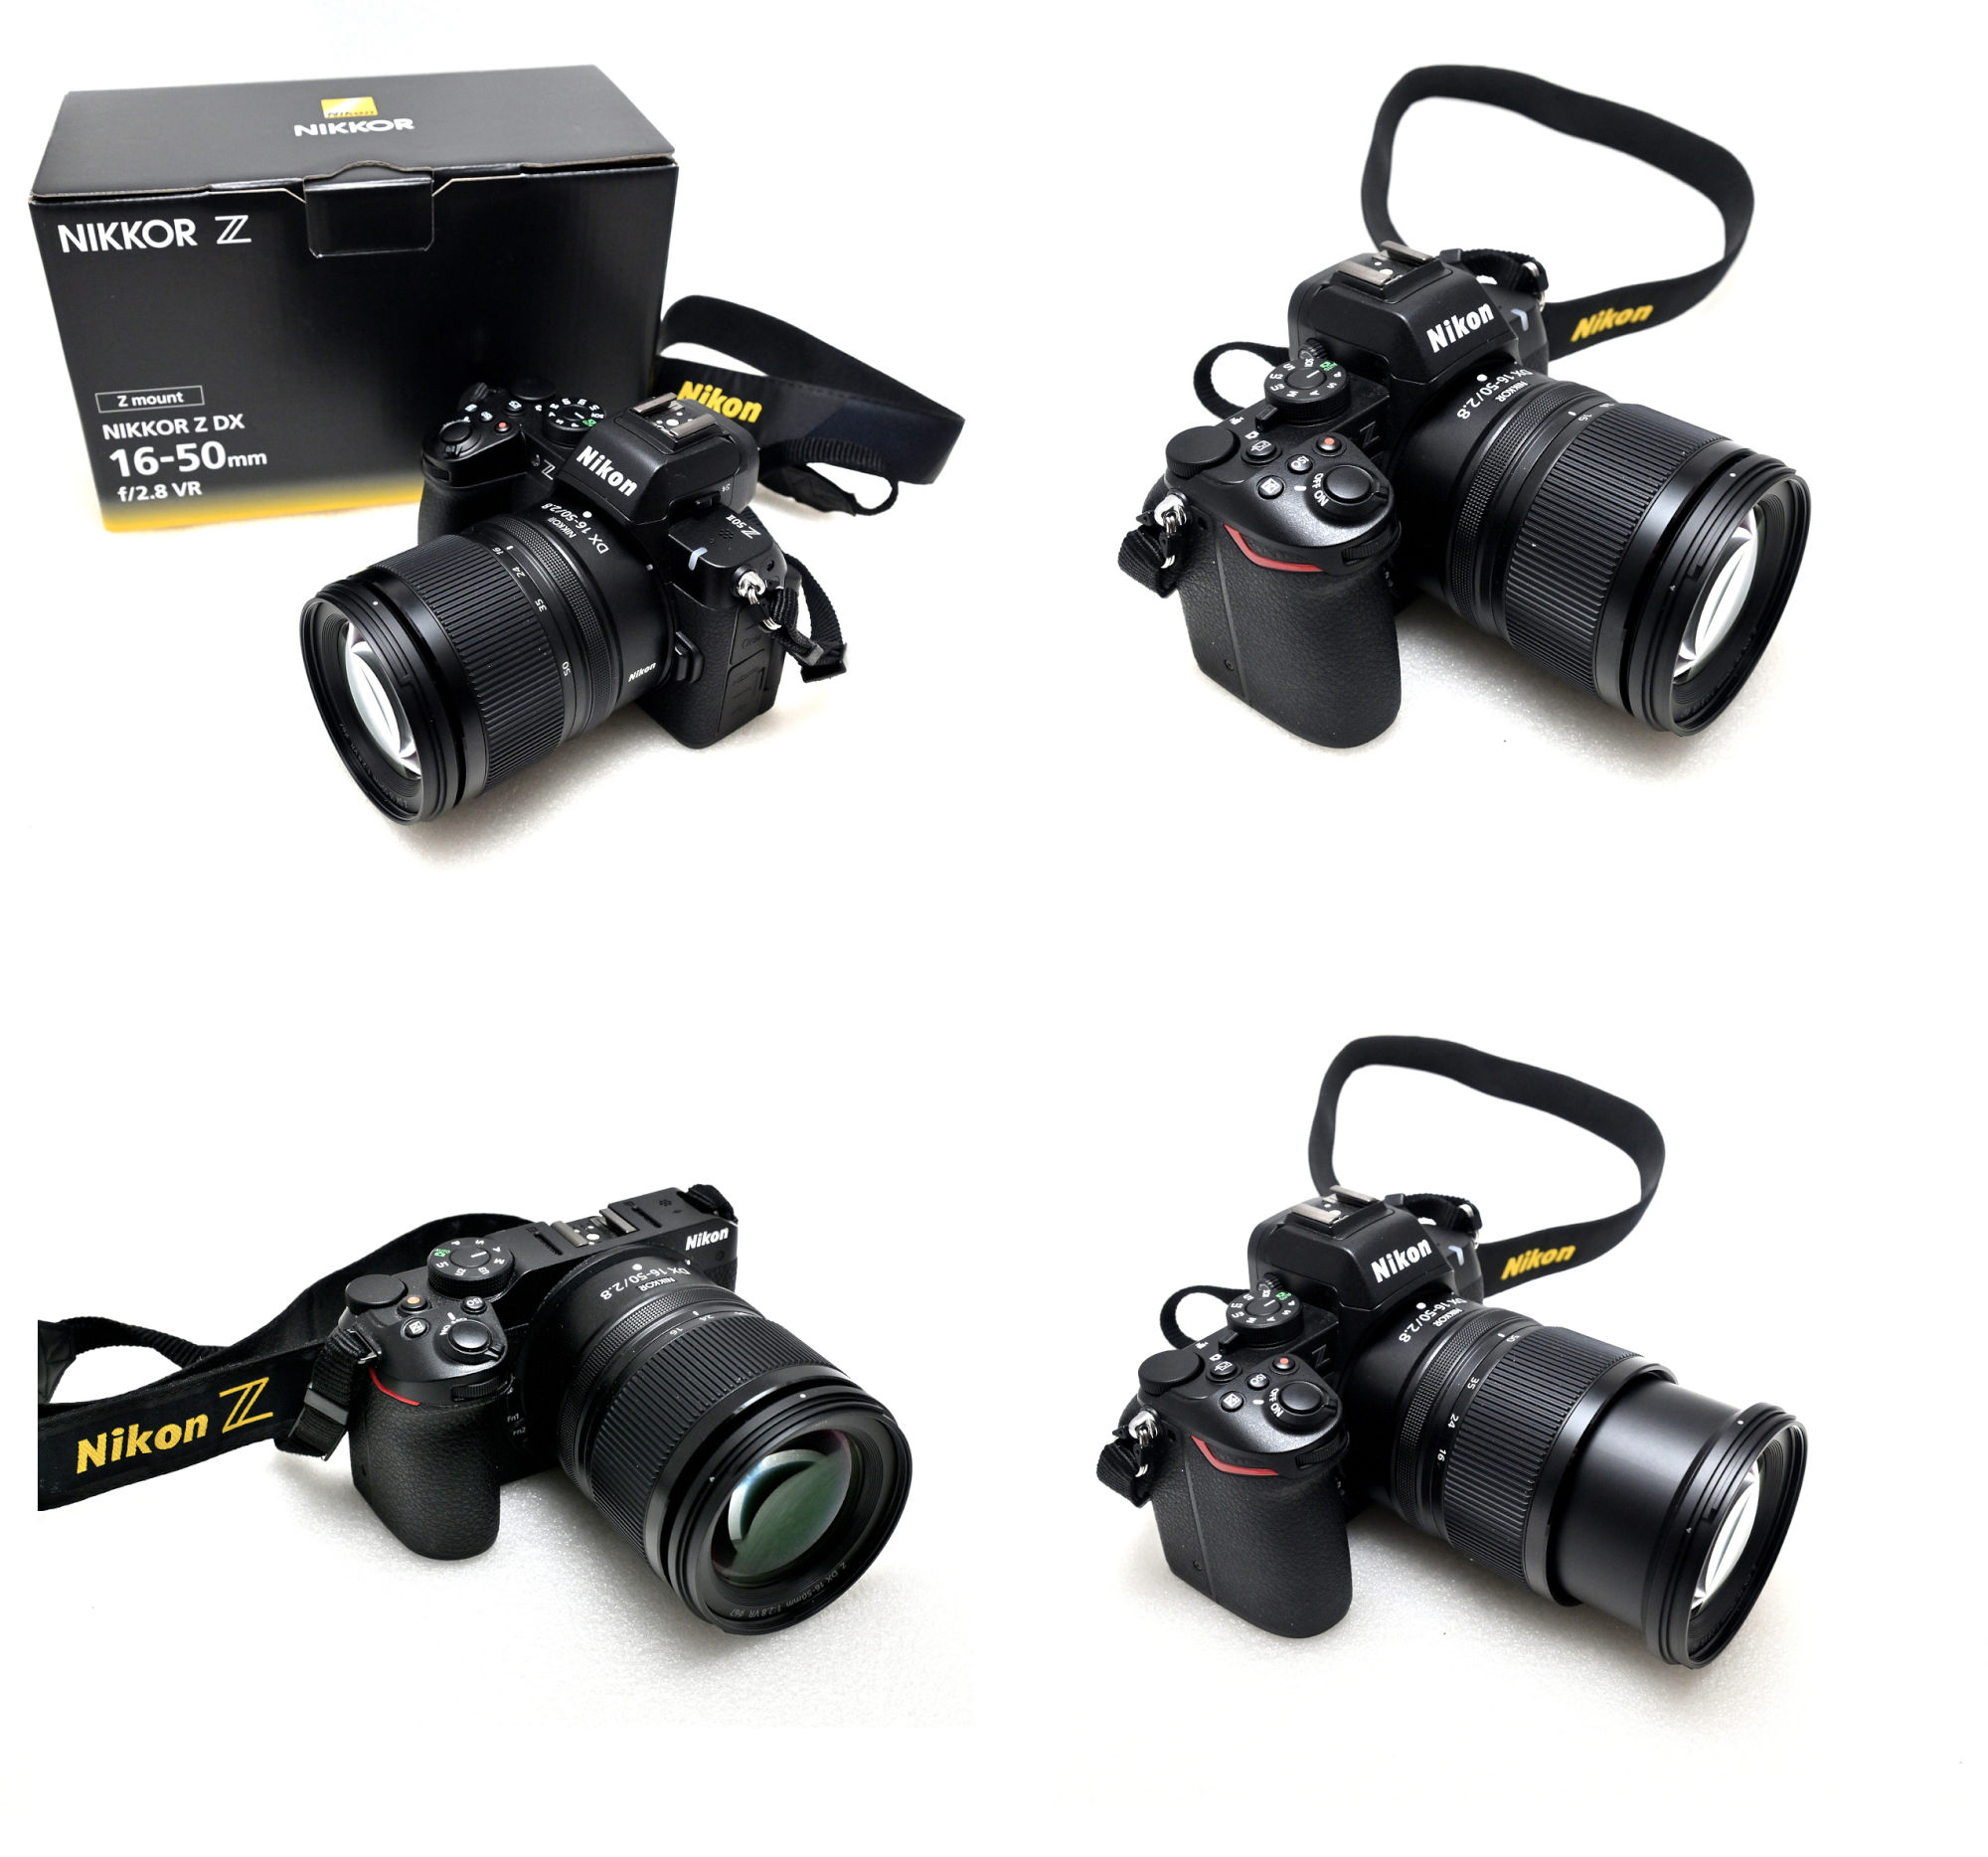
Through the New Lens
First Frames In: Precision and Agility from the Start
(All pictures taken with the Nikon Z50 II)1/160s f/6,3 ISO 100/21° 16-50mm f/2,8 VR f=16mm/24mm
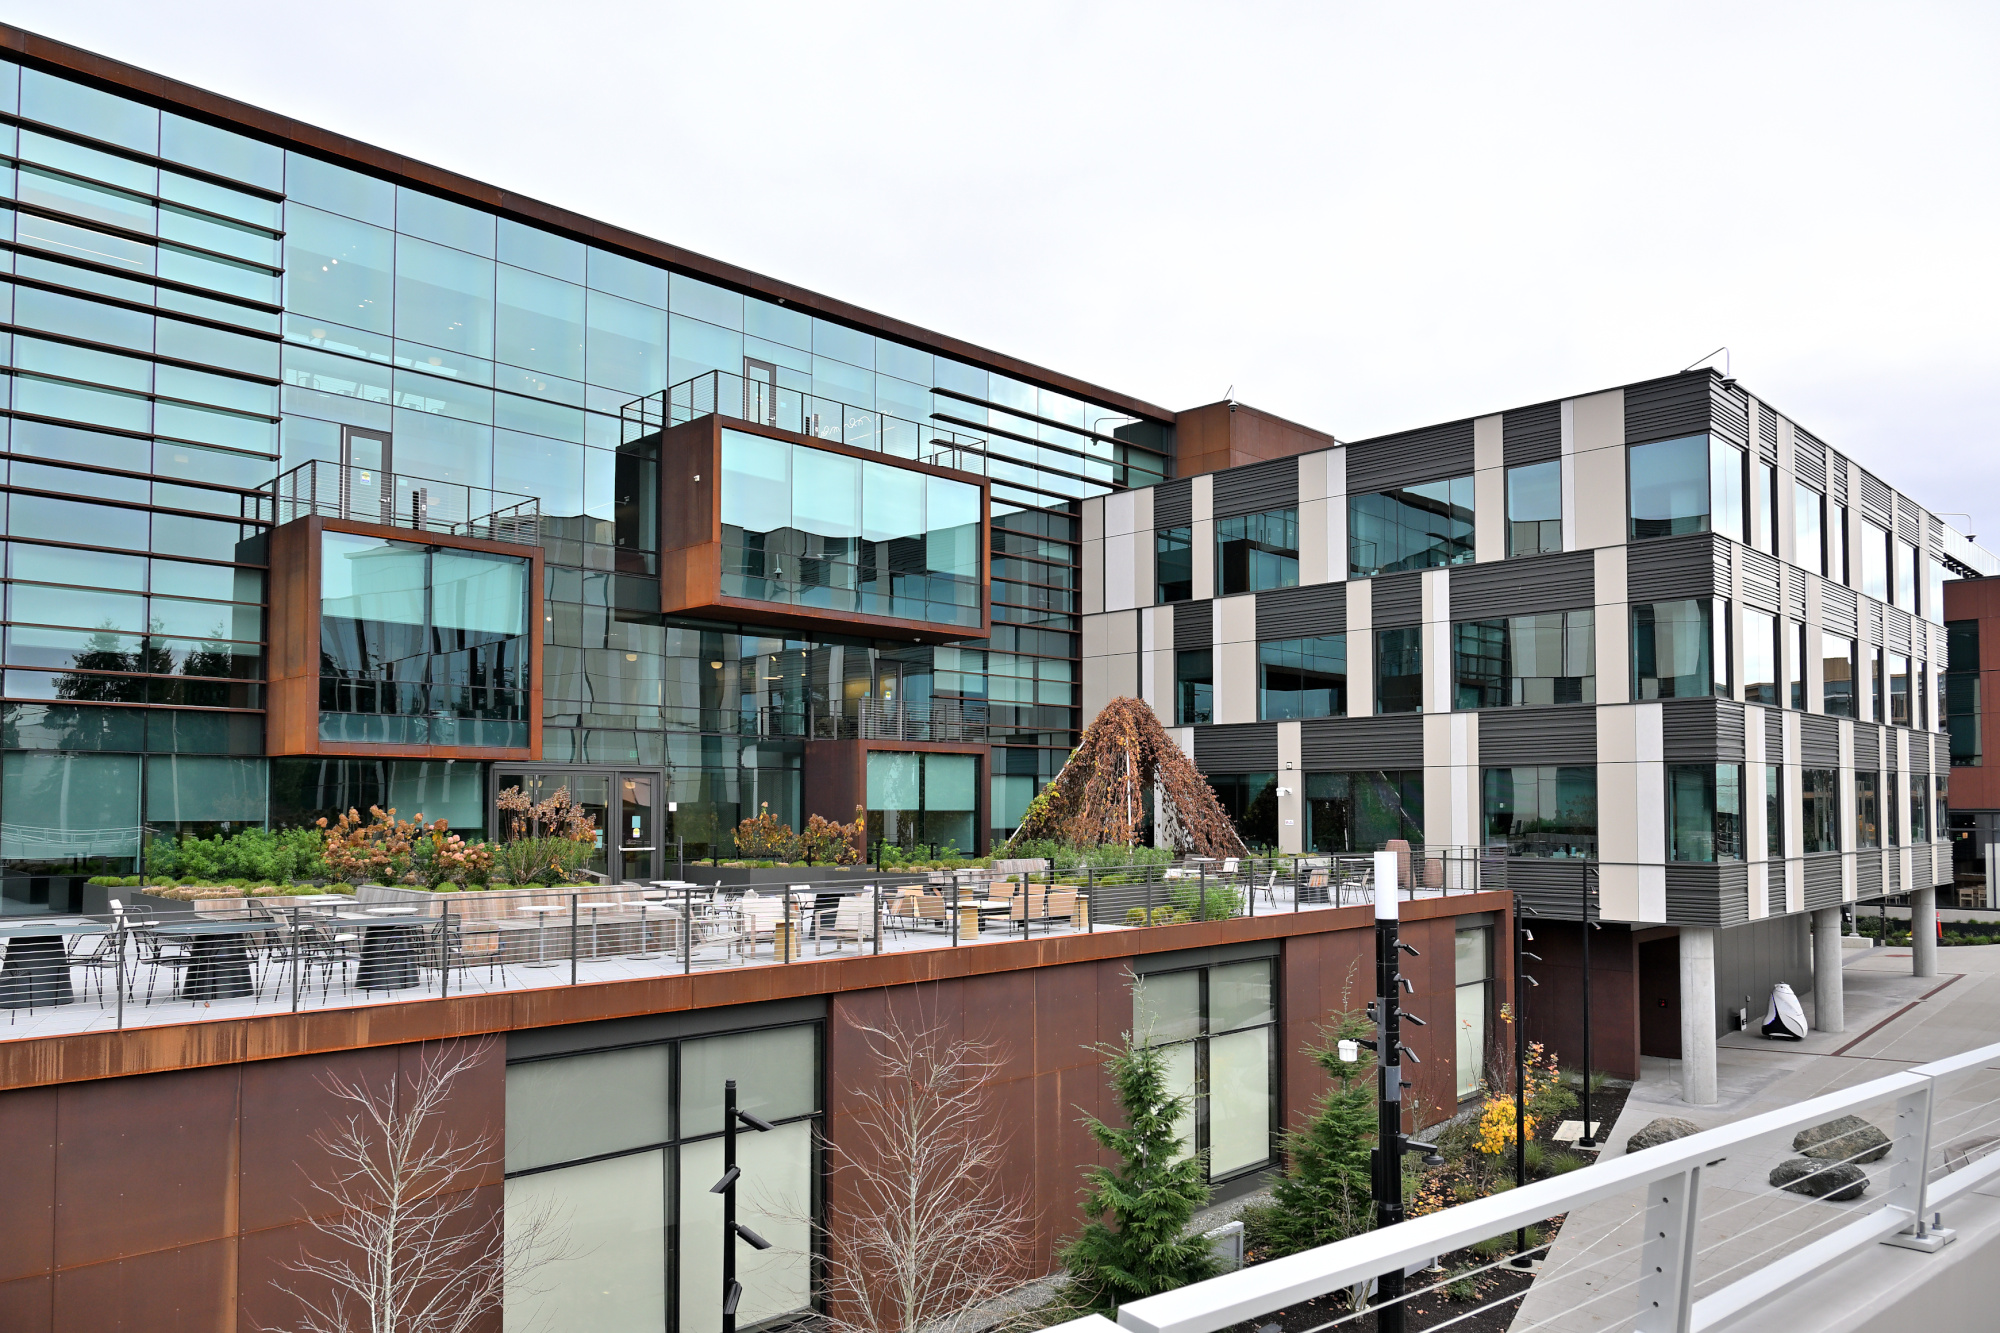
1/320s f/2,8 ISO 100/21° 16-50mm f/2,8 VR f=23mm/35mm

1/125s f/5,6 ISO 100/21° 16-50mm f/2,8 VR f=50mm/75mm
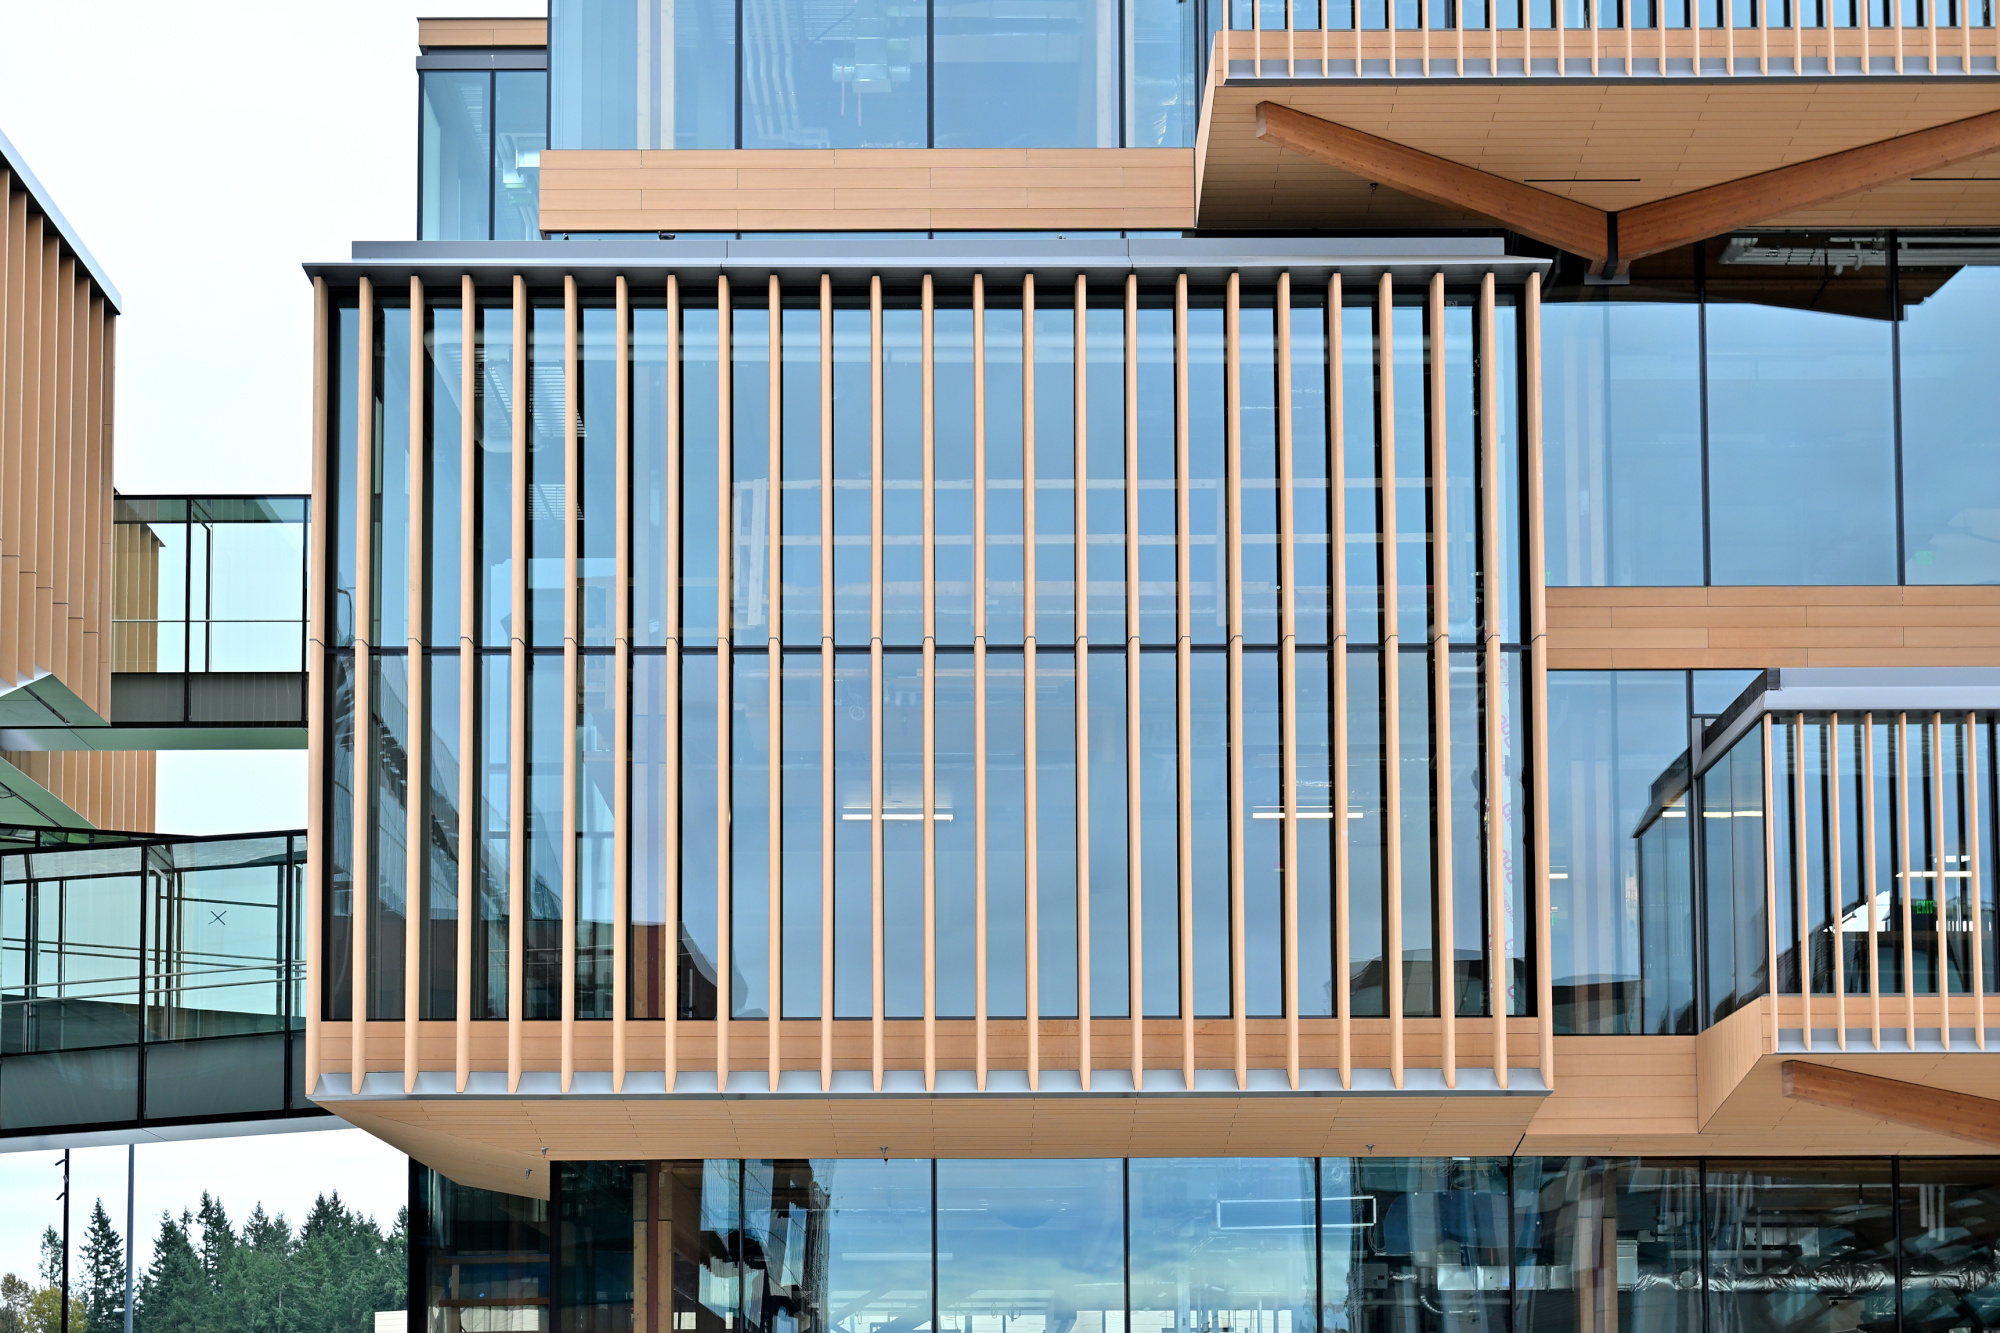
1/160s f/5,6 ISO 100/21° 16-50mm f/2,8 VR f=32mm/48mm
1/3200s
f/2,8ISO 100/21° 16-50mm f/2,8 VRf=50mm/75mm
1/400s f/2,8 ISO 100/21° 16-50mm f/2,8 VR f=50mm/75mm
1/80s f/6,3 ISO 100/21° 16-50mm f/2,8 VR f=25mm/37mm
1/640s
f/2,8ISO 100/21° 16-50mm f/2,8 VR f=50mm/75mm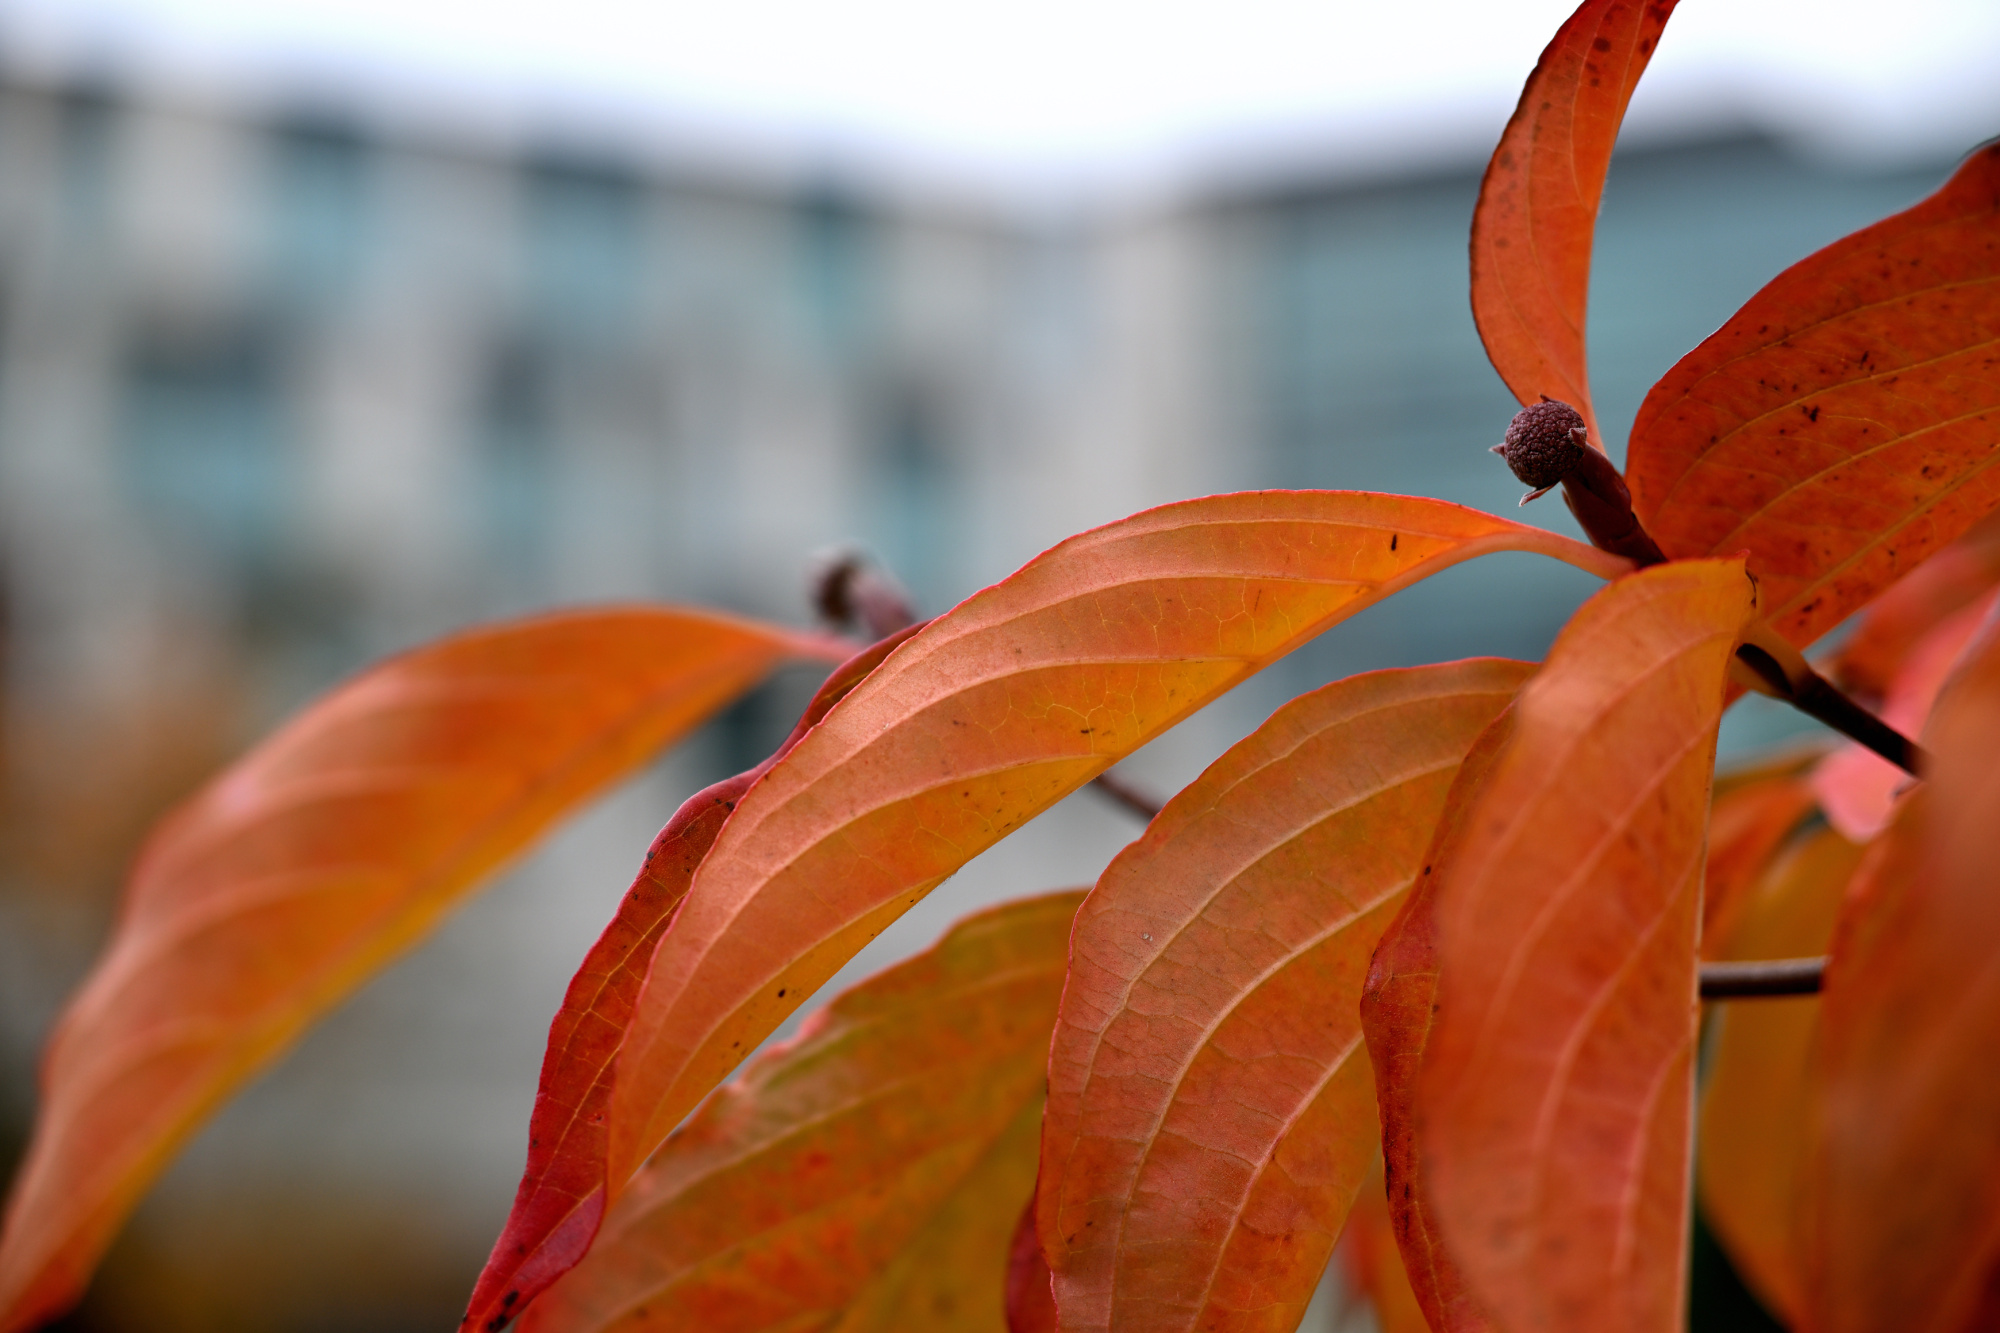
1/640s
f/11ISO 1600/33° 16-50mm f/2,8 VR f=50mm/75mm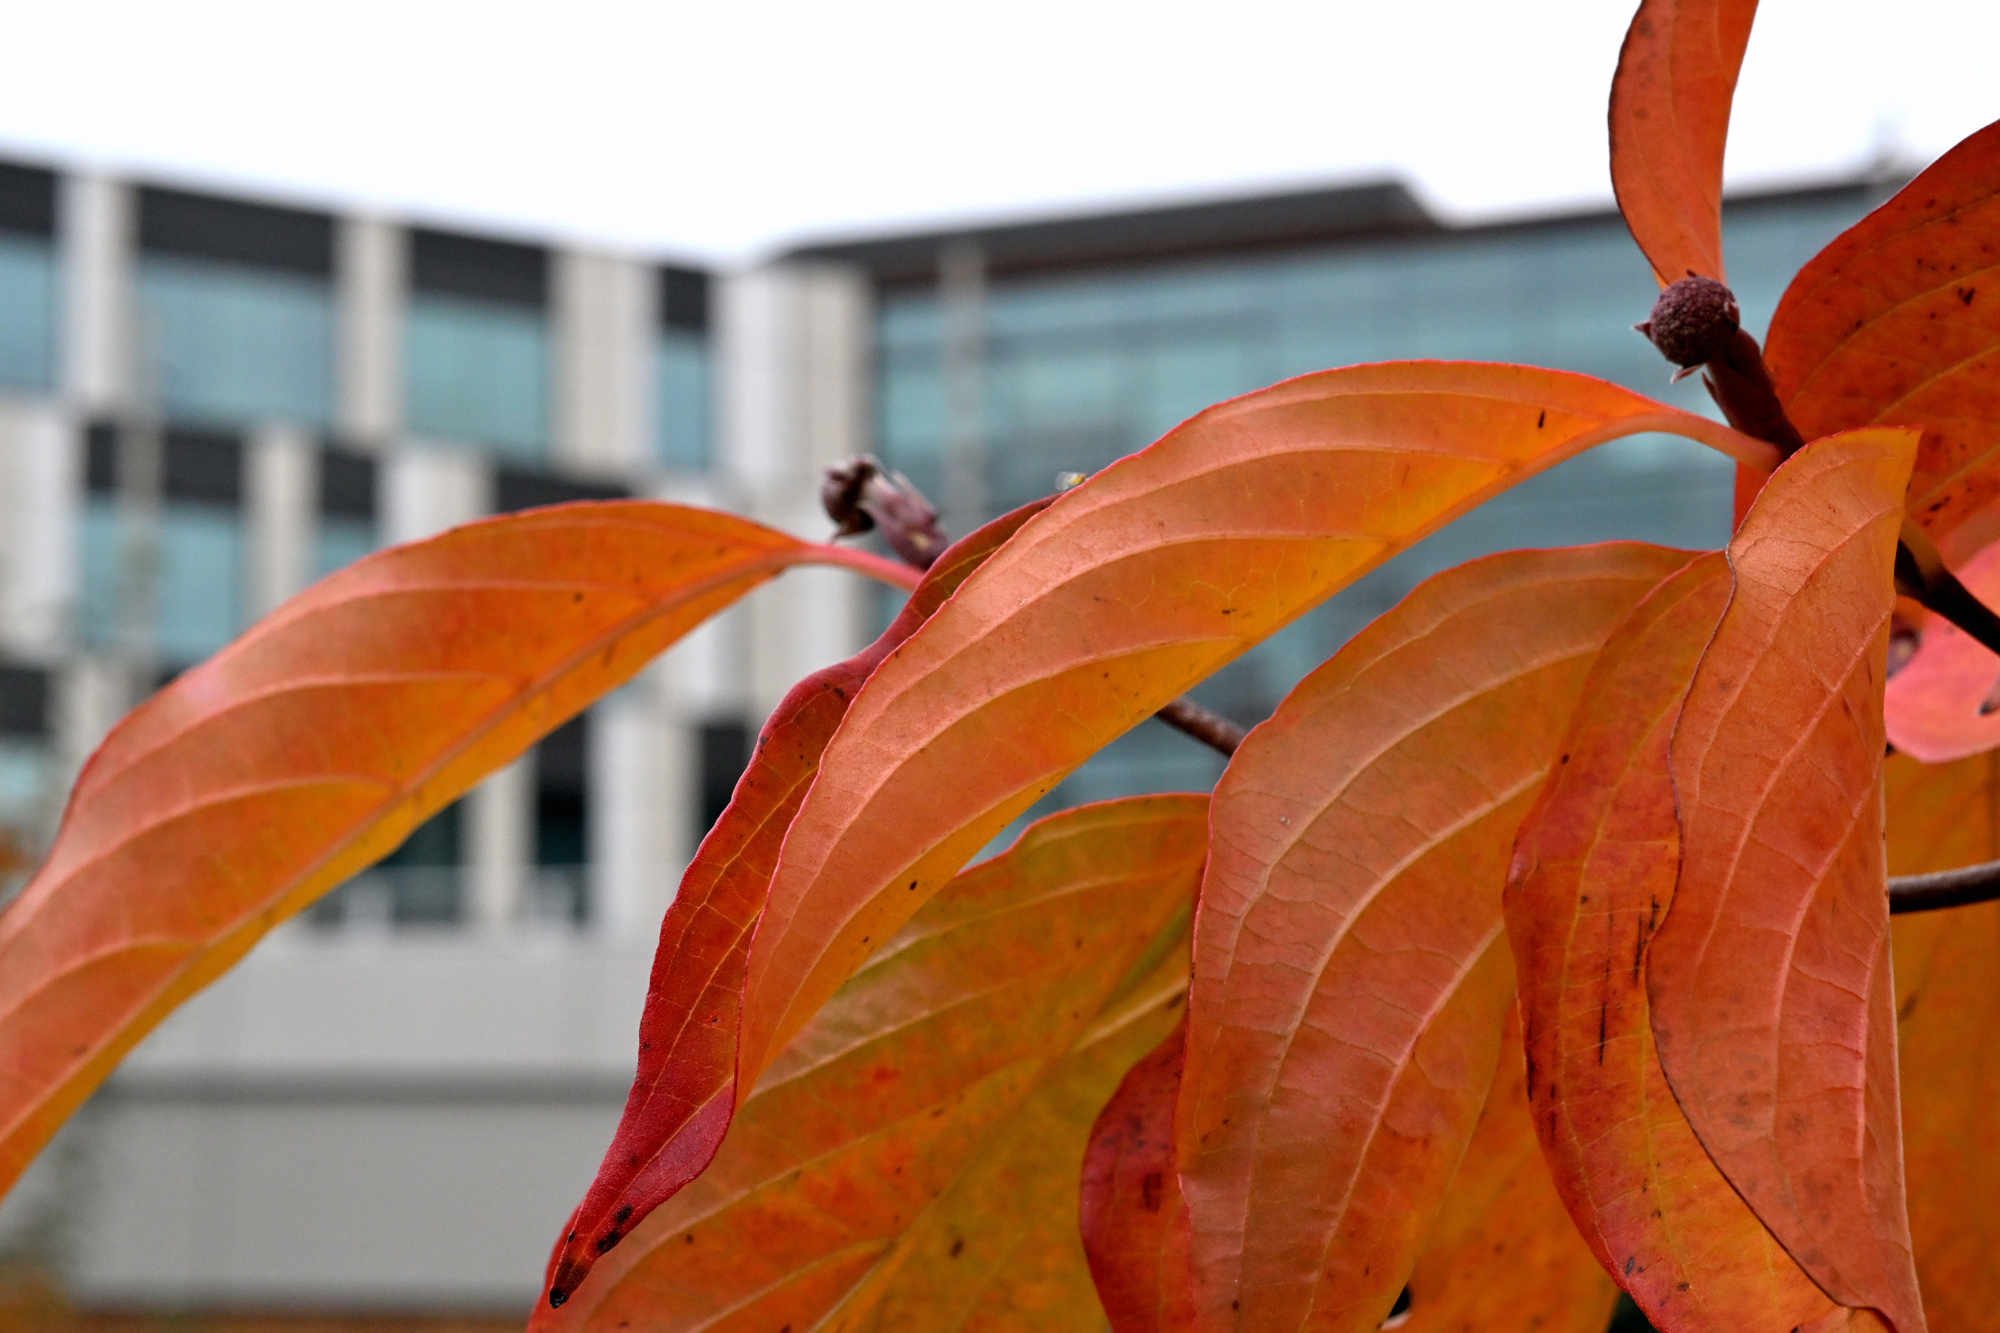
1/320s
f/16ISO 1600/33° 16-50mm f/2,8 VR f=50mm/75mm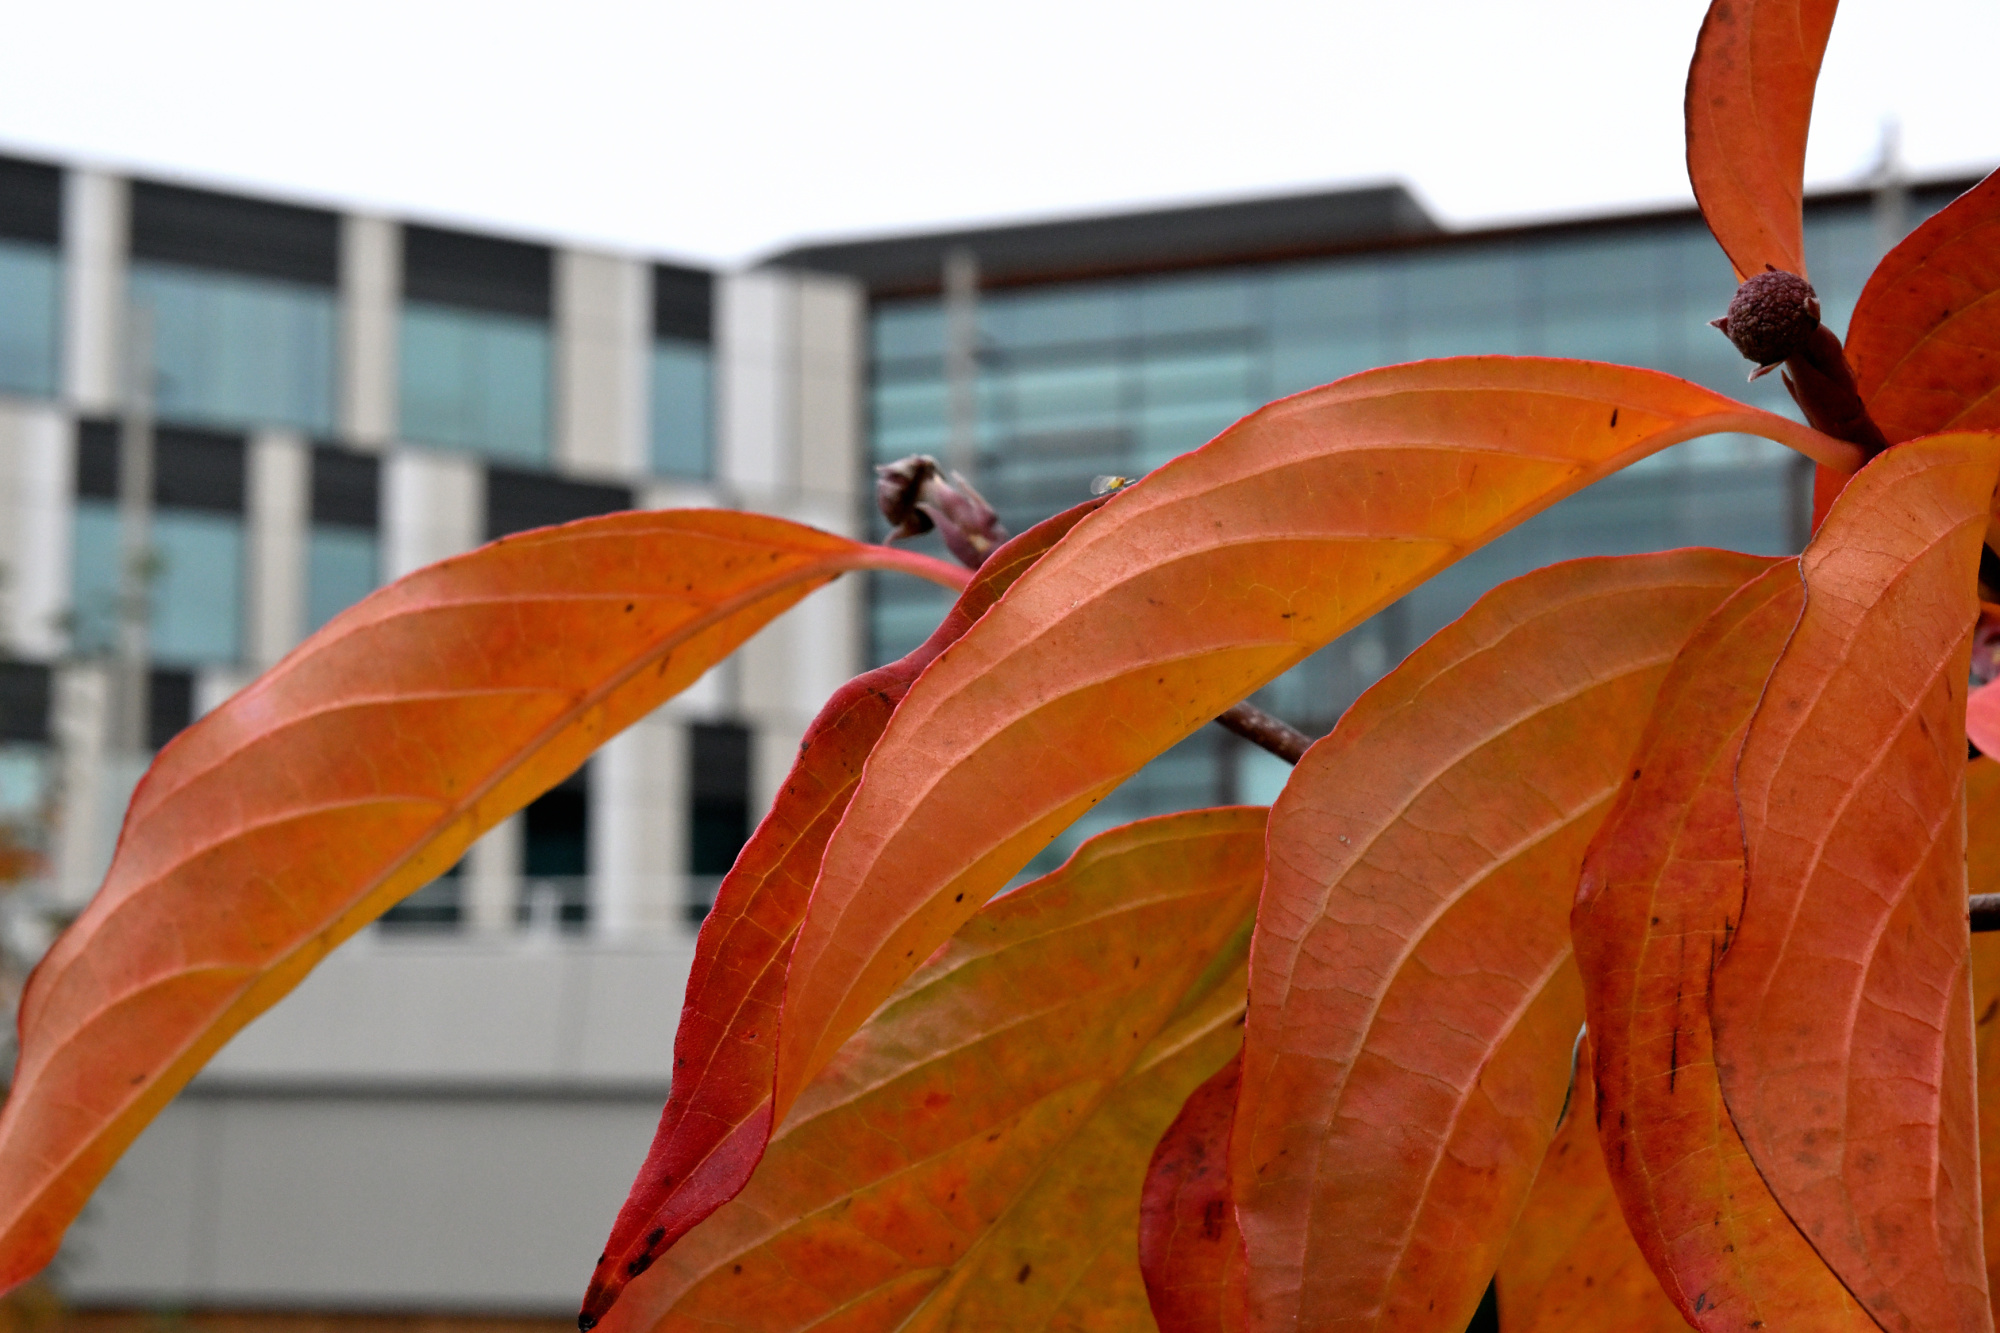
1/160s
f/22ISO 1600/33° 16-50mm f/2,8 VR f=50mm/75mm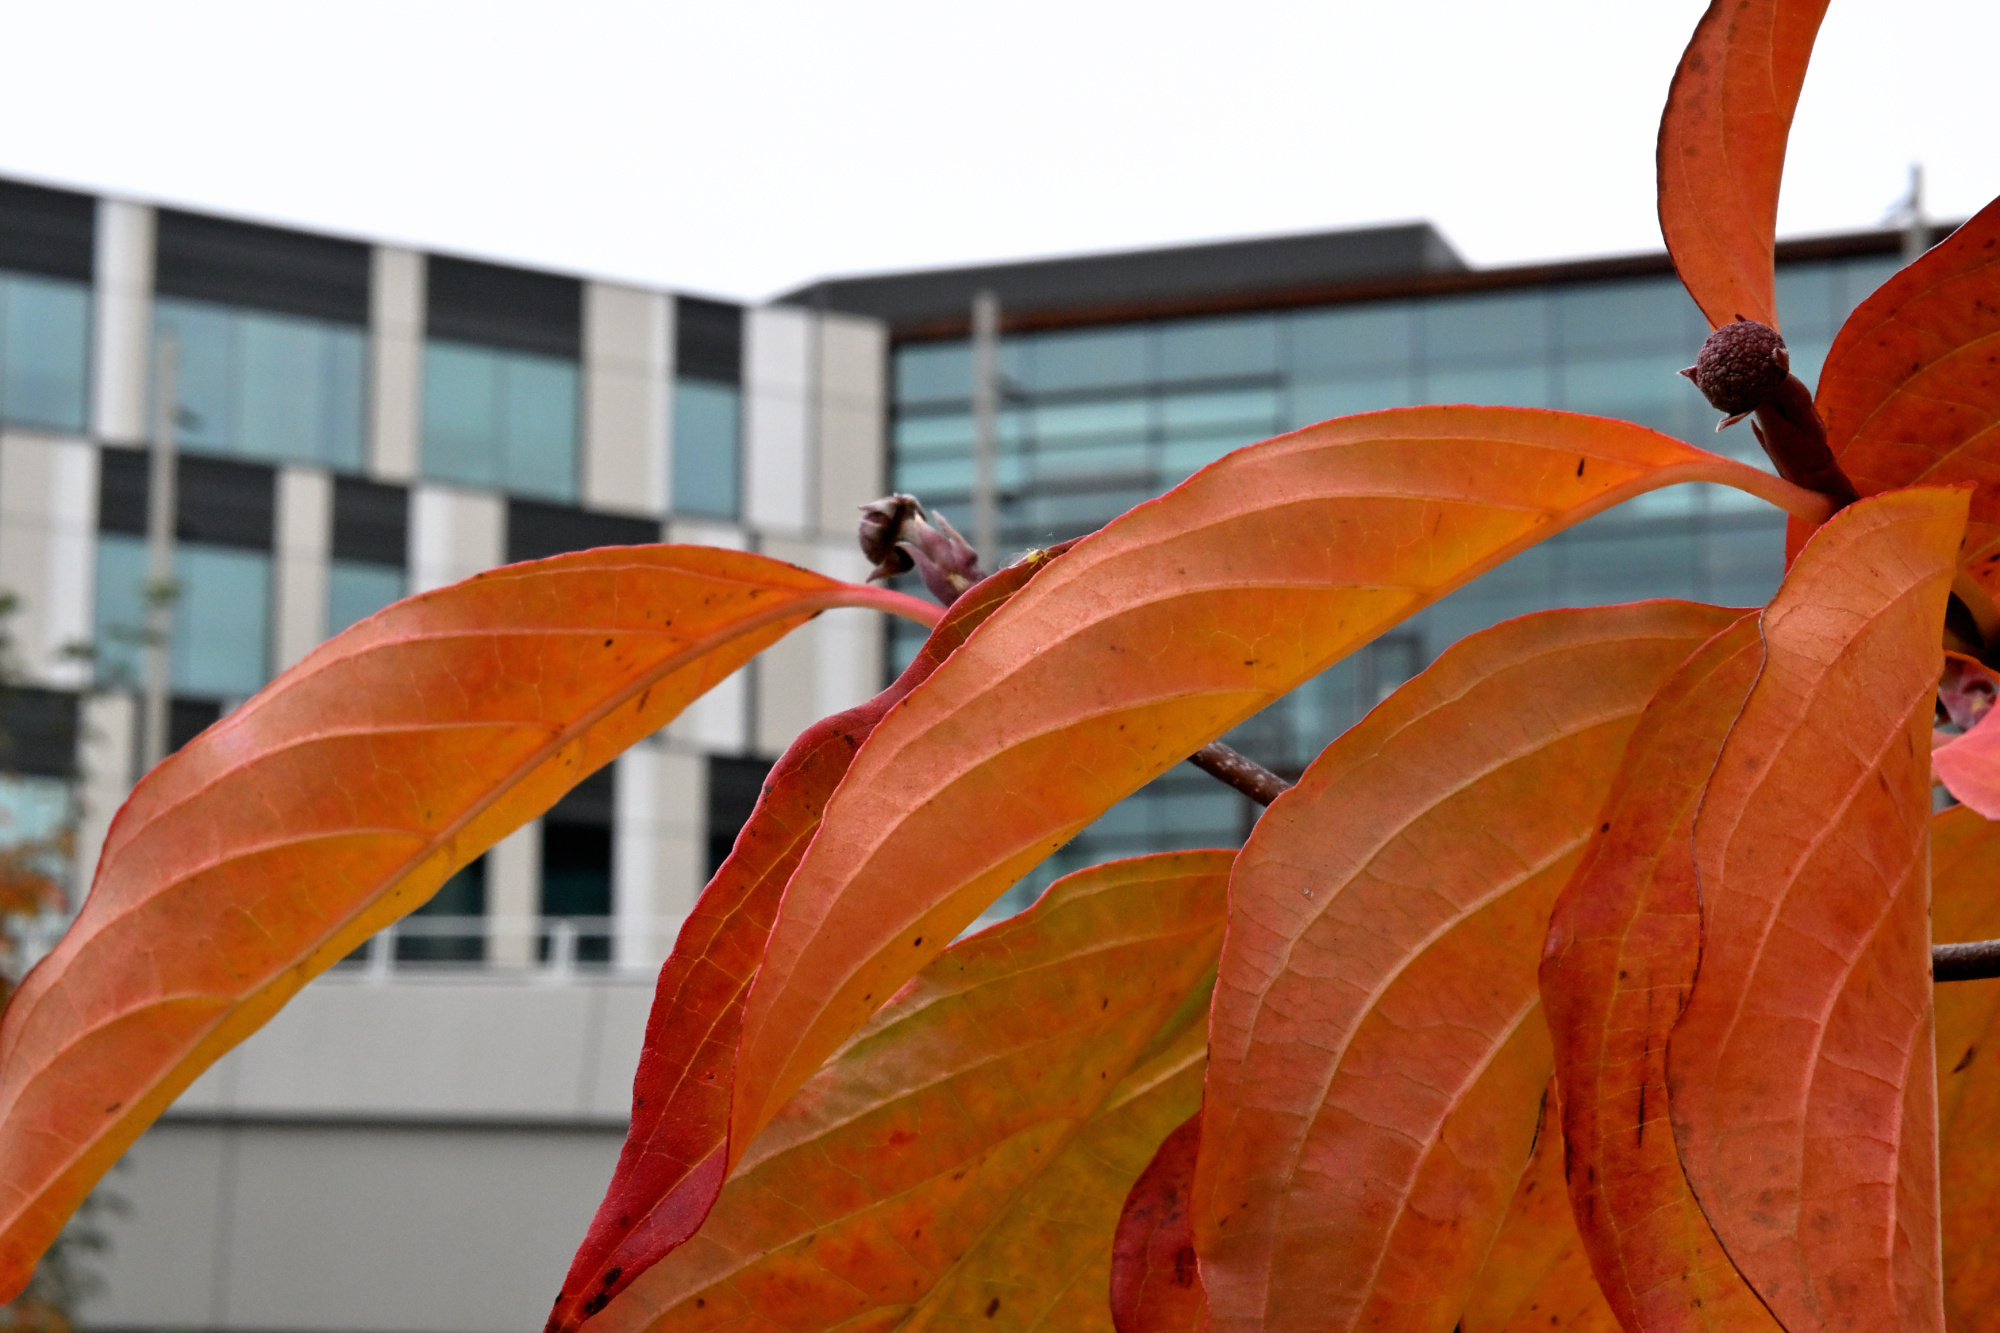
1/80s f/4 ISO 100/21° 16-50mm f/2,8 VR f=24mm/36mm
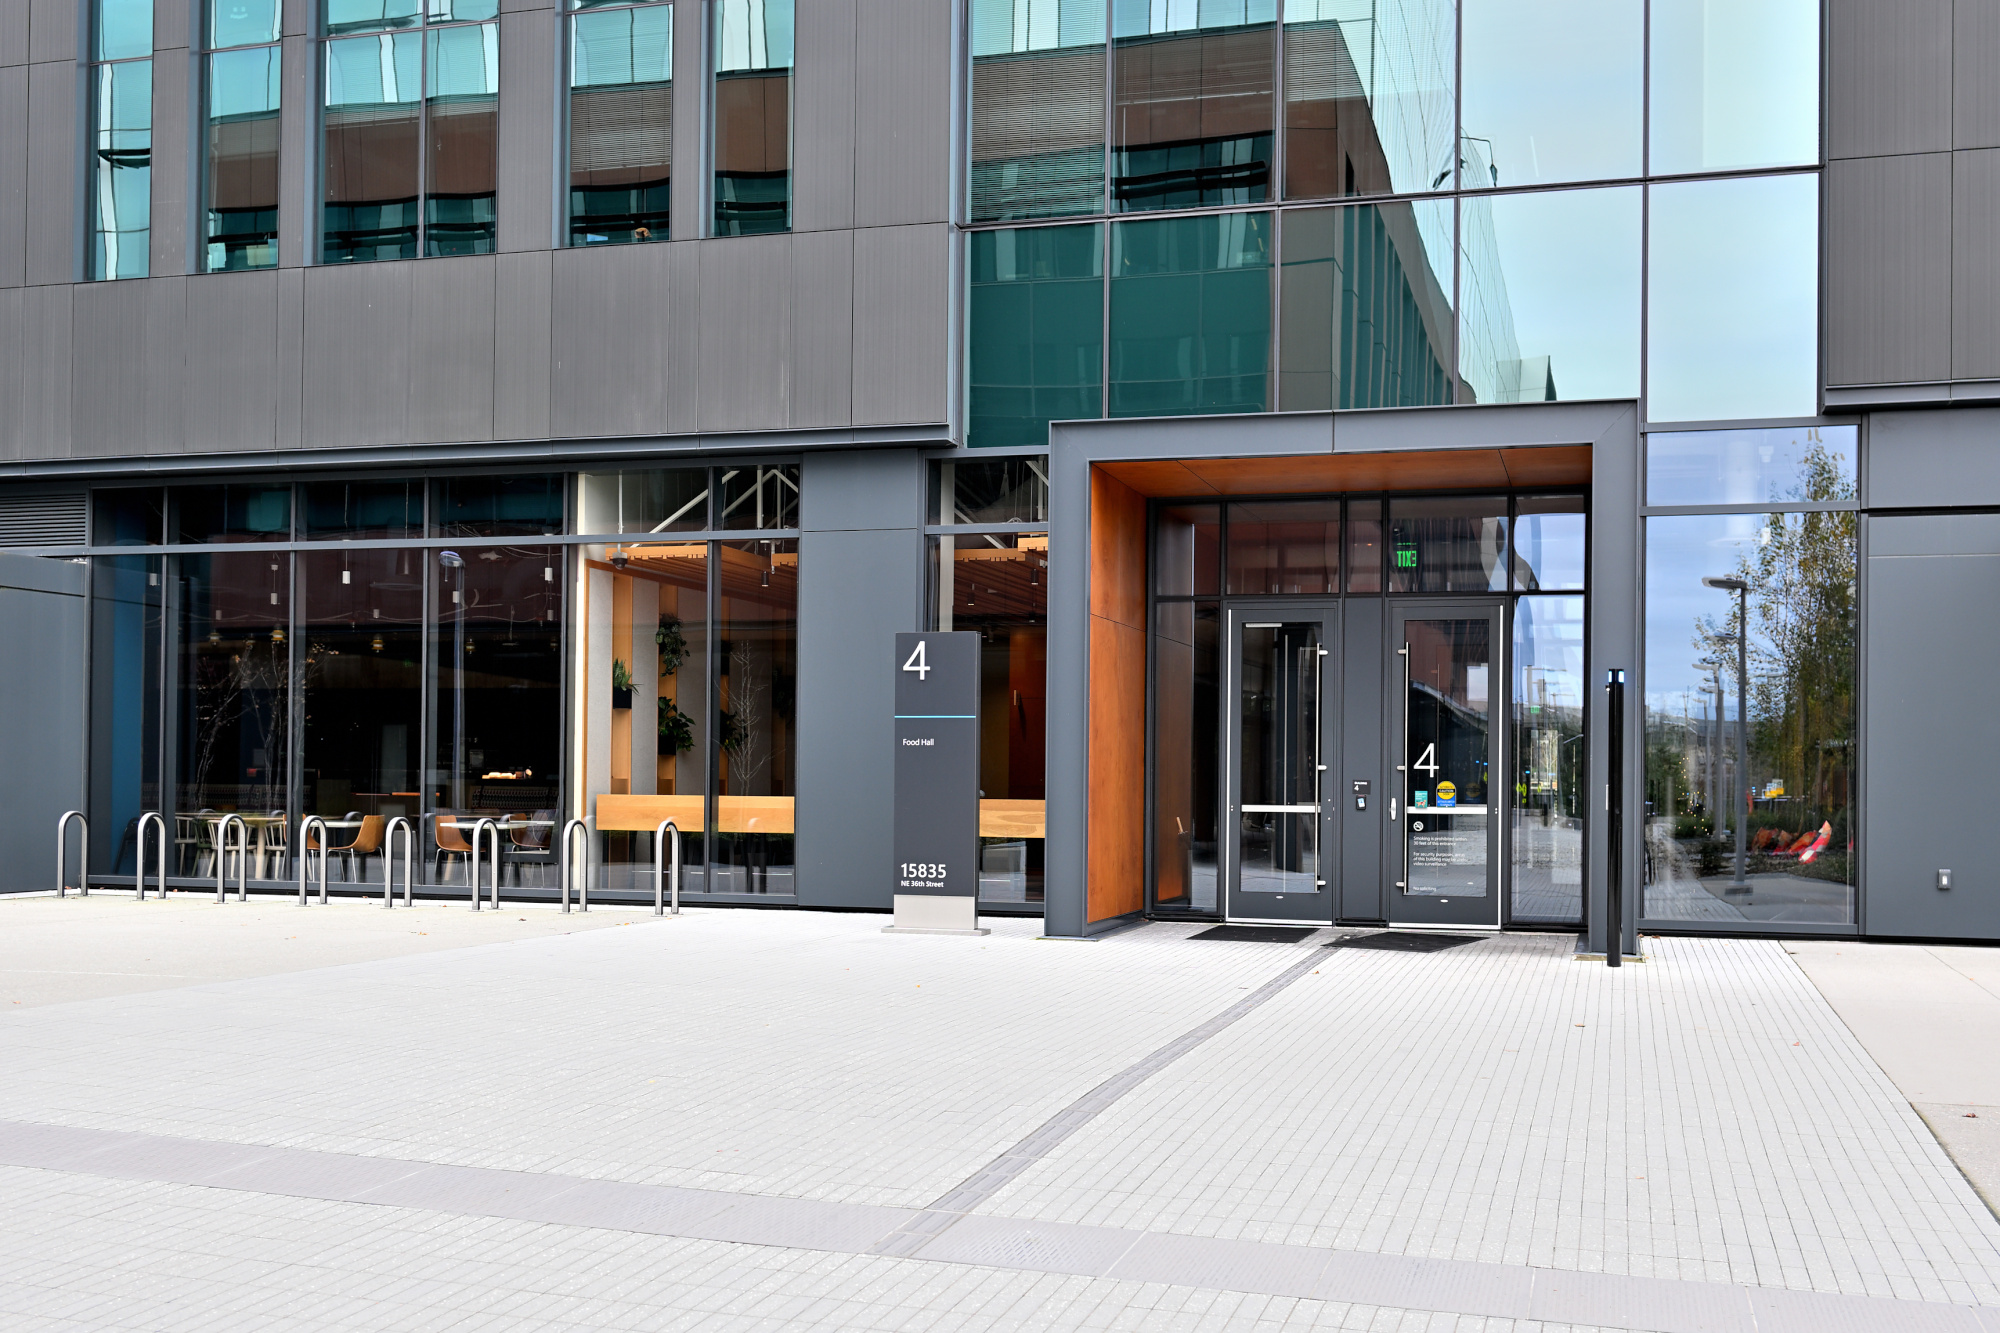
1/200s f/4 ISO 100/21° 16-50mm f/2,8 VR f=50mm/75mm
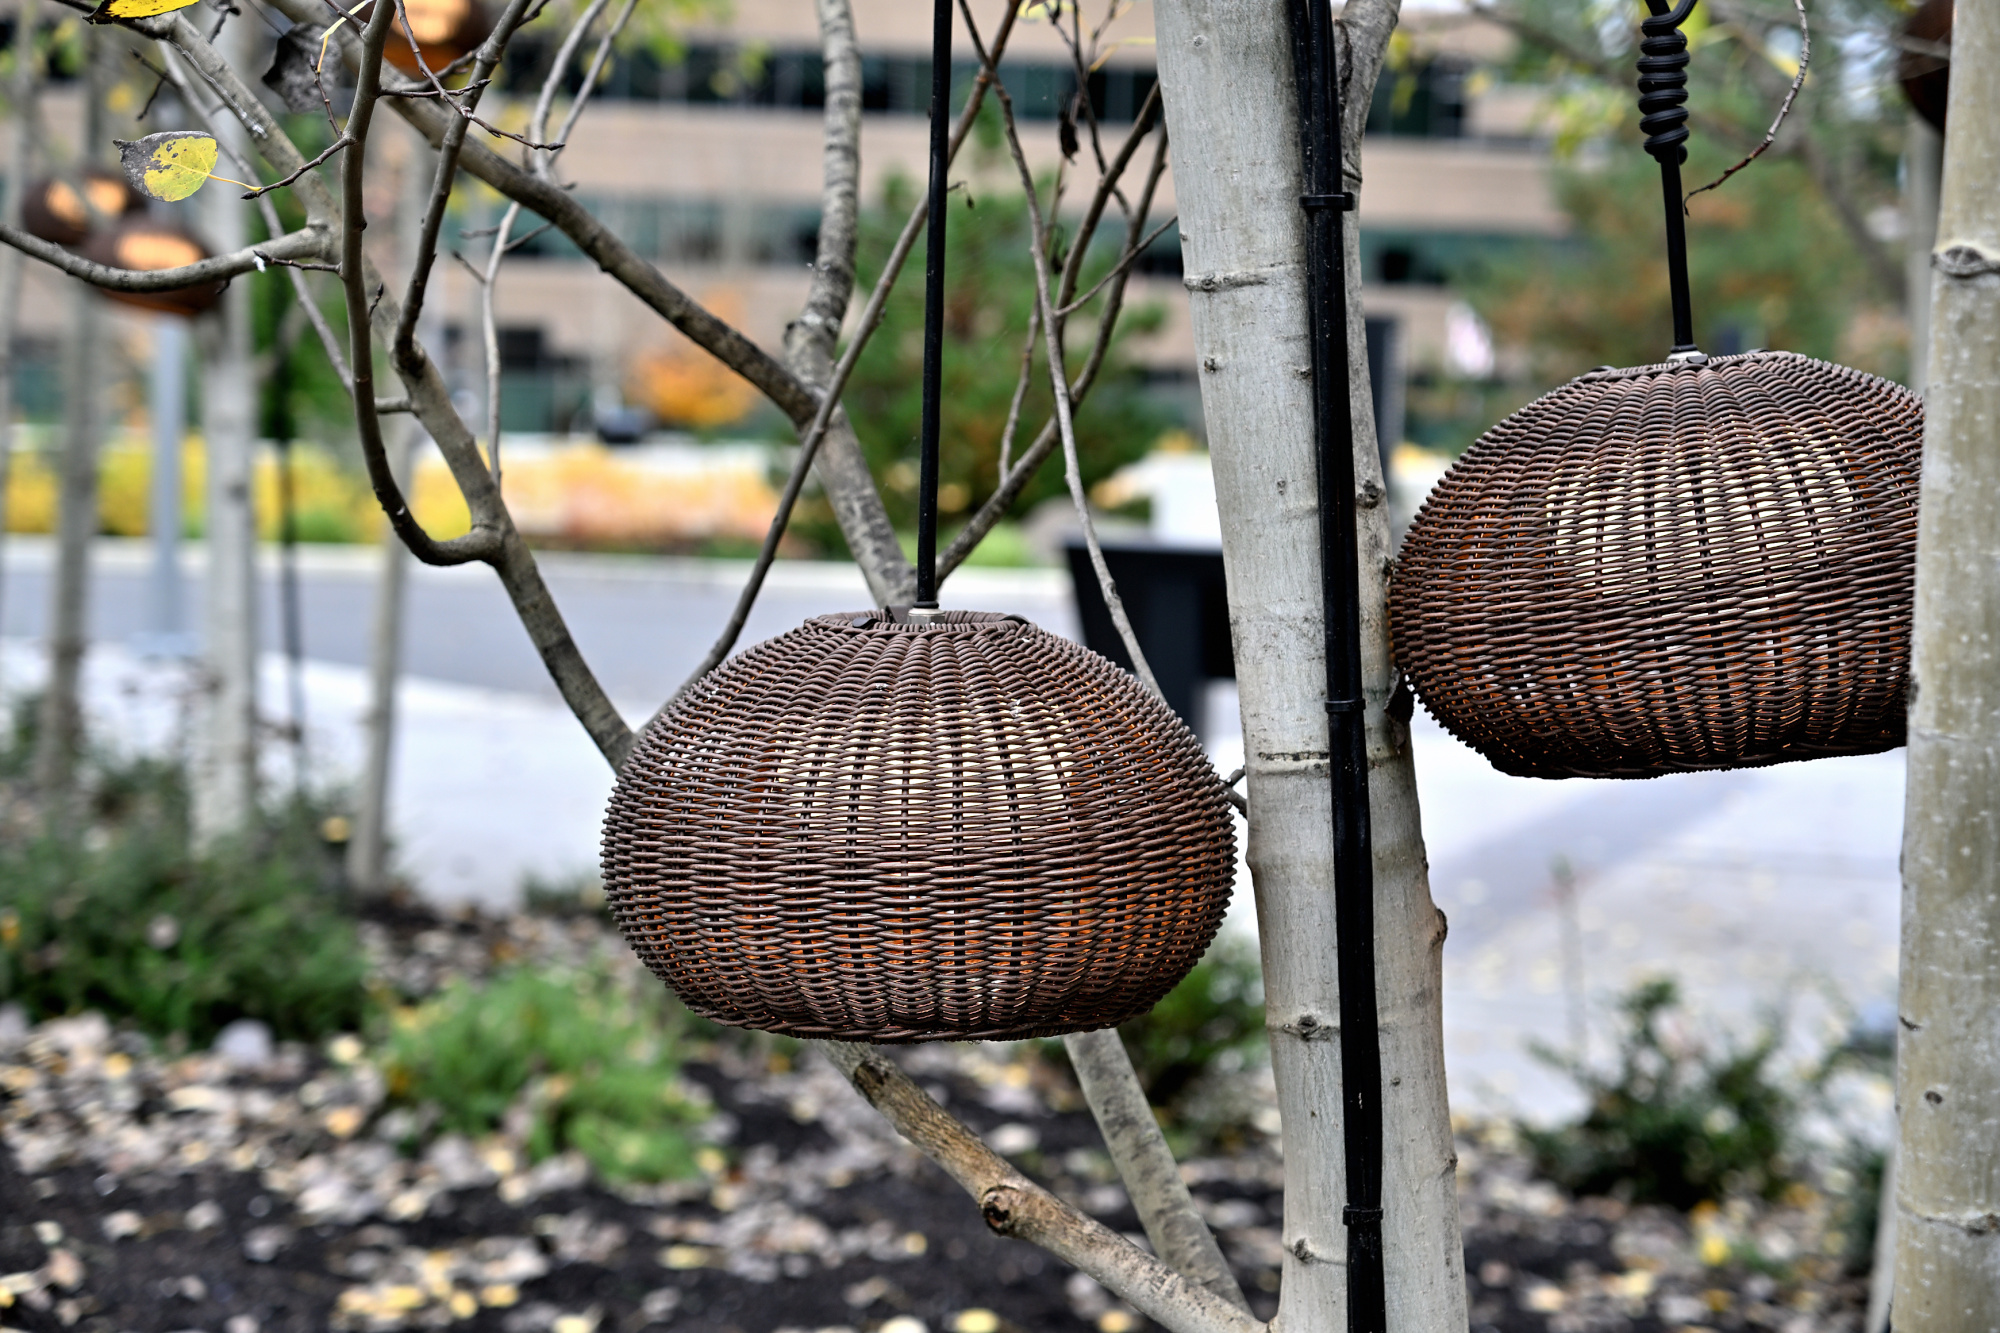
1/640s f/2,8 ISO 100/21° 16-50mm f/2,8 VR f=50mm/75mm
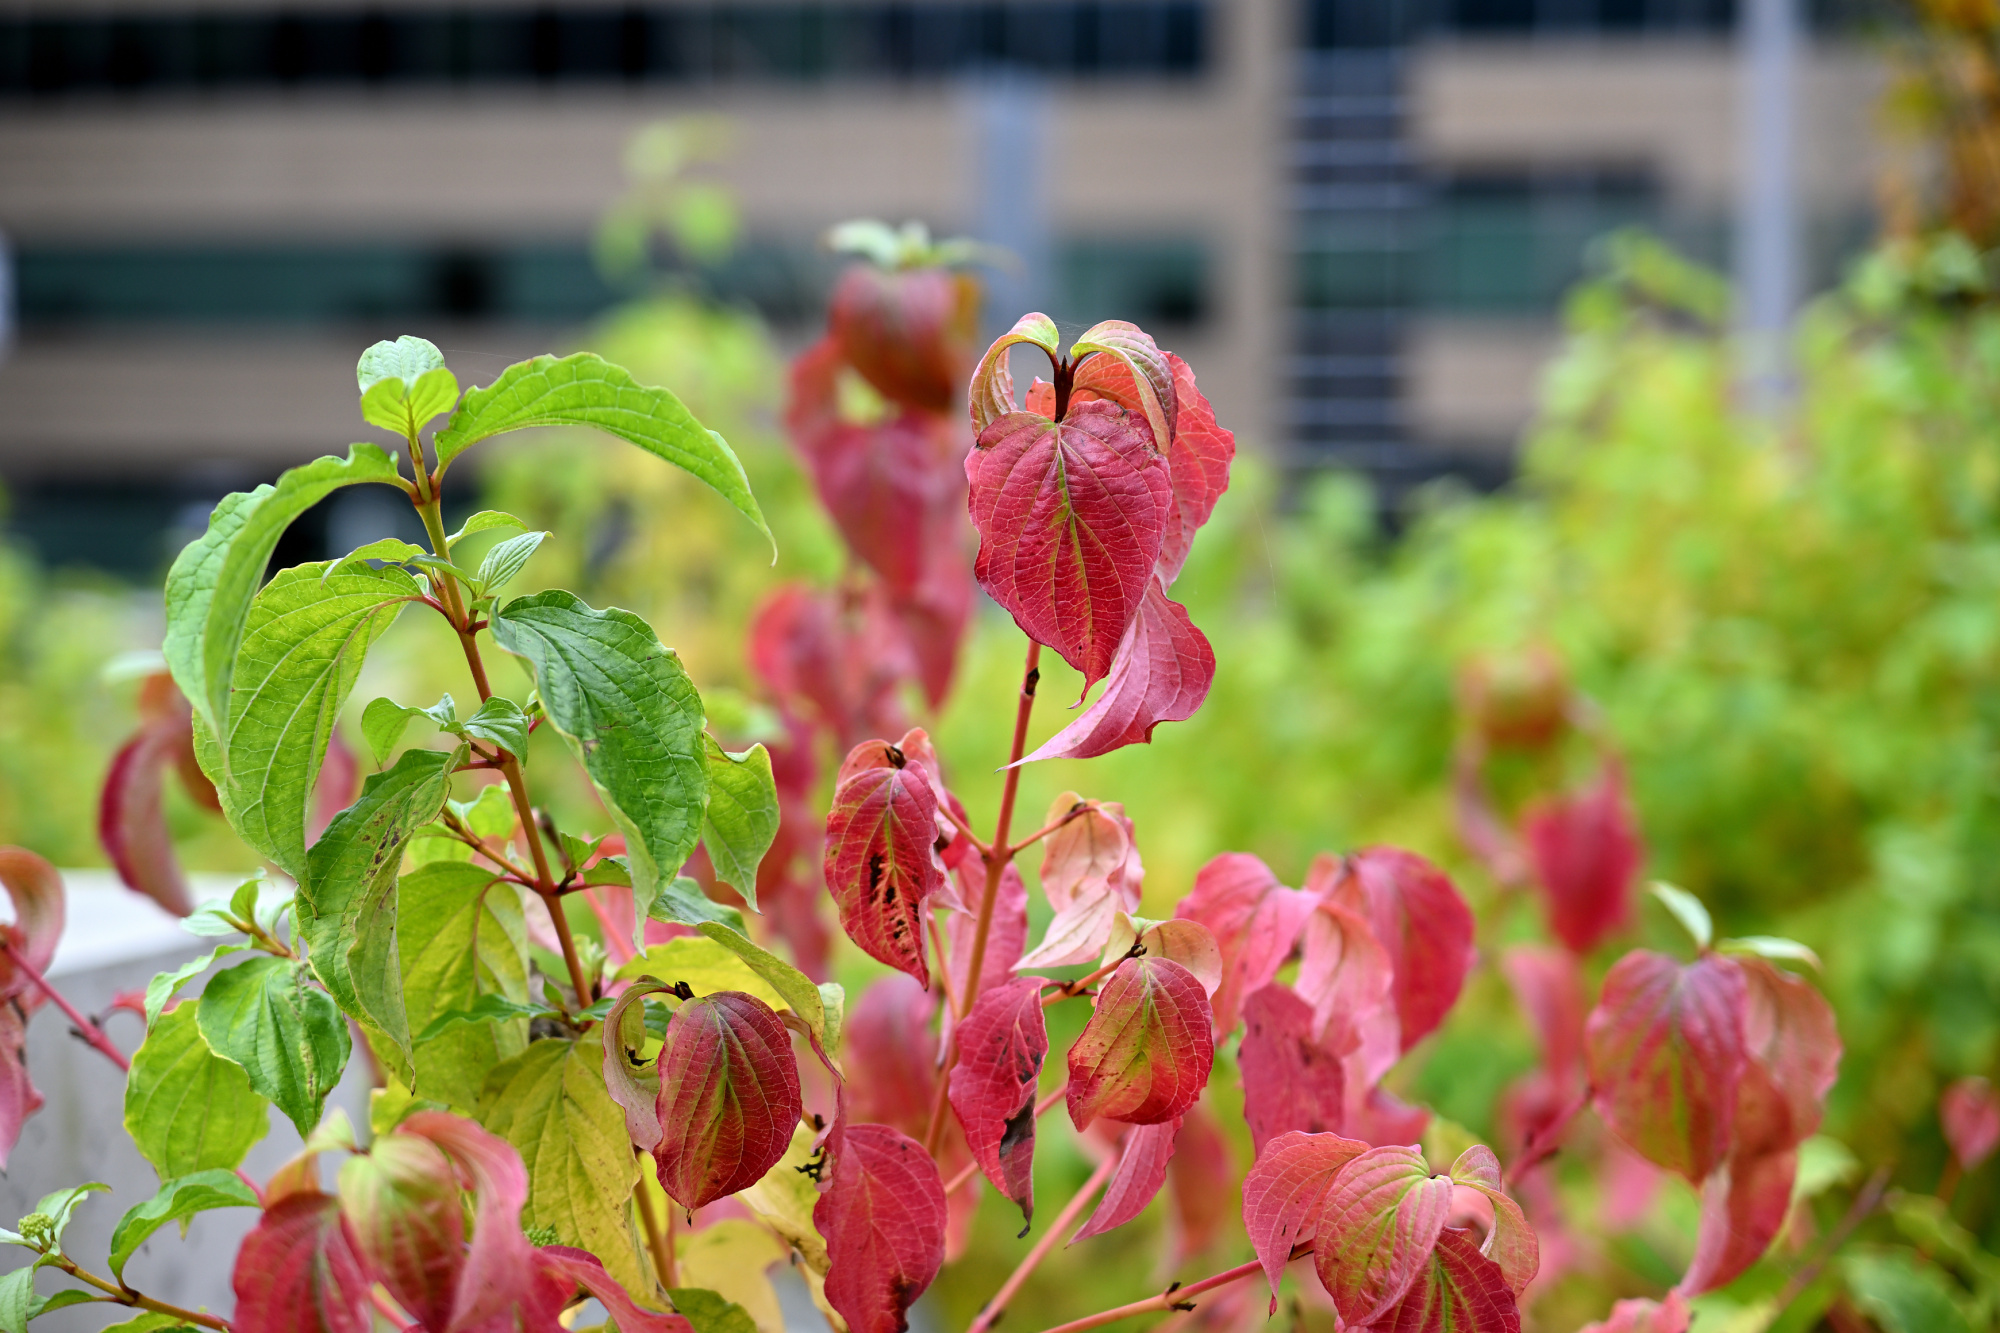
1/160s f/6,3 ISO 100/21° 16-50mm f/2,8 VR f=16mm/24mm
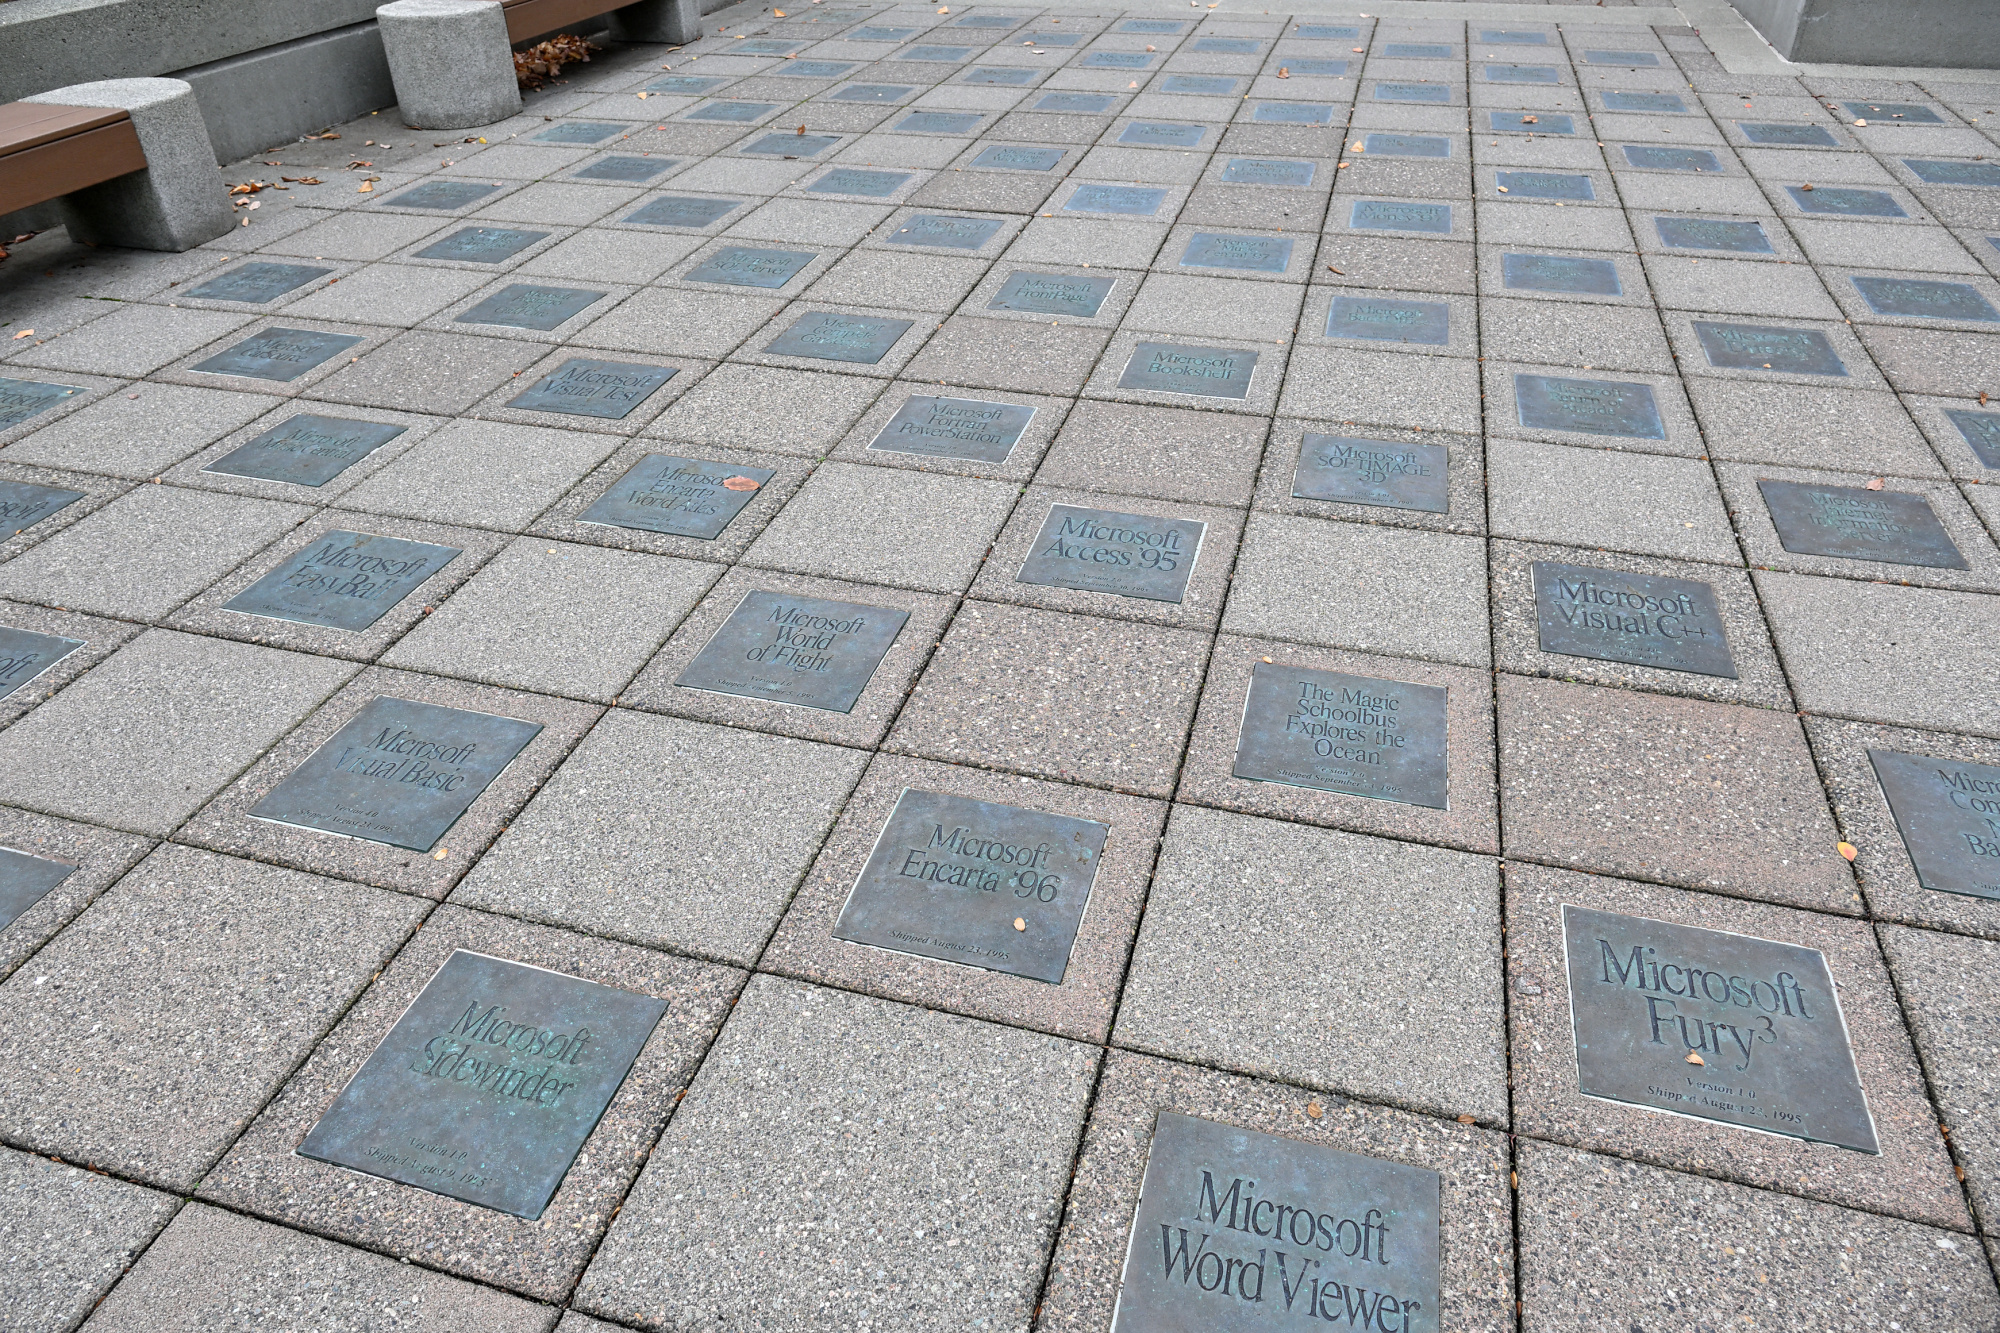
1/125s f/6,3 ISO 100/21° 16-50mm f/2,8 VR f=16mm/24mm
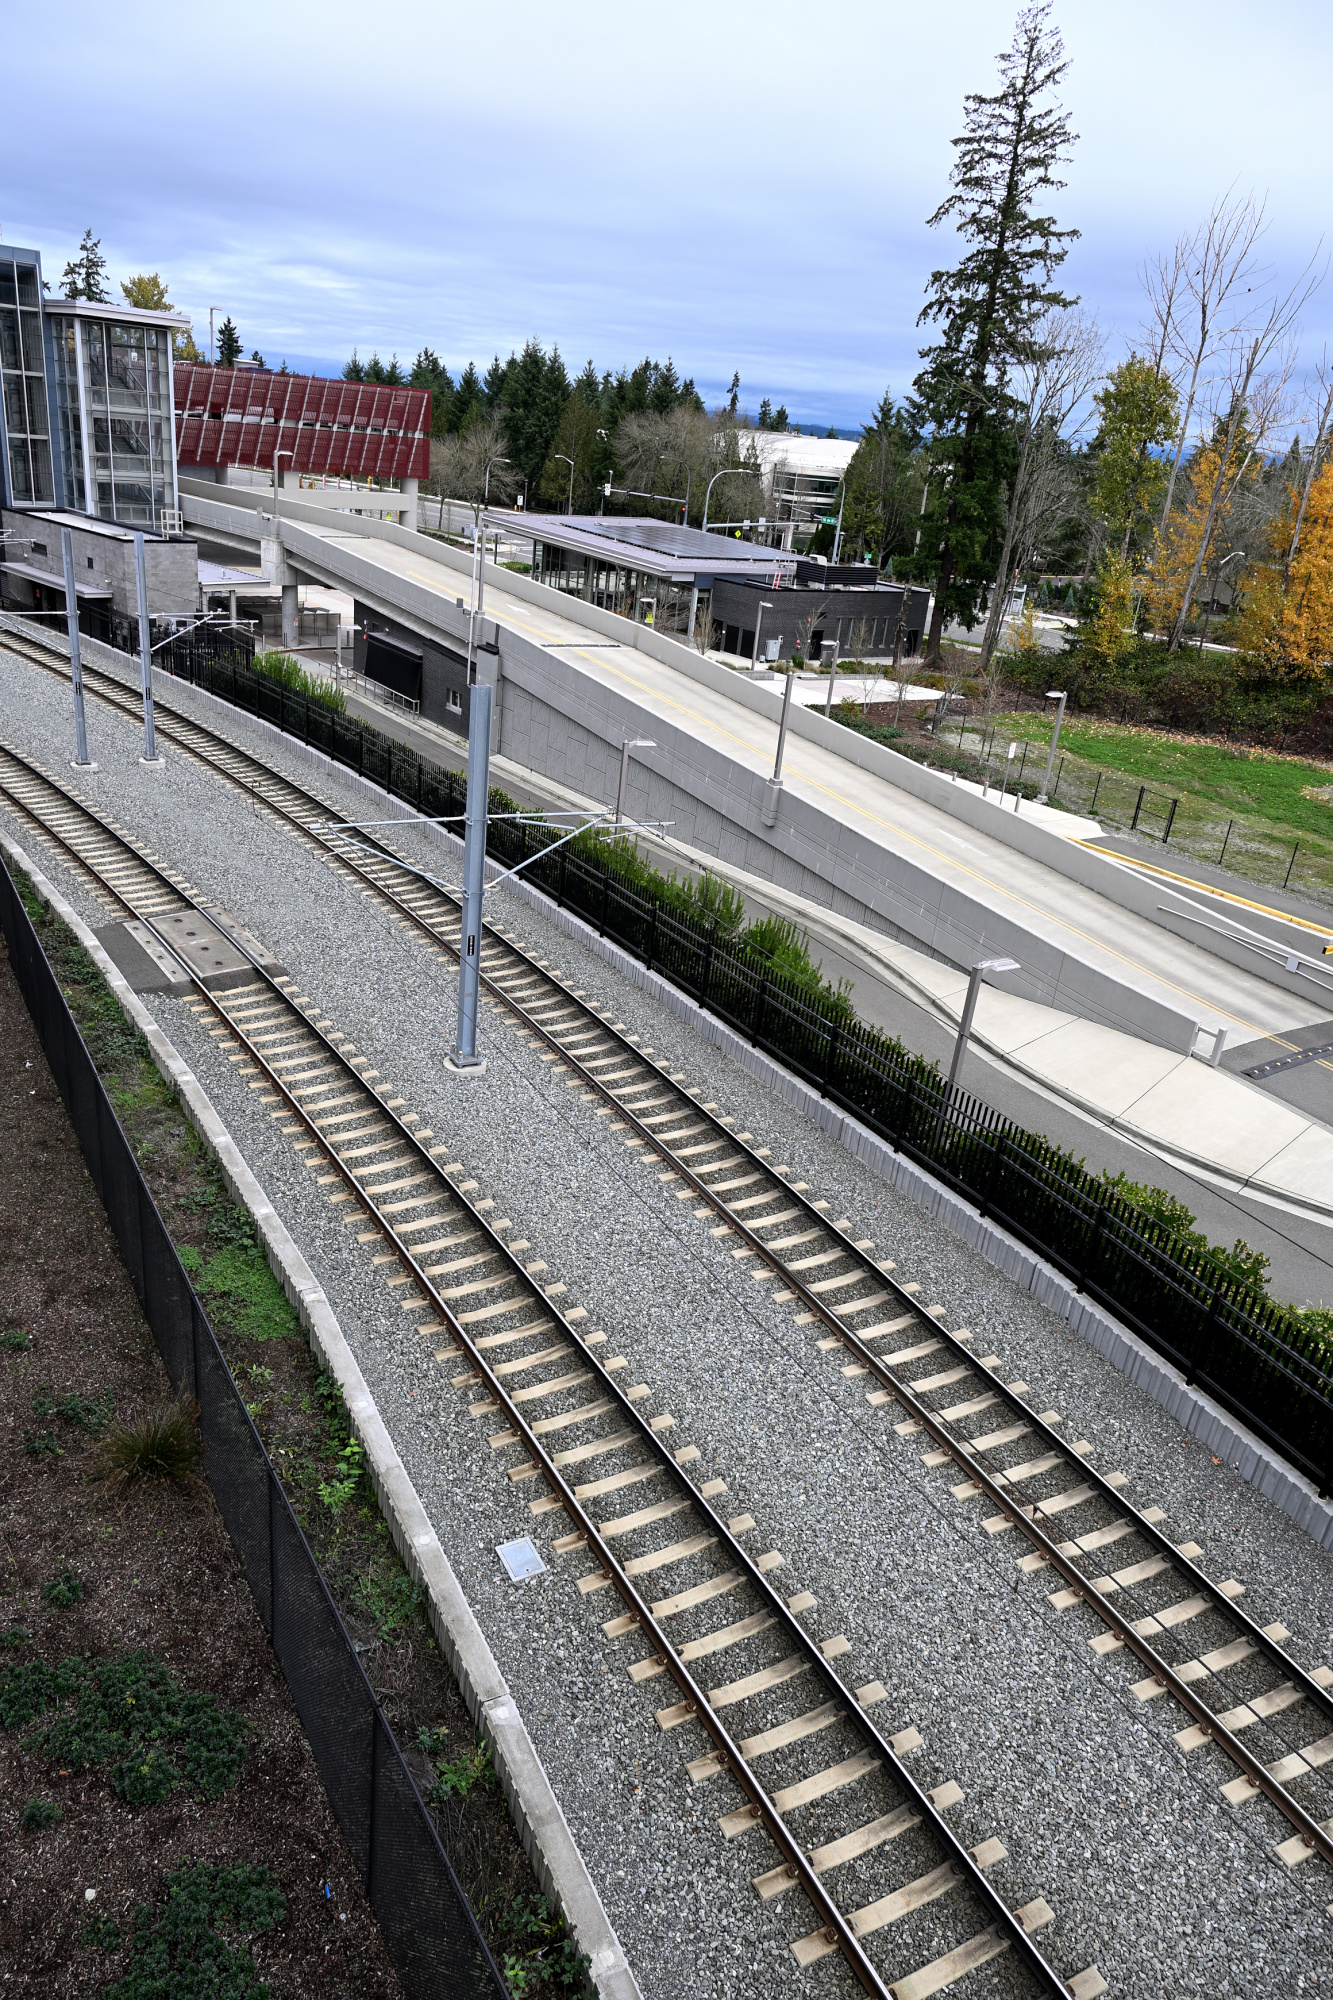
1/200s f/6,3 ISO 100/21° 16-50mm f/2,8 VR f=50mm/75mm
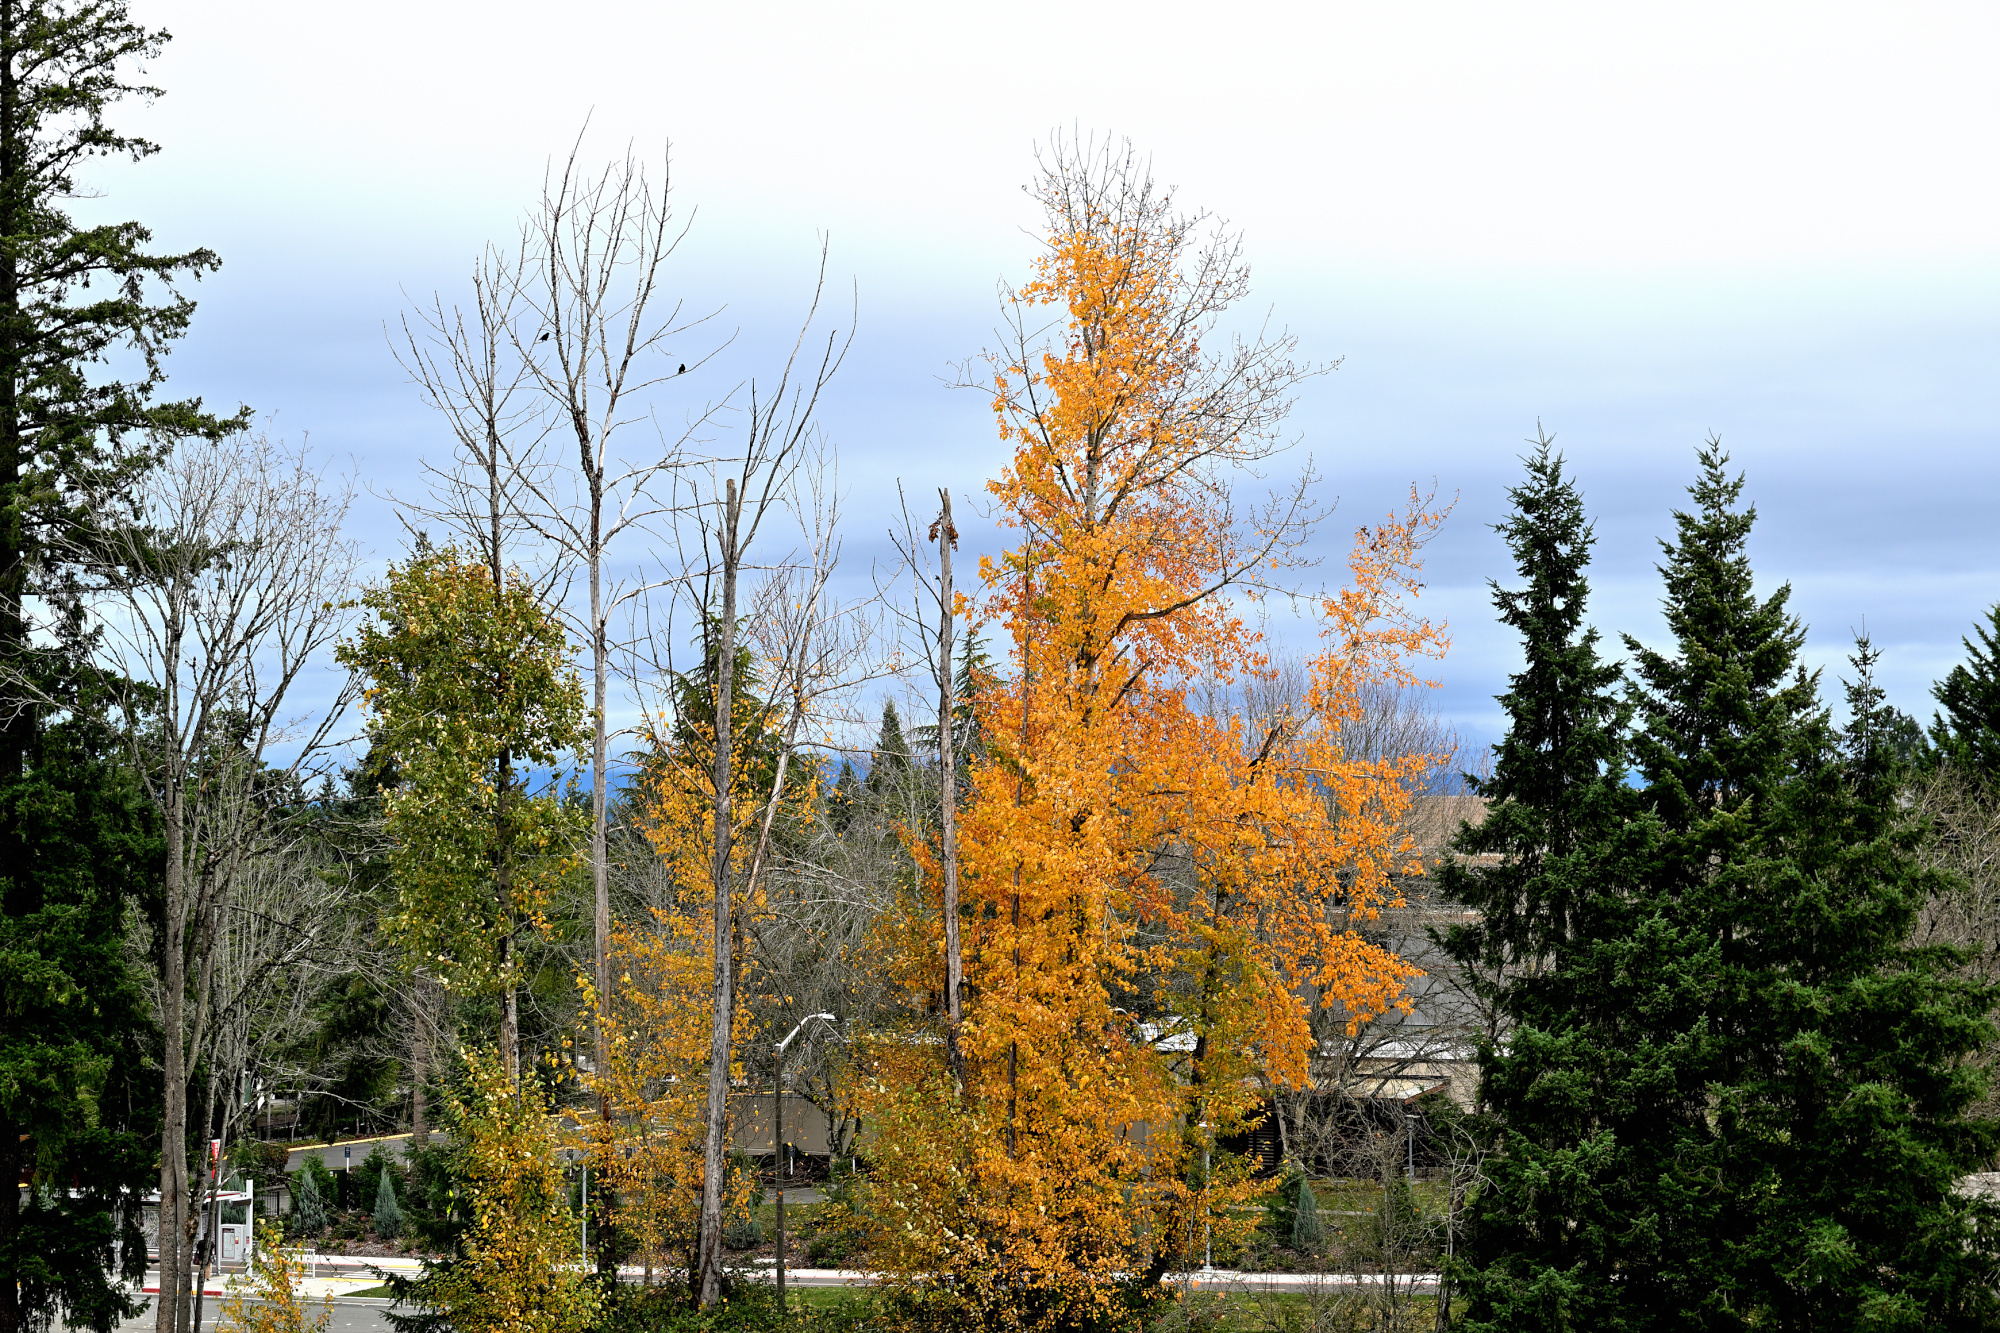
1/400s f/5,6 ISO 100/21° 16-50mm f/2,8 VR f=50mm/75mm
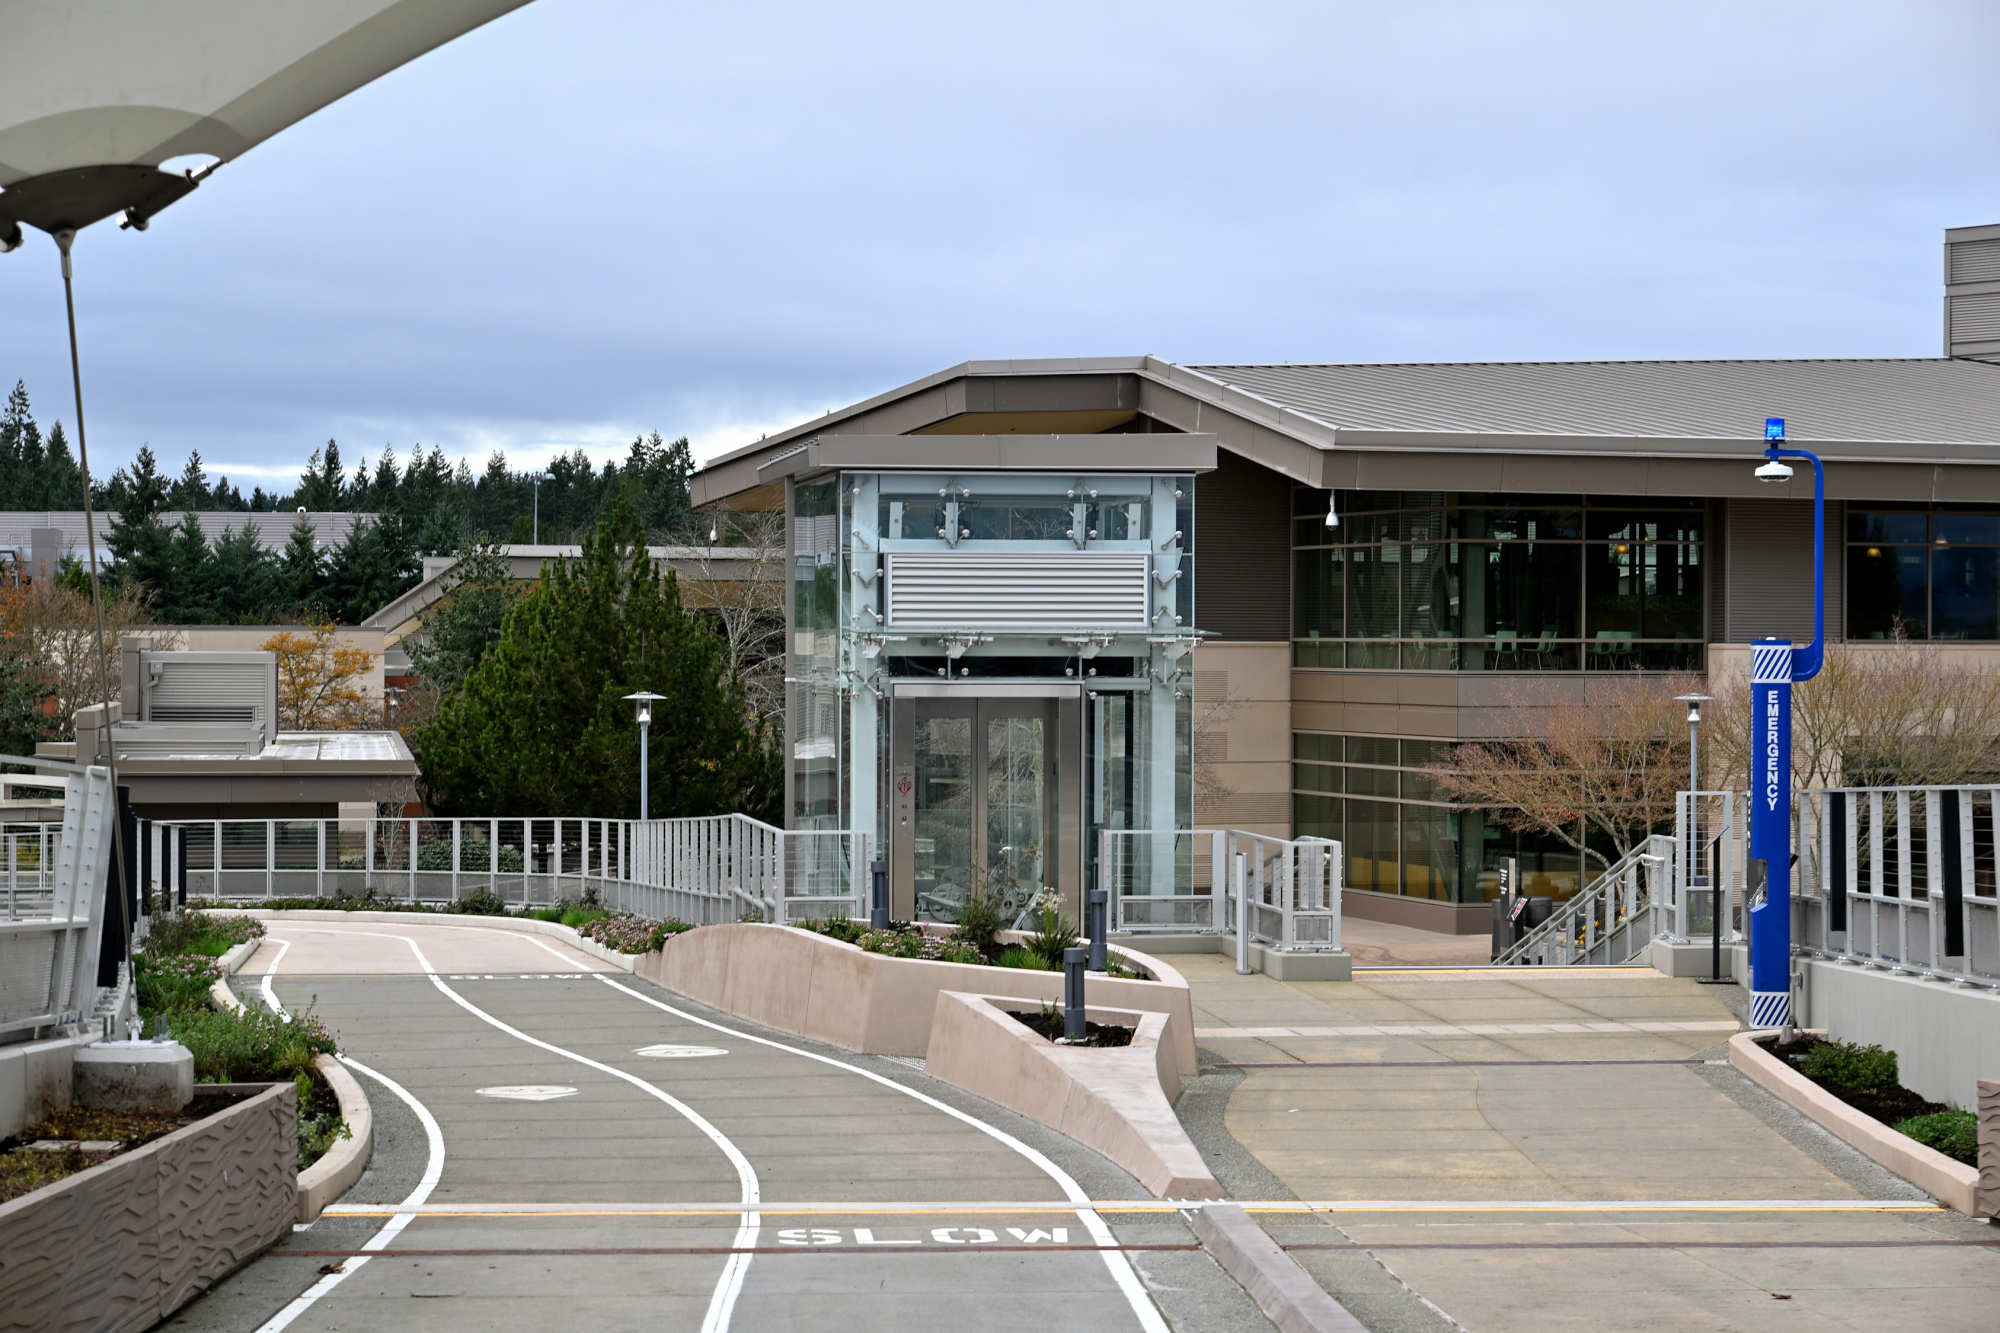
1/320s f/2,8 ISO 100/21° 16-50mm f/2,8 VR f=50mm/75mm
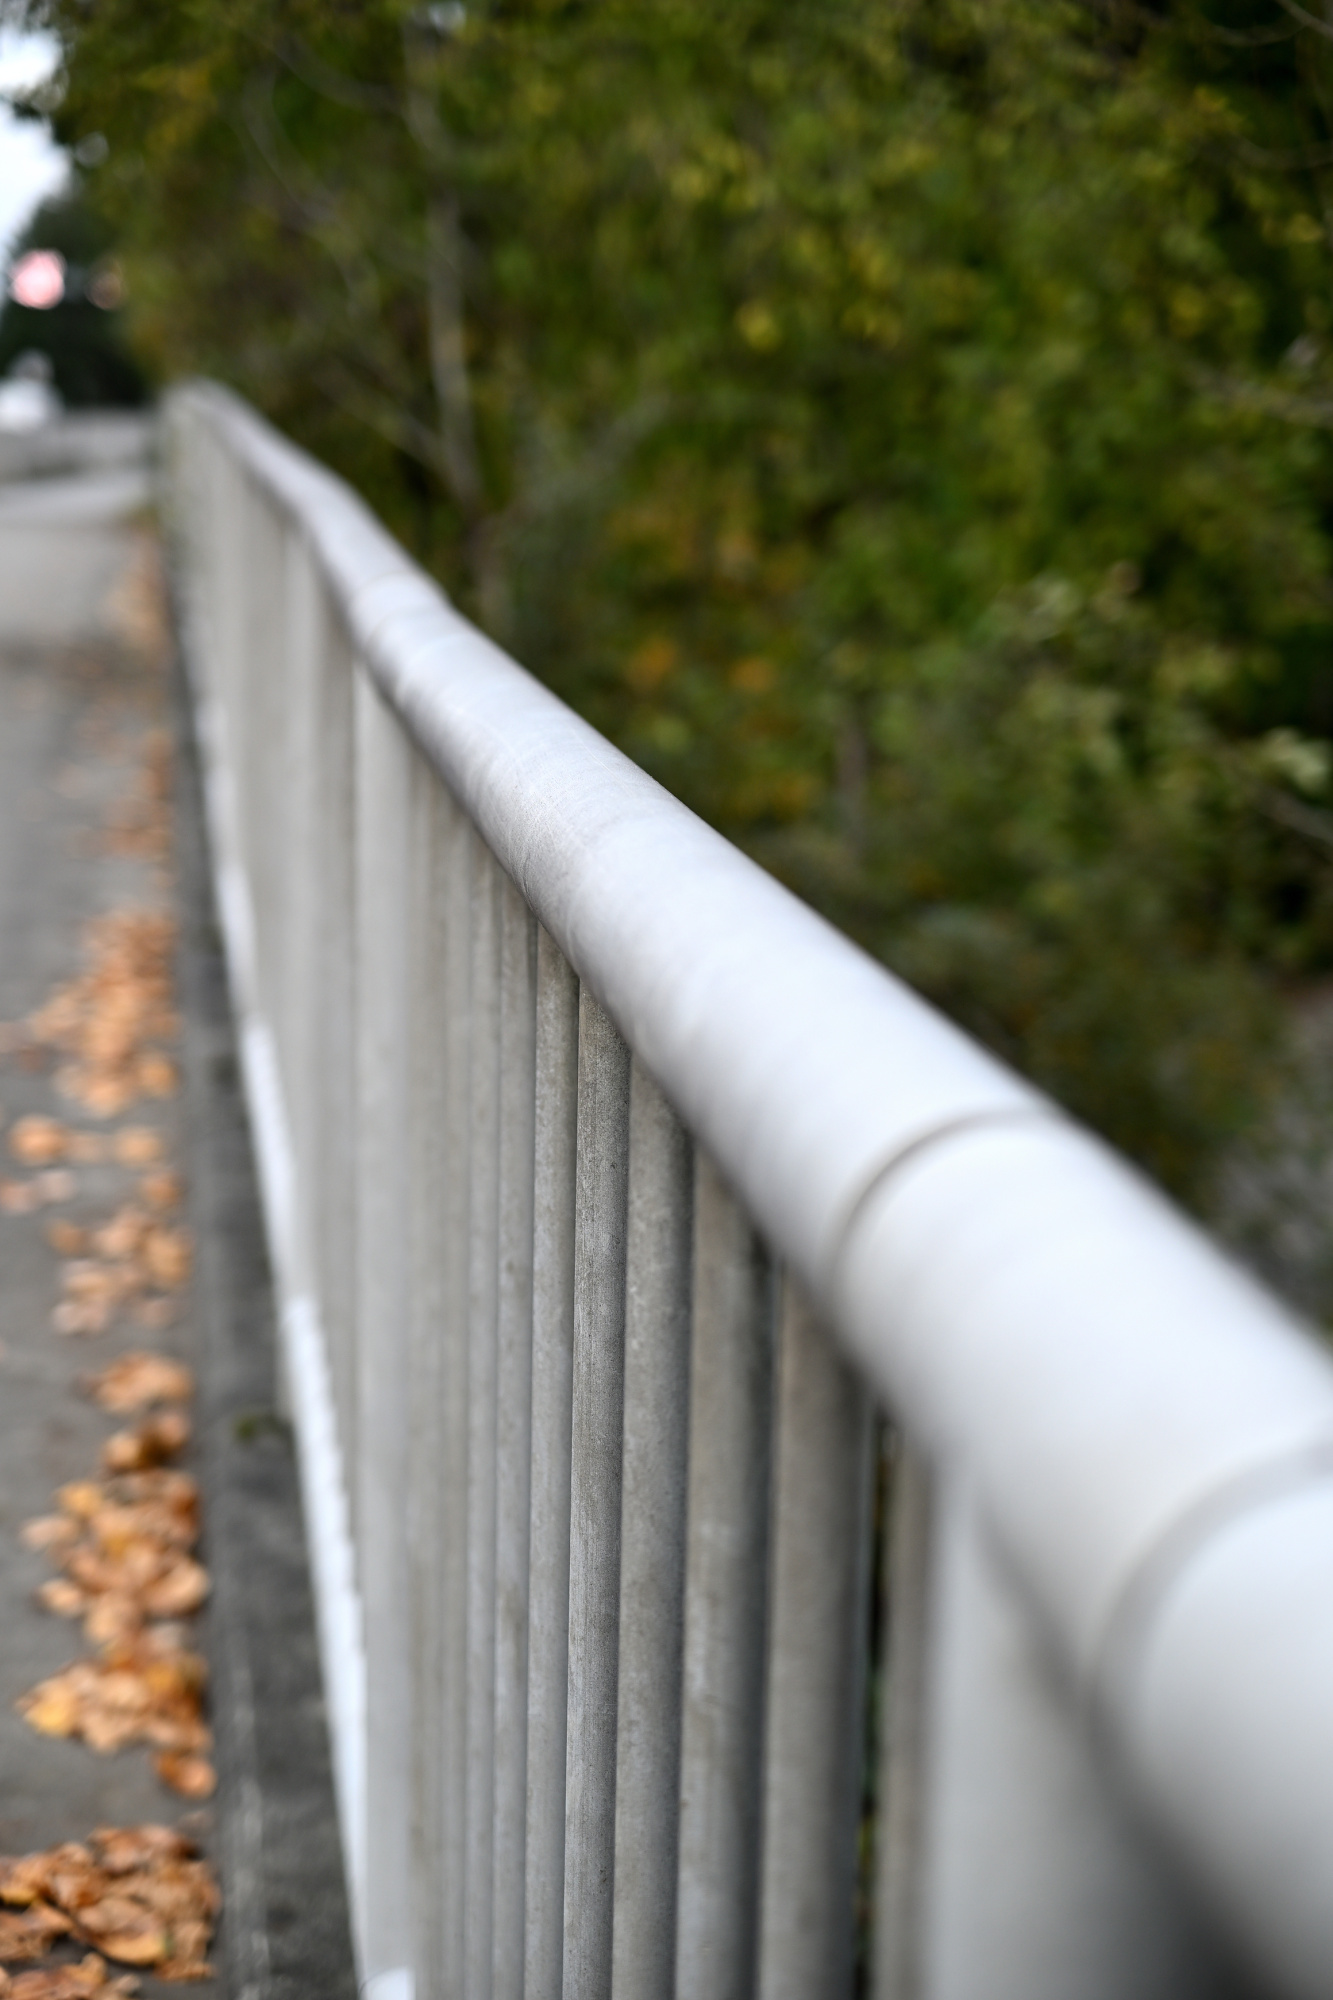
Why Does This Lens Show Strong Vignetting at 50mm f/2.8?
Observe the heavy vignetting at 50mm f/2.8, along with the visible distortion. Zoom in and it disappears. Left side is without correction, right side with correction using NX Studio.
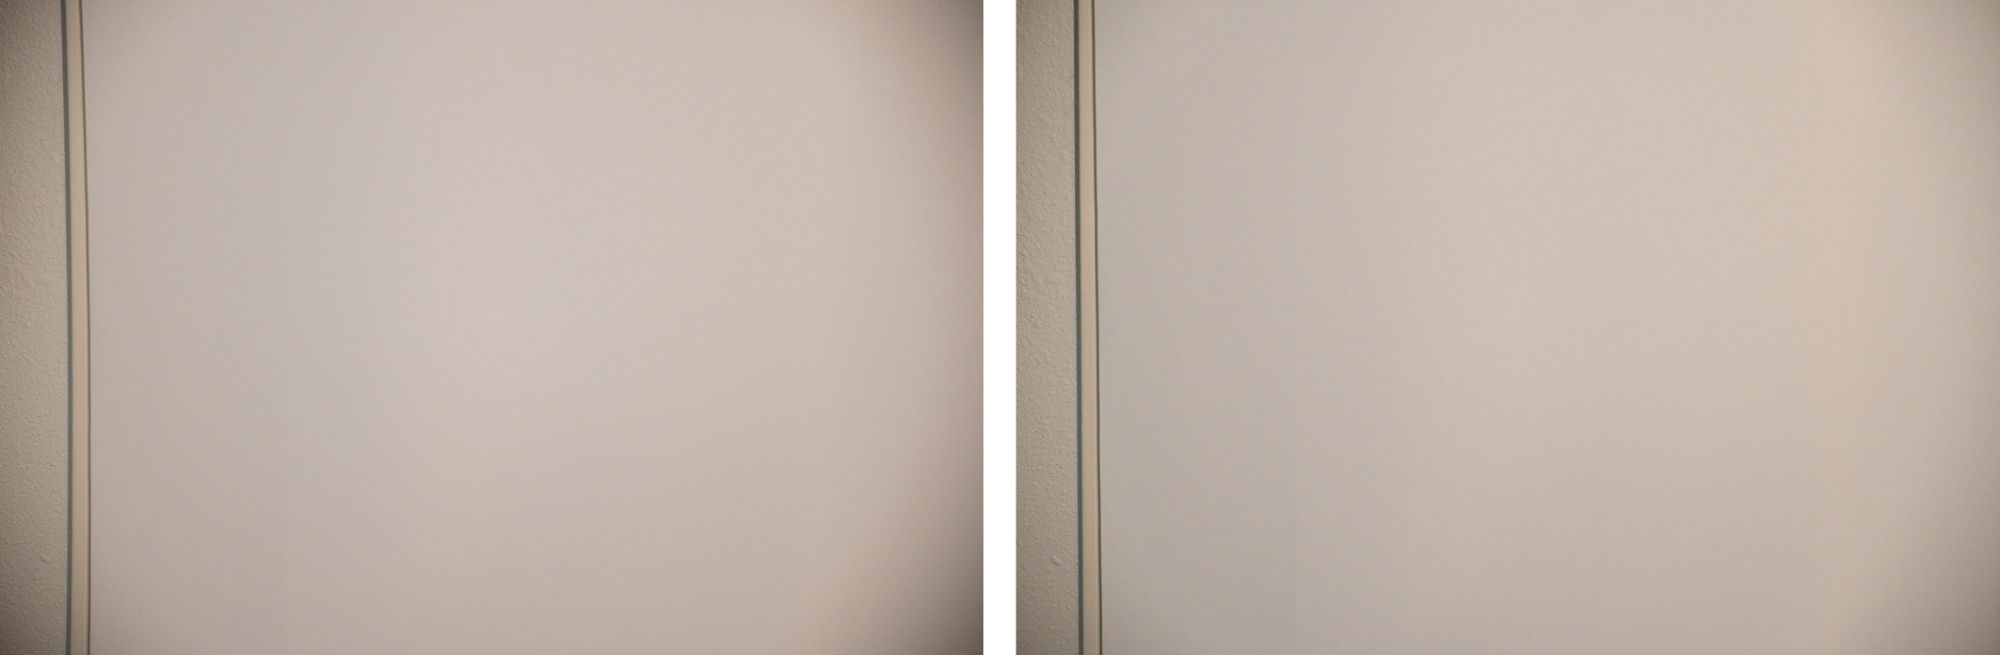
The sample image shows noticeable darkening in the corners at 50mm and f/2.8. This effect is called vignetting and it is an unfortunate but common characteristic of optical design, especially in compact zoom lenses with a bright aperture.
The NIKKOR Z DX 16-50mm f/2.8 VR combines a constant f/2.8 aperture with a small, lightweight form factor. To achieve this, the front element is relatively small. At longer focal lengths and wide apertures, light rays entering from the edges are partially blocked, which results in corner shading.
Vignetting increases when the angle of light hitting the sensor becomes steeper, as happens when zooming in. Eliminating this effect completely would require much larger lens elements and a heavier construction. A lens designed to avoid vignetting at f/2.8 would be significantly bigger, heavier, and more expensive, which goes against the goal of a compact DX zoom.
For this reason, some level of vignetting is considered acceptable and is typically corrected in-camera or during post-processing. If you shoot RAW, most software applies lens profiles to fix this. For JPEGs, Nikon's vignette control can reduce the effect.
Protocol Complete ✅
Adding this lens makes the setup minimal and faster, ready for decisive moments.
The 16-50mm f/2.8 combines a constant aperture with a compact design for a balanced, practical setup. From landscapes to portraits, the zoom range provides complete framing control while keeping everything light and portable. No lens swaps, just a responsive system that adapts quickly. Vibration Reduction works together with the bright aperture to maintain sharp, balanced results even in challenging light.
-
Nikon also announced the NIKKOR Z DX MC 35mm f/1.7 on the same day. ↩
-
The Bag Chronicles
 ↩
↩ -
Actually shipped November 3, no tricks, just treats 🎃
 ↩
↩
-
-
Adobe RGB: Just Add _
Understanding Adobe RGB: When a Filename Starts with an Underscore
Color management is a subtle but critical aspect of digital imaging. One often overlooked detail is how some cameras signal the use of wide-gamut color profiles like Adobe RGB using the filename itself. When a filename starts with an underscore
_, it indicates that the image was captured using the Adobe RGB color space. This is a filename-based convention and not embedded in the image metadata._DSC1234.JPG→ Adobe RGB DSC1234.JPG→ sRGB Visual Comparison
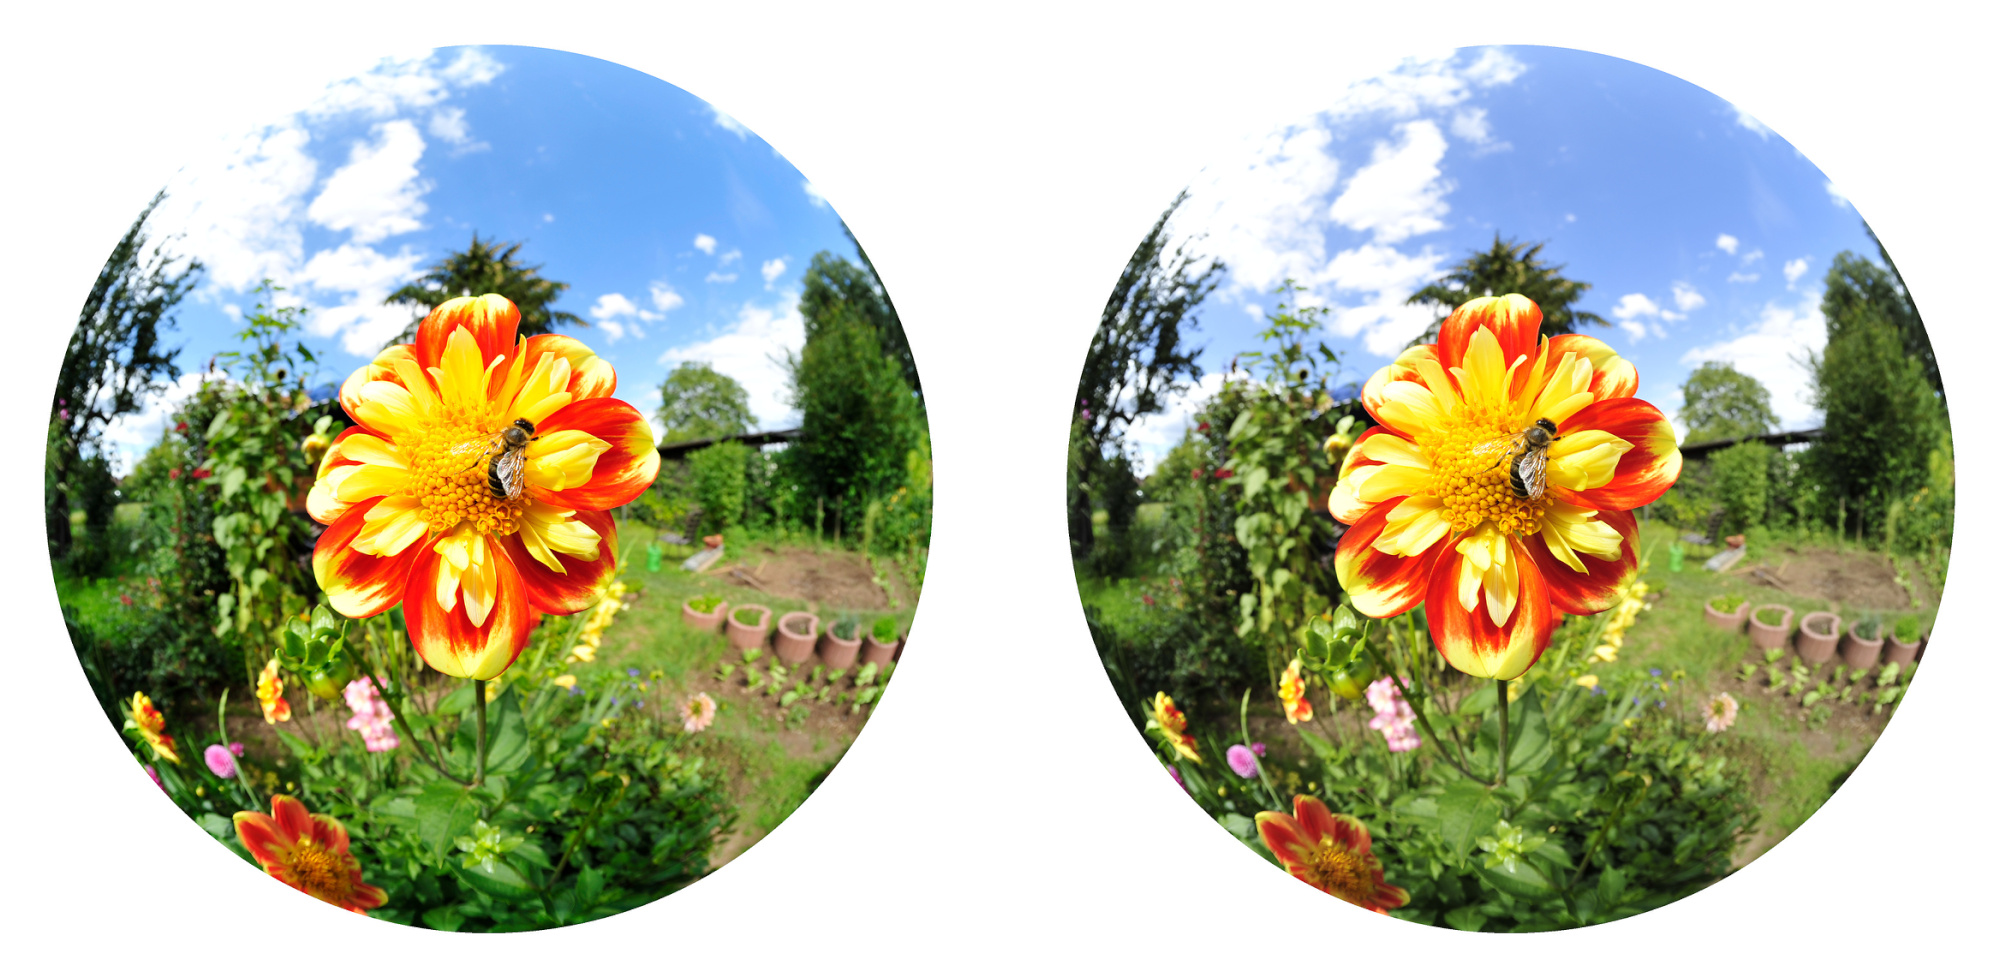
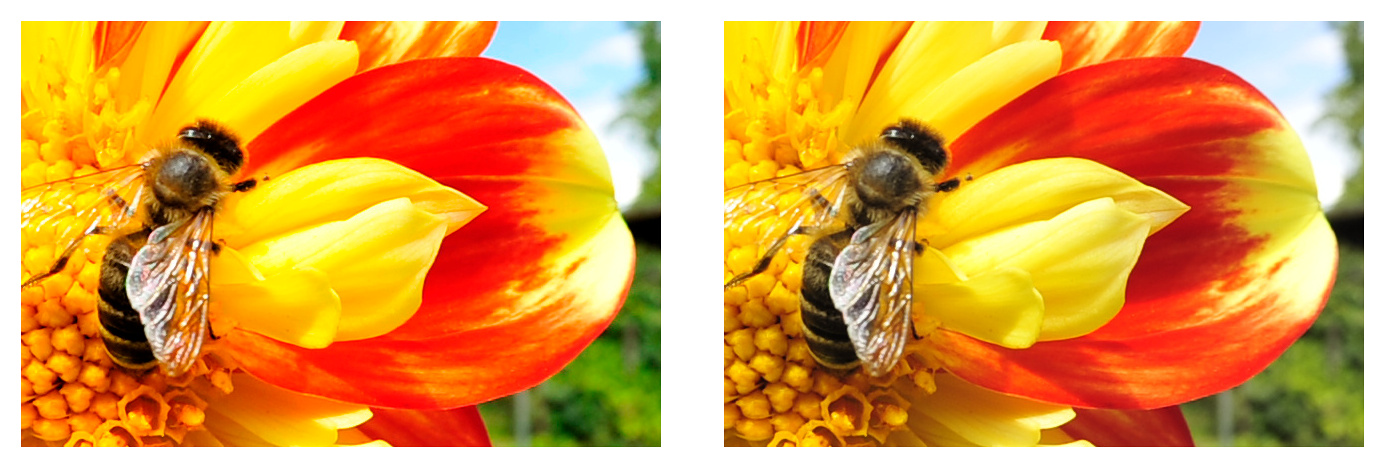
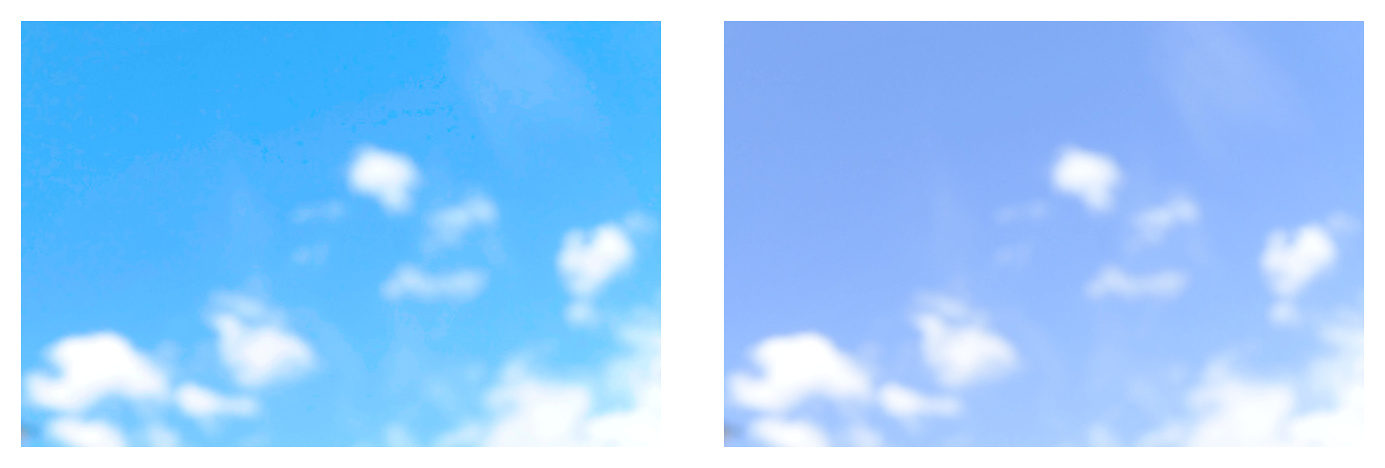
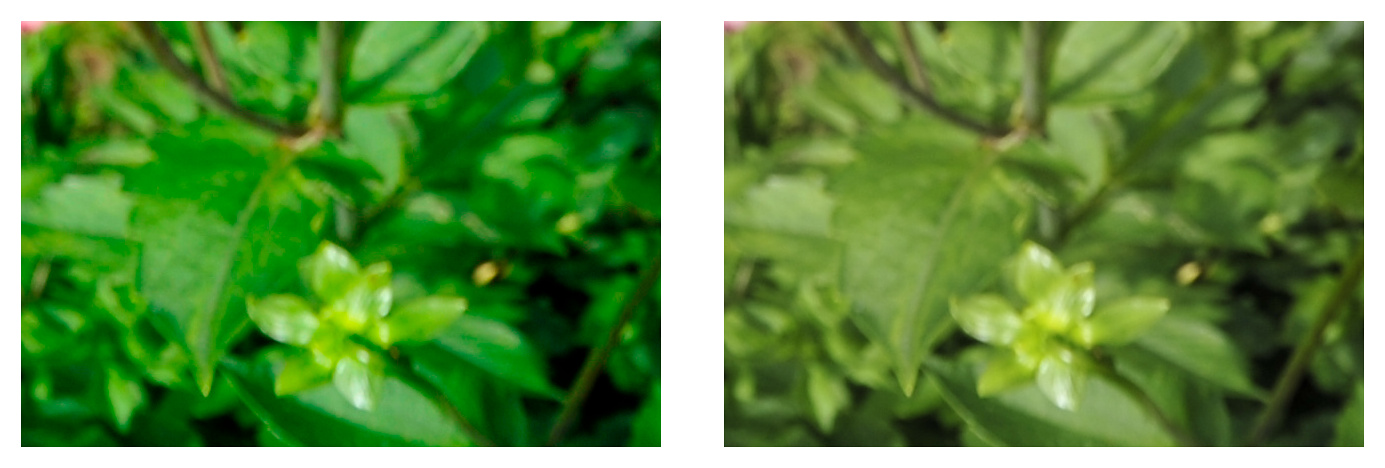
Below is a comparison of the same image displayed with and without Adobe RGB interpretation. Notice the richer greens and cyans on the left.
D700 1/250s f/8 ISO 200/24° 8mm f/3,5G
Using Adobe RGB
Without Adobe RGB (as sRGB)
Why Adobe RGB?
Adobe RGB is a color space developed by Adobe Systems in 1998 to encompass most of the colors achievable on CMYK printers. Compared to the standard sRGB, Adobe RGB offers a wider gamut, especially in the green and cyan regions. This makes it ideal for professional printing and high-end image editing workflows.
Color Space Gamut Size Best For Display Compatibility sRGB Smaller Web, general use, non-color-managed devices Universally supported Adobe RGB Larger Printing, professional editing, preserving rich colors Requires color-managed software The CIE 1931 xy Chromaticity Diagram
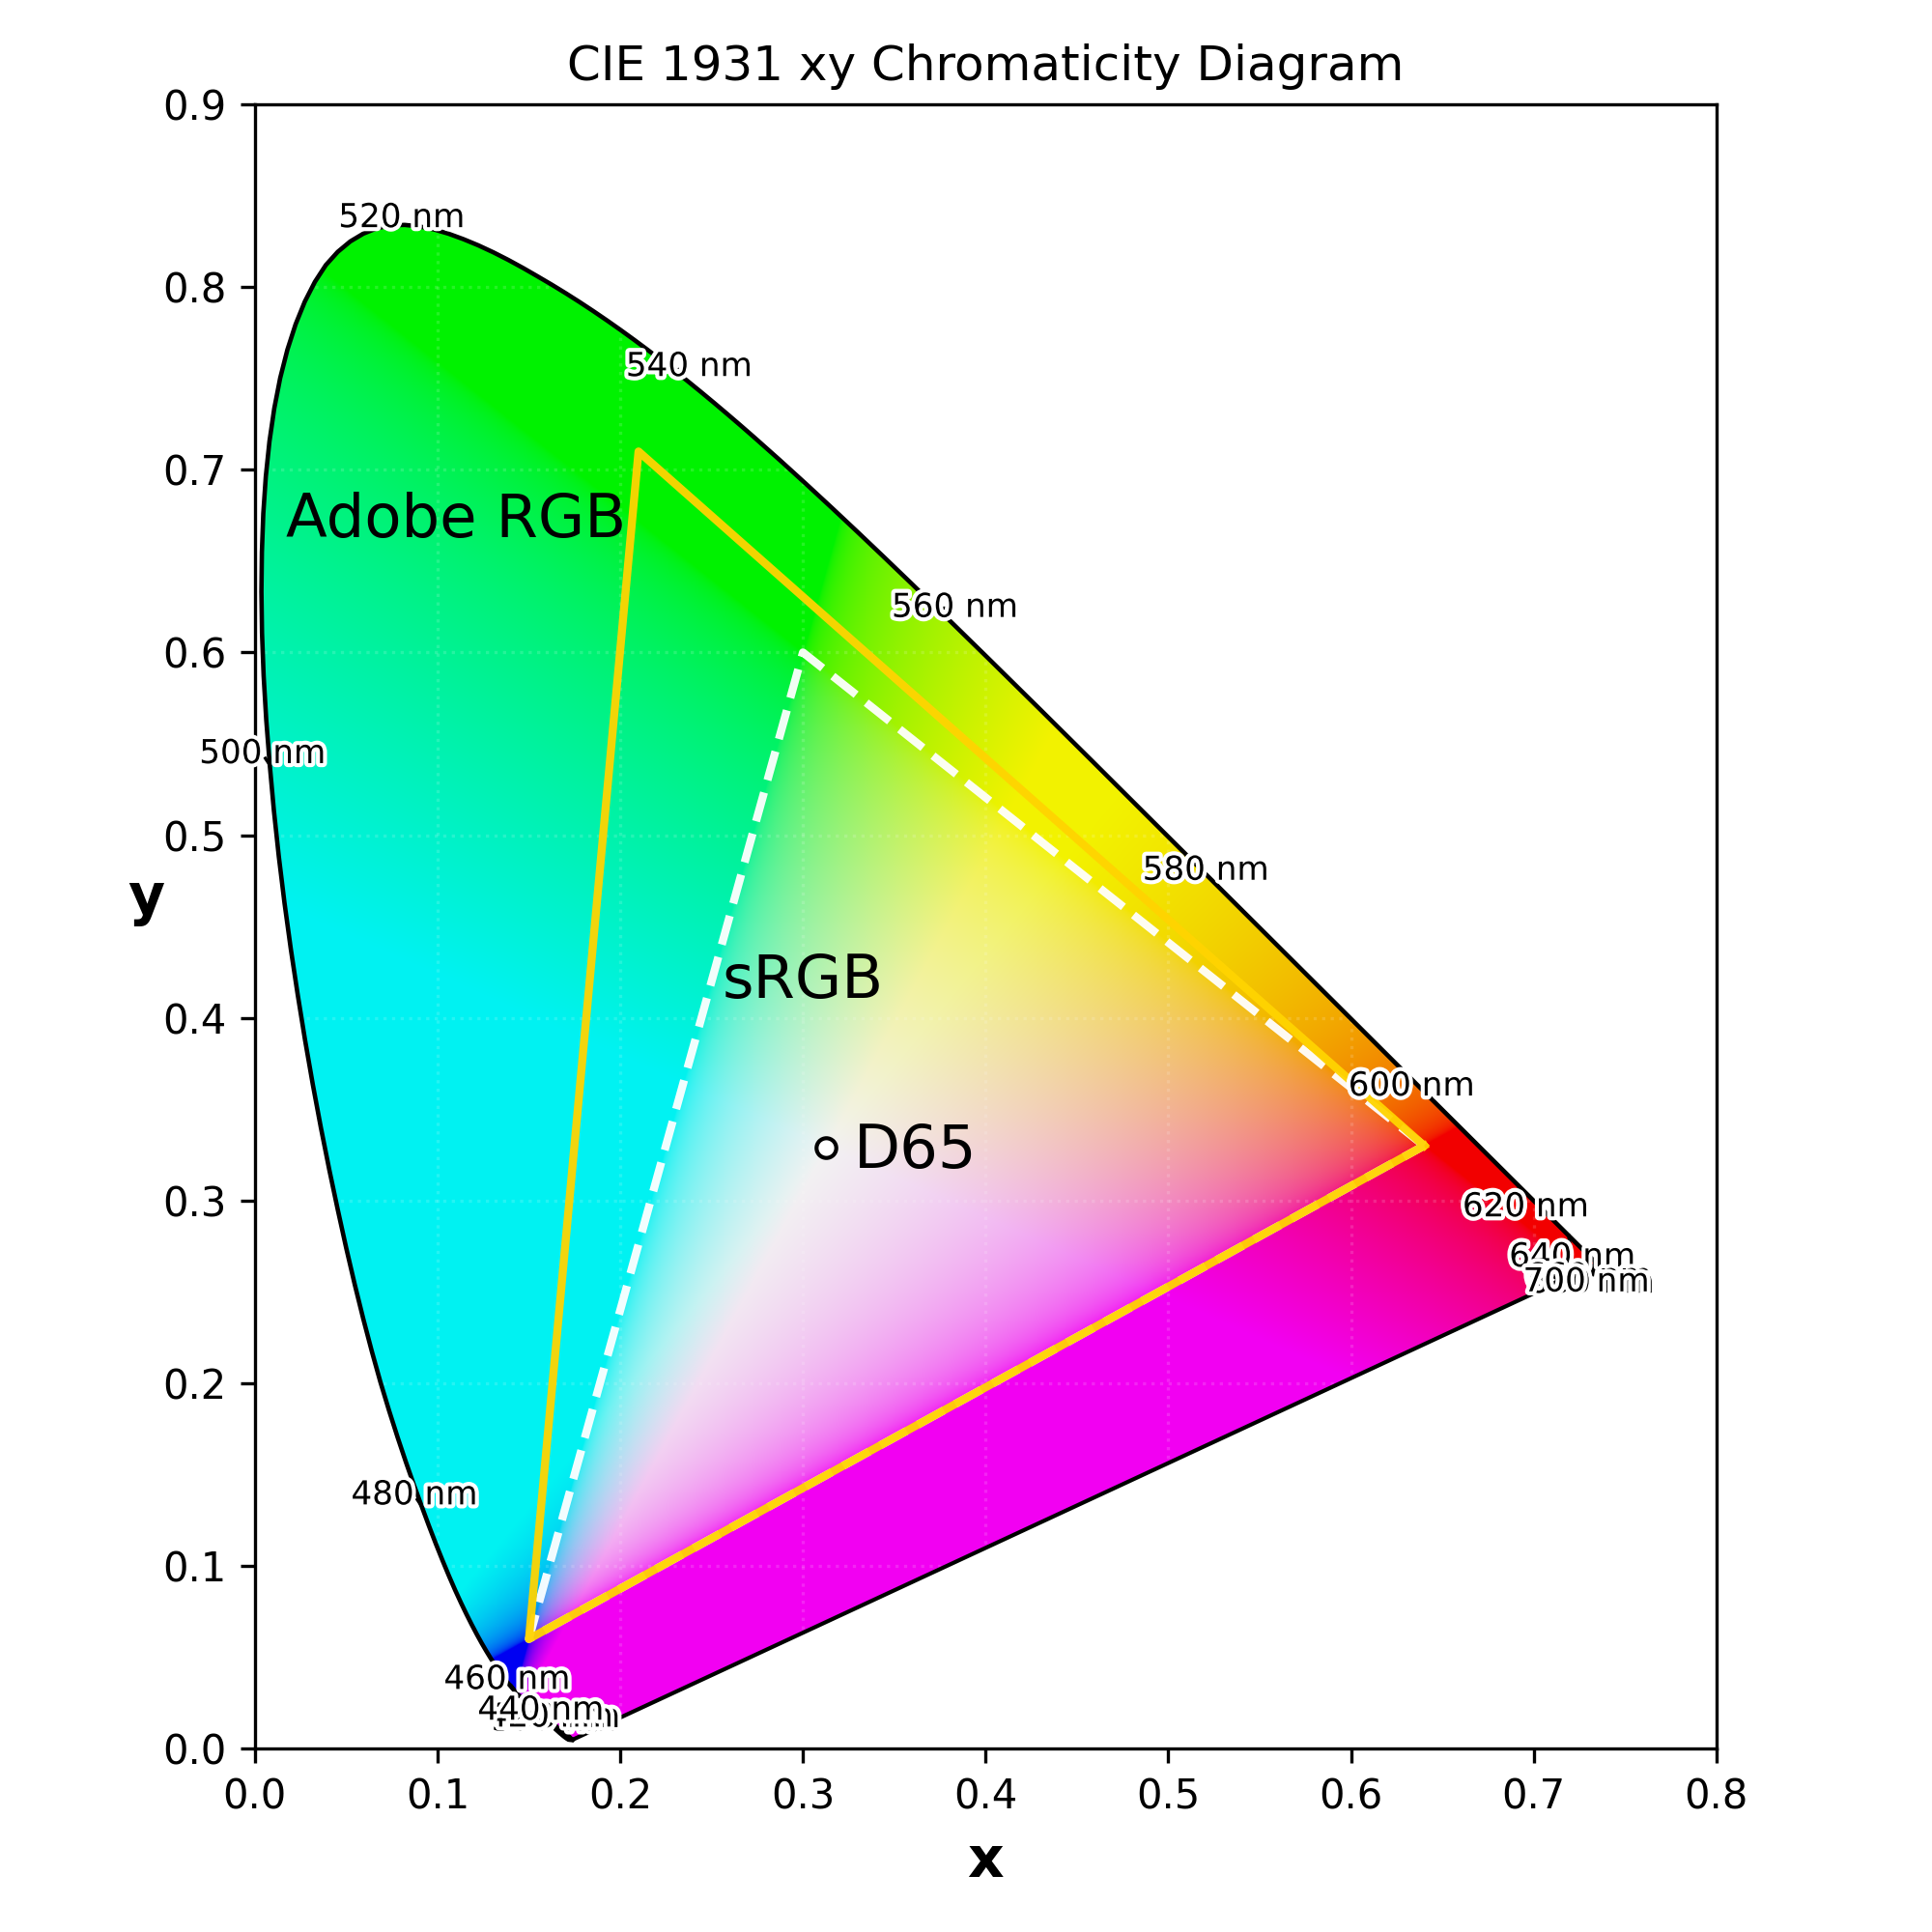
It shows color hue and saturation (not brightness).
- x-axis: how much red vs green is in the color.
- y-axis: how much green vs blue is in the color.
It comes from the CIE XYZ color system, where Y relates to brightness.
Like a map of all visible colors:- The curved edge is pure spectral colors (rainbow).
- Inside the shape are all mixtures of colors.
- White (D65) is near the center.
See github
sRGB: R(0.6400, 0.3300), G(0.3000, 0.6000), B(0.1500, 0.0600)
Adobe RGB: R(0.6400, 0.3300), G(0.2100, 0.7100), B(0.1500, 0.0600)
White point D65: (0.3127, 0.3290)Working with Adobe RGB Images
When working with Adobe RGB images, especially in everyday scenarios, it is important to consider how they will appear across different devices and platforms.
General Use
For typical viewing and sharing, converting Adobe RGB images to sRGB is recommended. sRGB is the standard color space for the web and for devices that do not support color management, which helps ensure consistent appearance.
Accurate Conversion
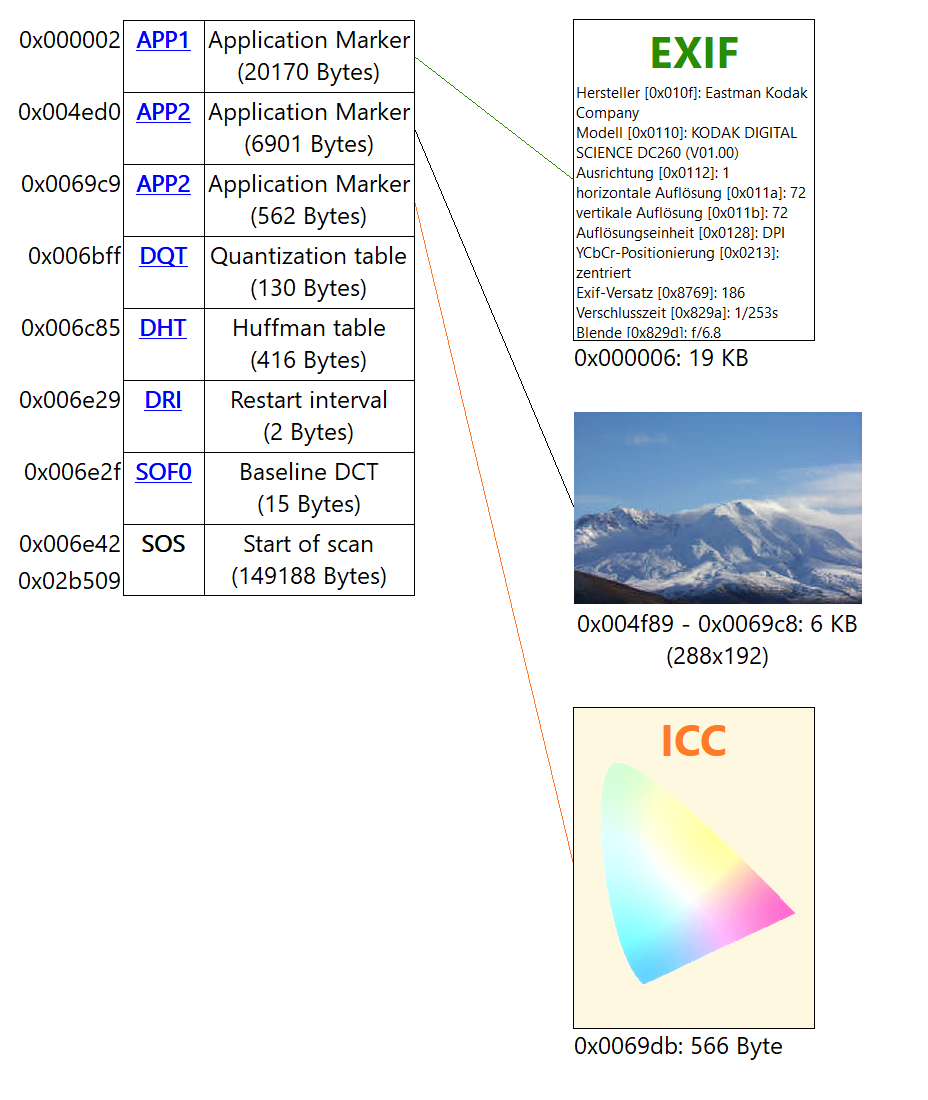
Before publishing or sharing images online, ensure they are converted to sRGB to maintain consistent appearance across devices. Software with reliable color management support, such as the cPicture App, interprets embedded ICC5 profiles and filename-based color space conventions with quiet precision. This helps ensure that colors appear as intended, even in situations where other tools might not get it quite right, often without the user realizing why.
-
ICC (International Color Consortium) profiles are embedded metadata that describe how colors should be interpreted. Without proper ICC support, colors may appear dull or inaccurate, especially in wide-gamut spaces like Adobe RGB.
 ↩
↩
-
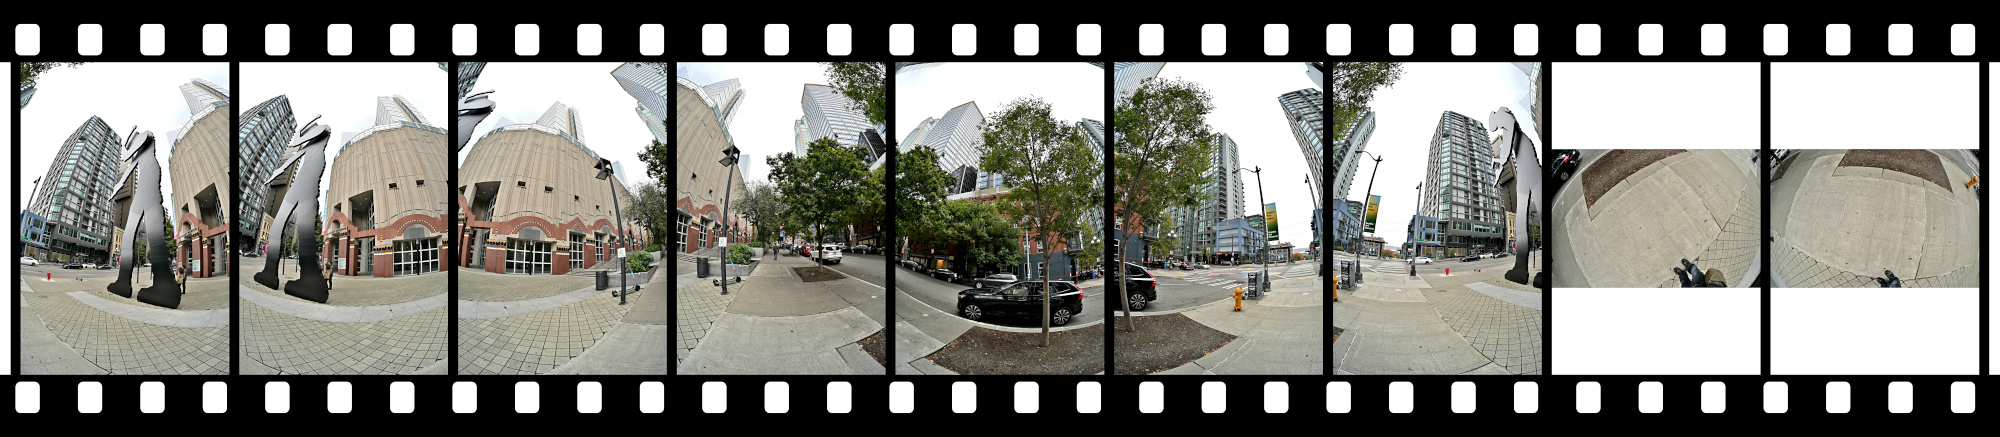
Seattle Art Museum
A cold, wet, and grey Sunday. Pacific Northwest in autumn is nature's way of saying, "Stay indoors."
So thats where we stay. In the Seattle Art Museum, of course.
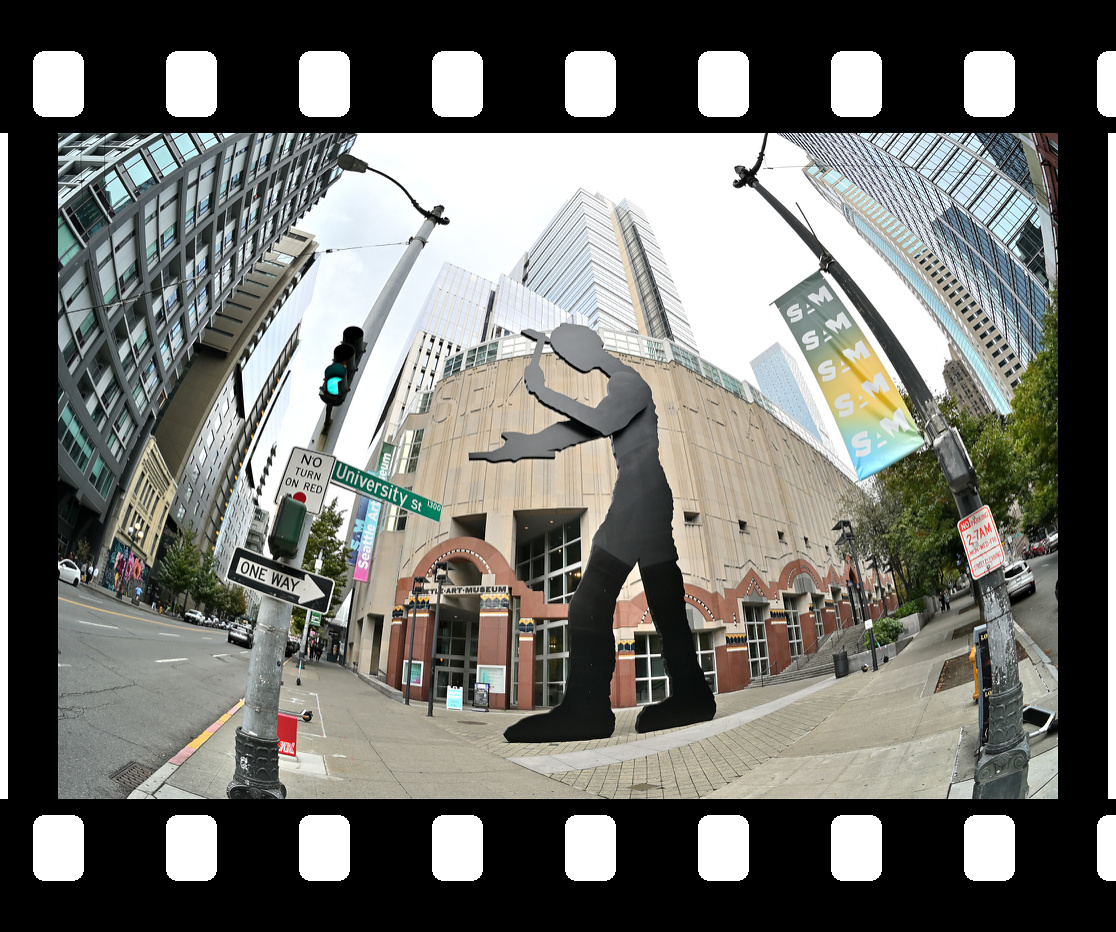
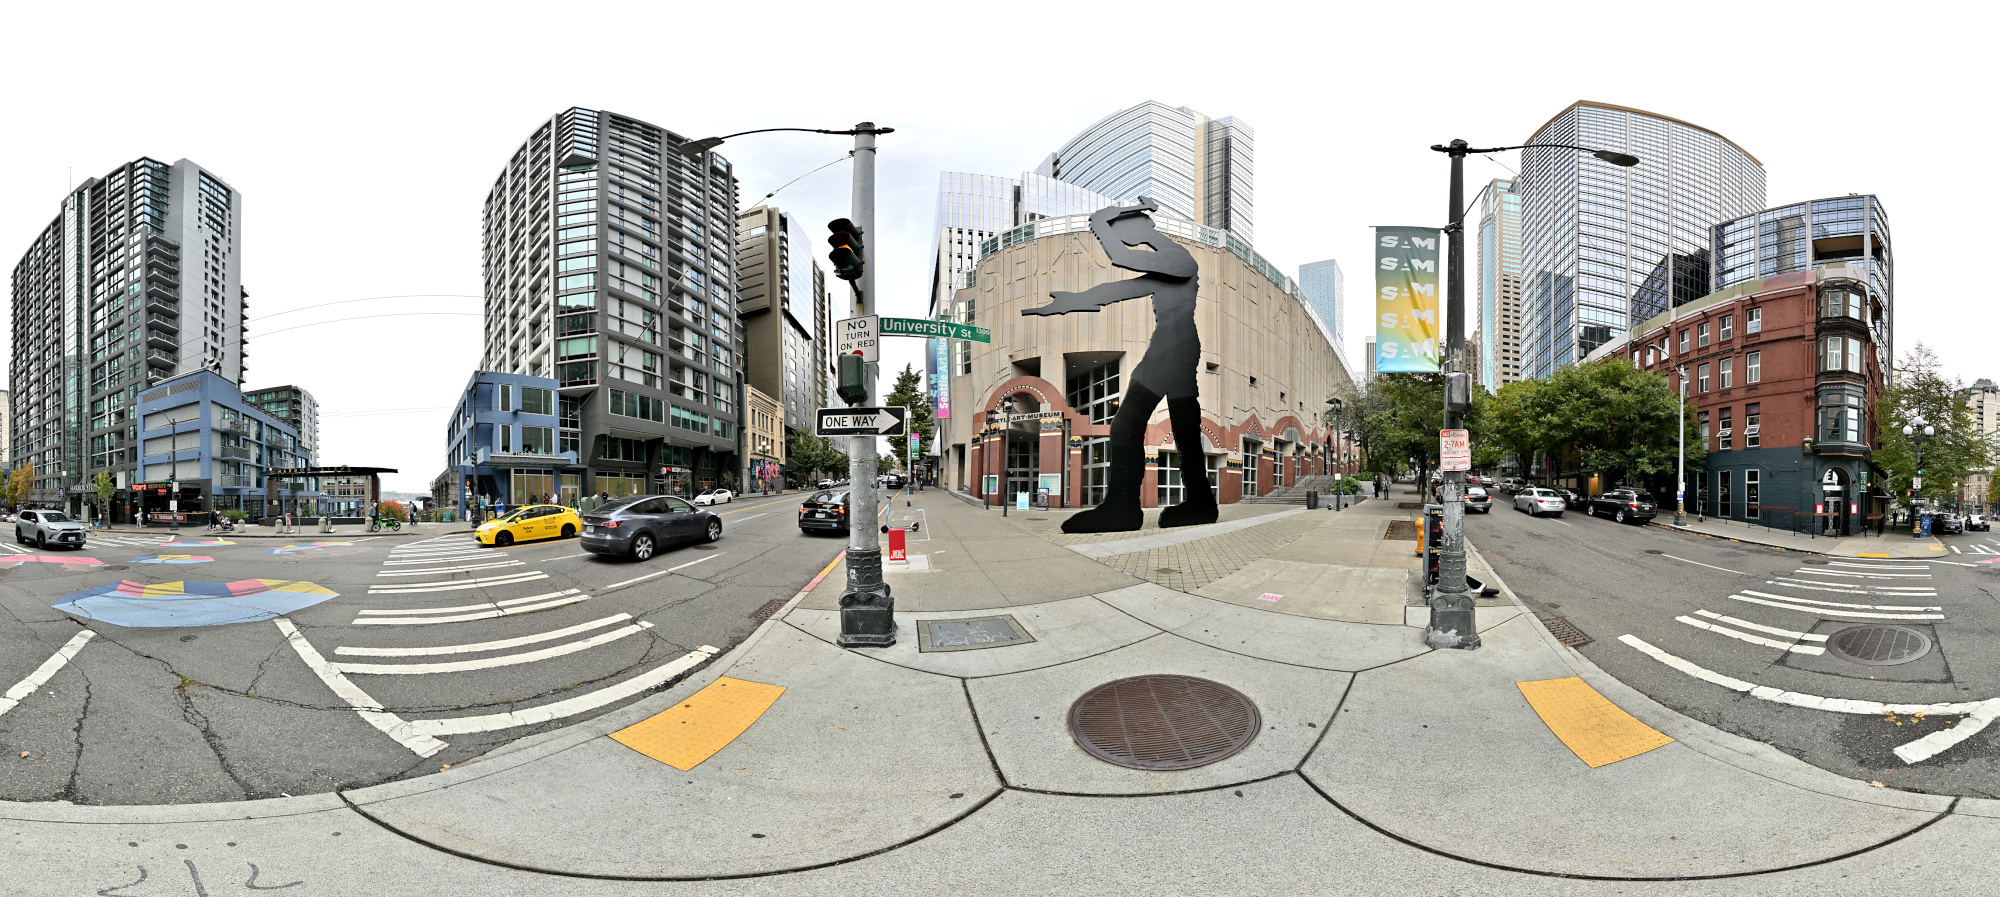
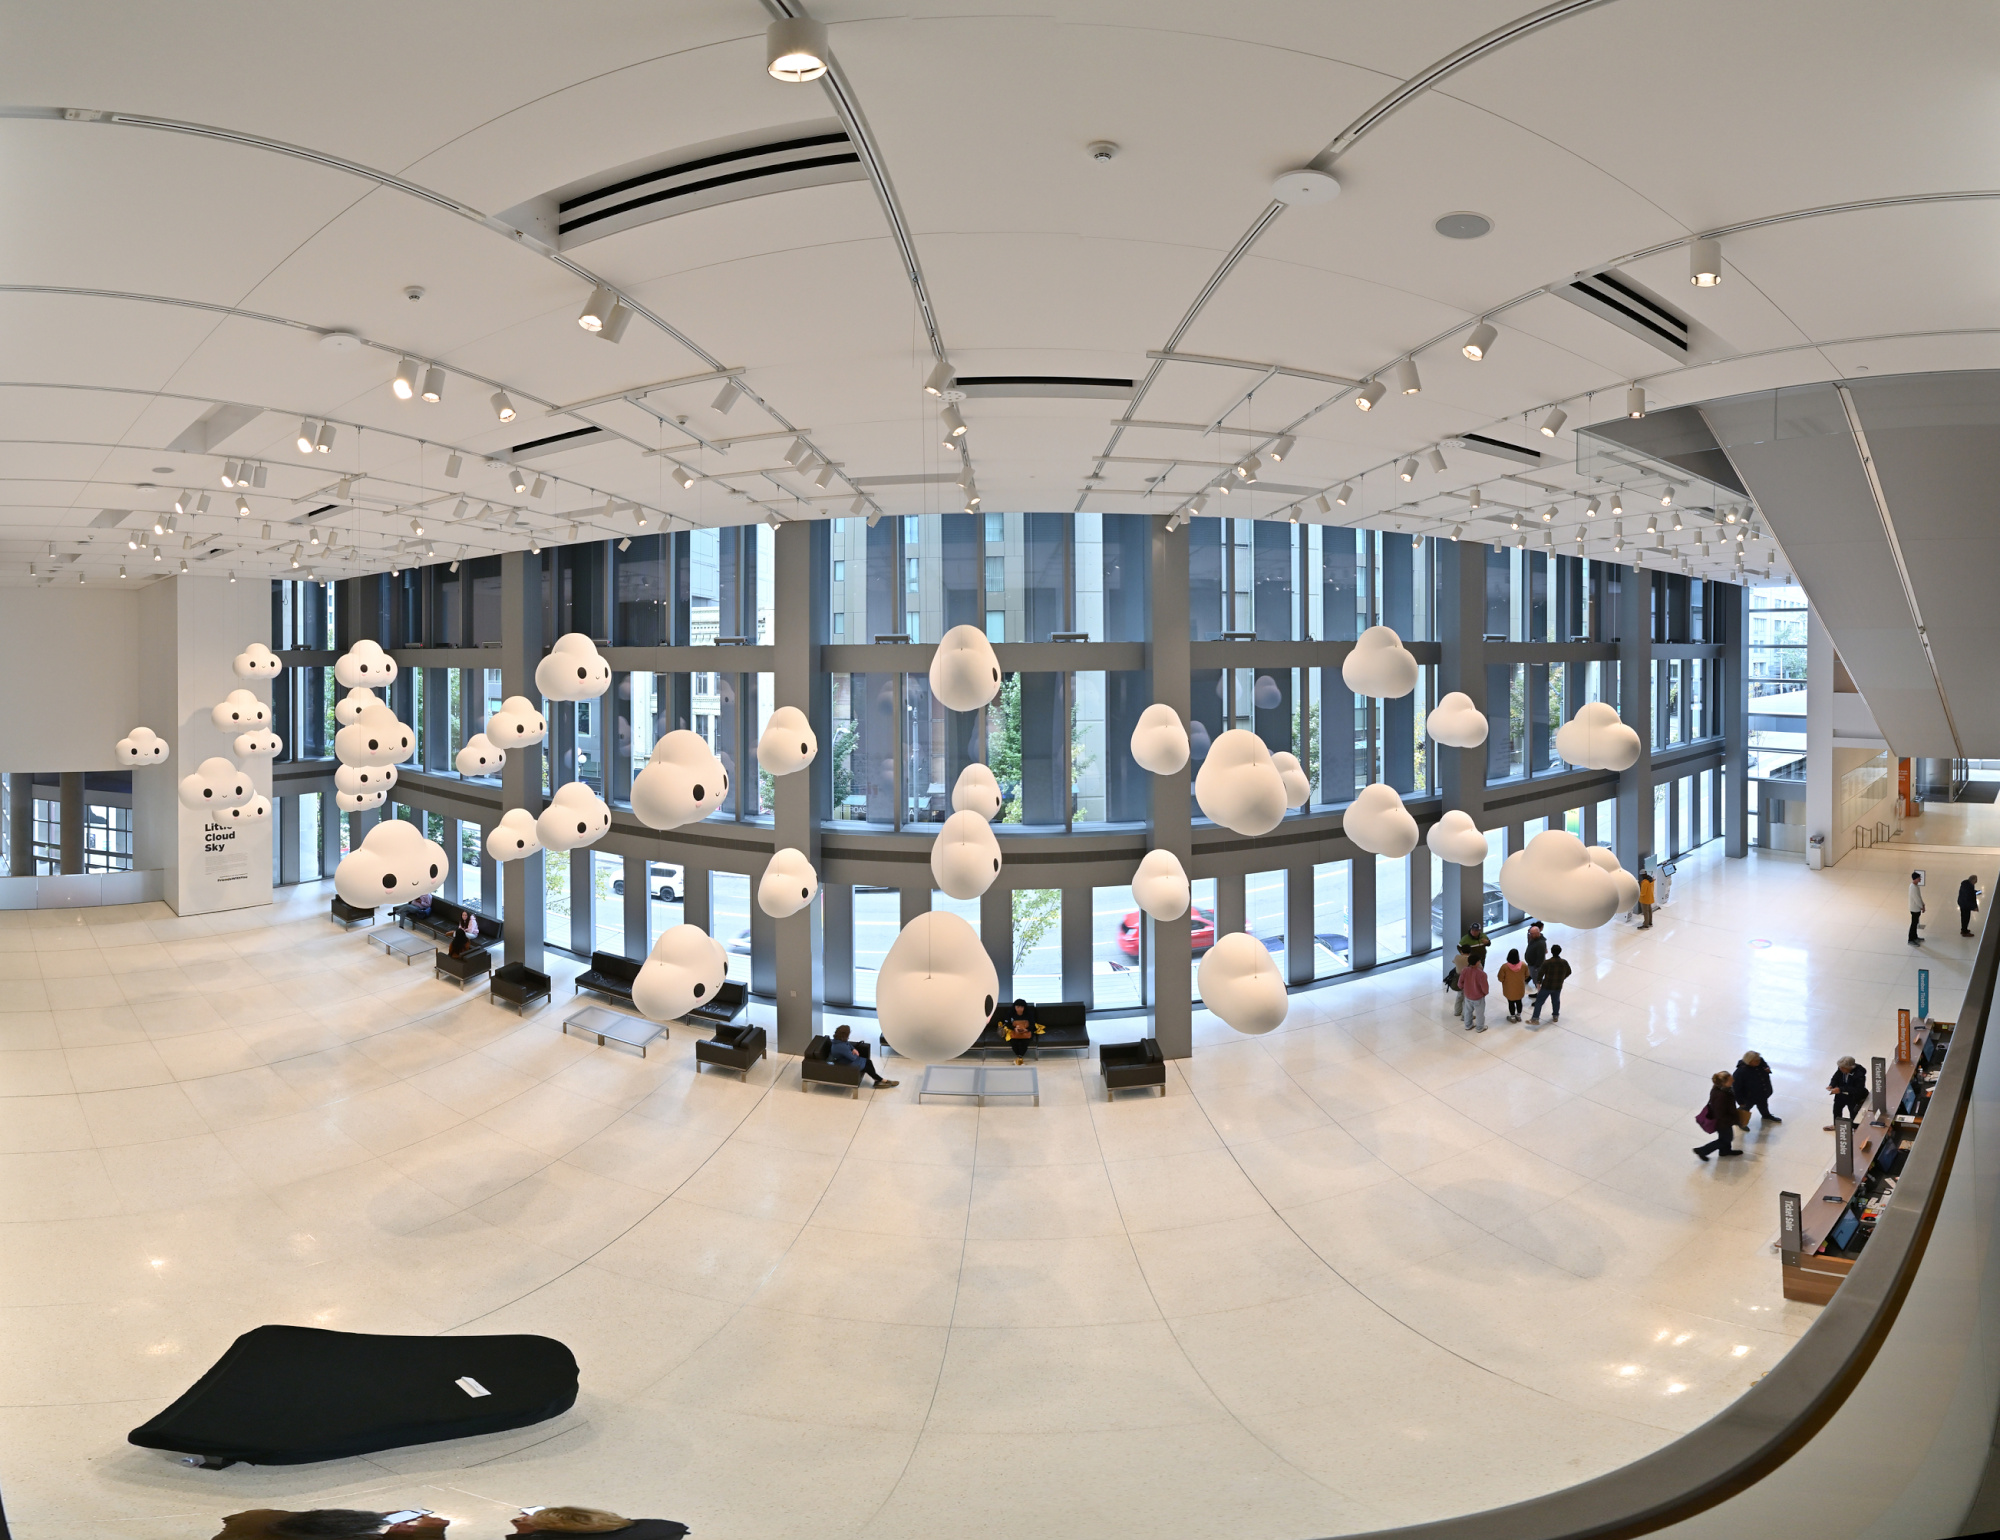
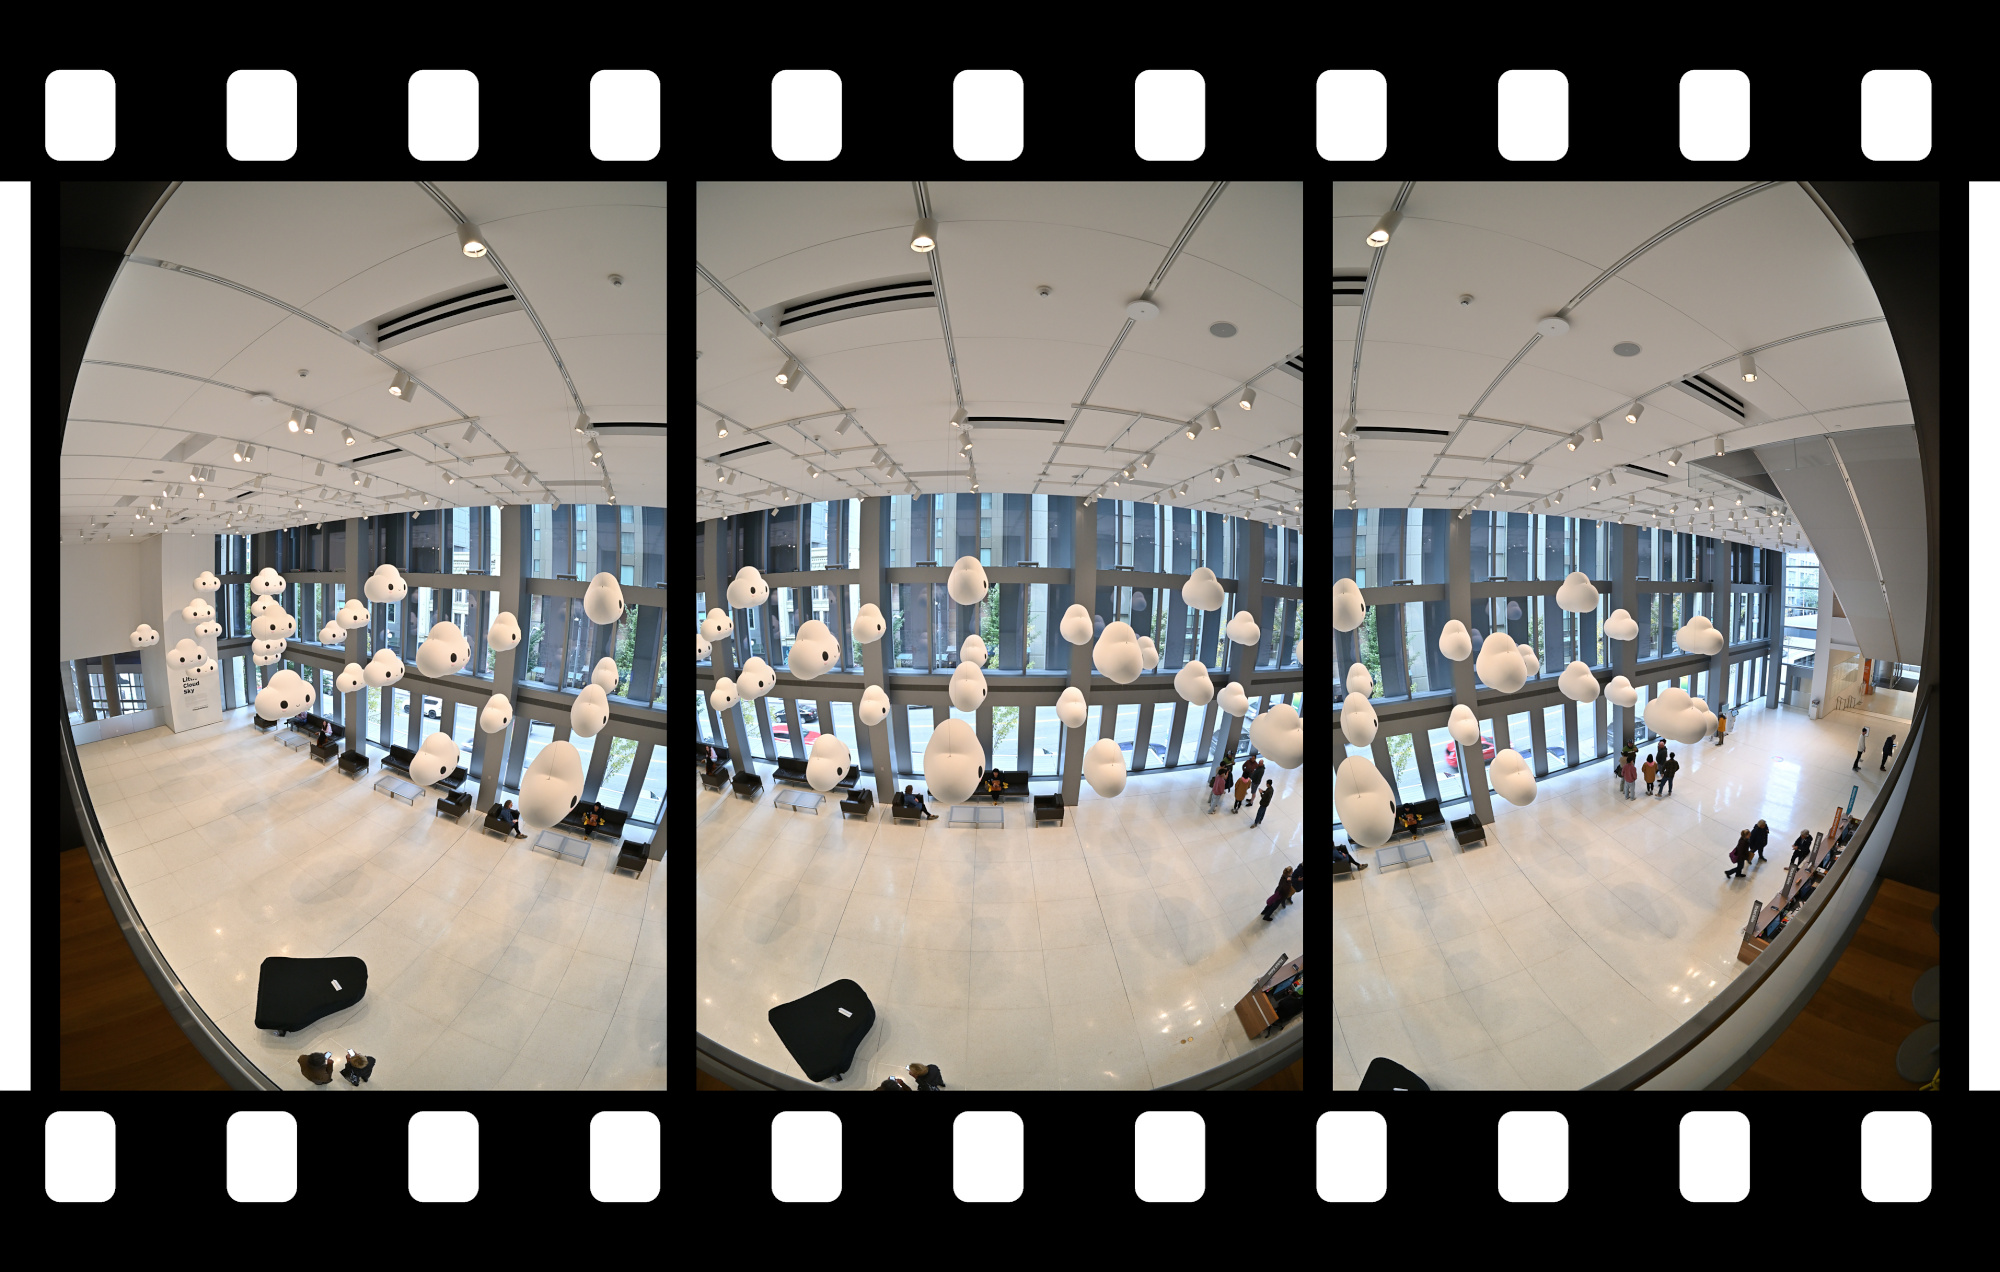
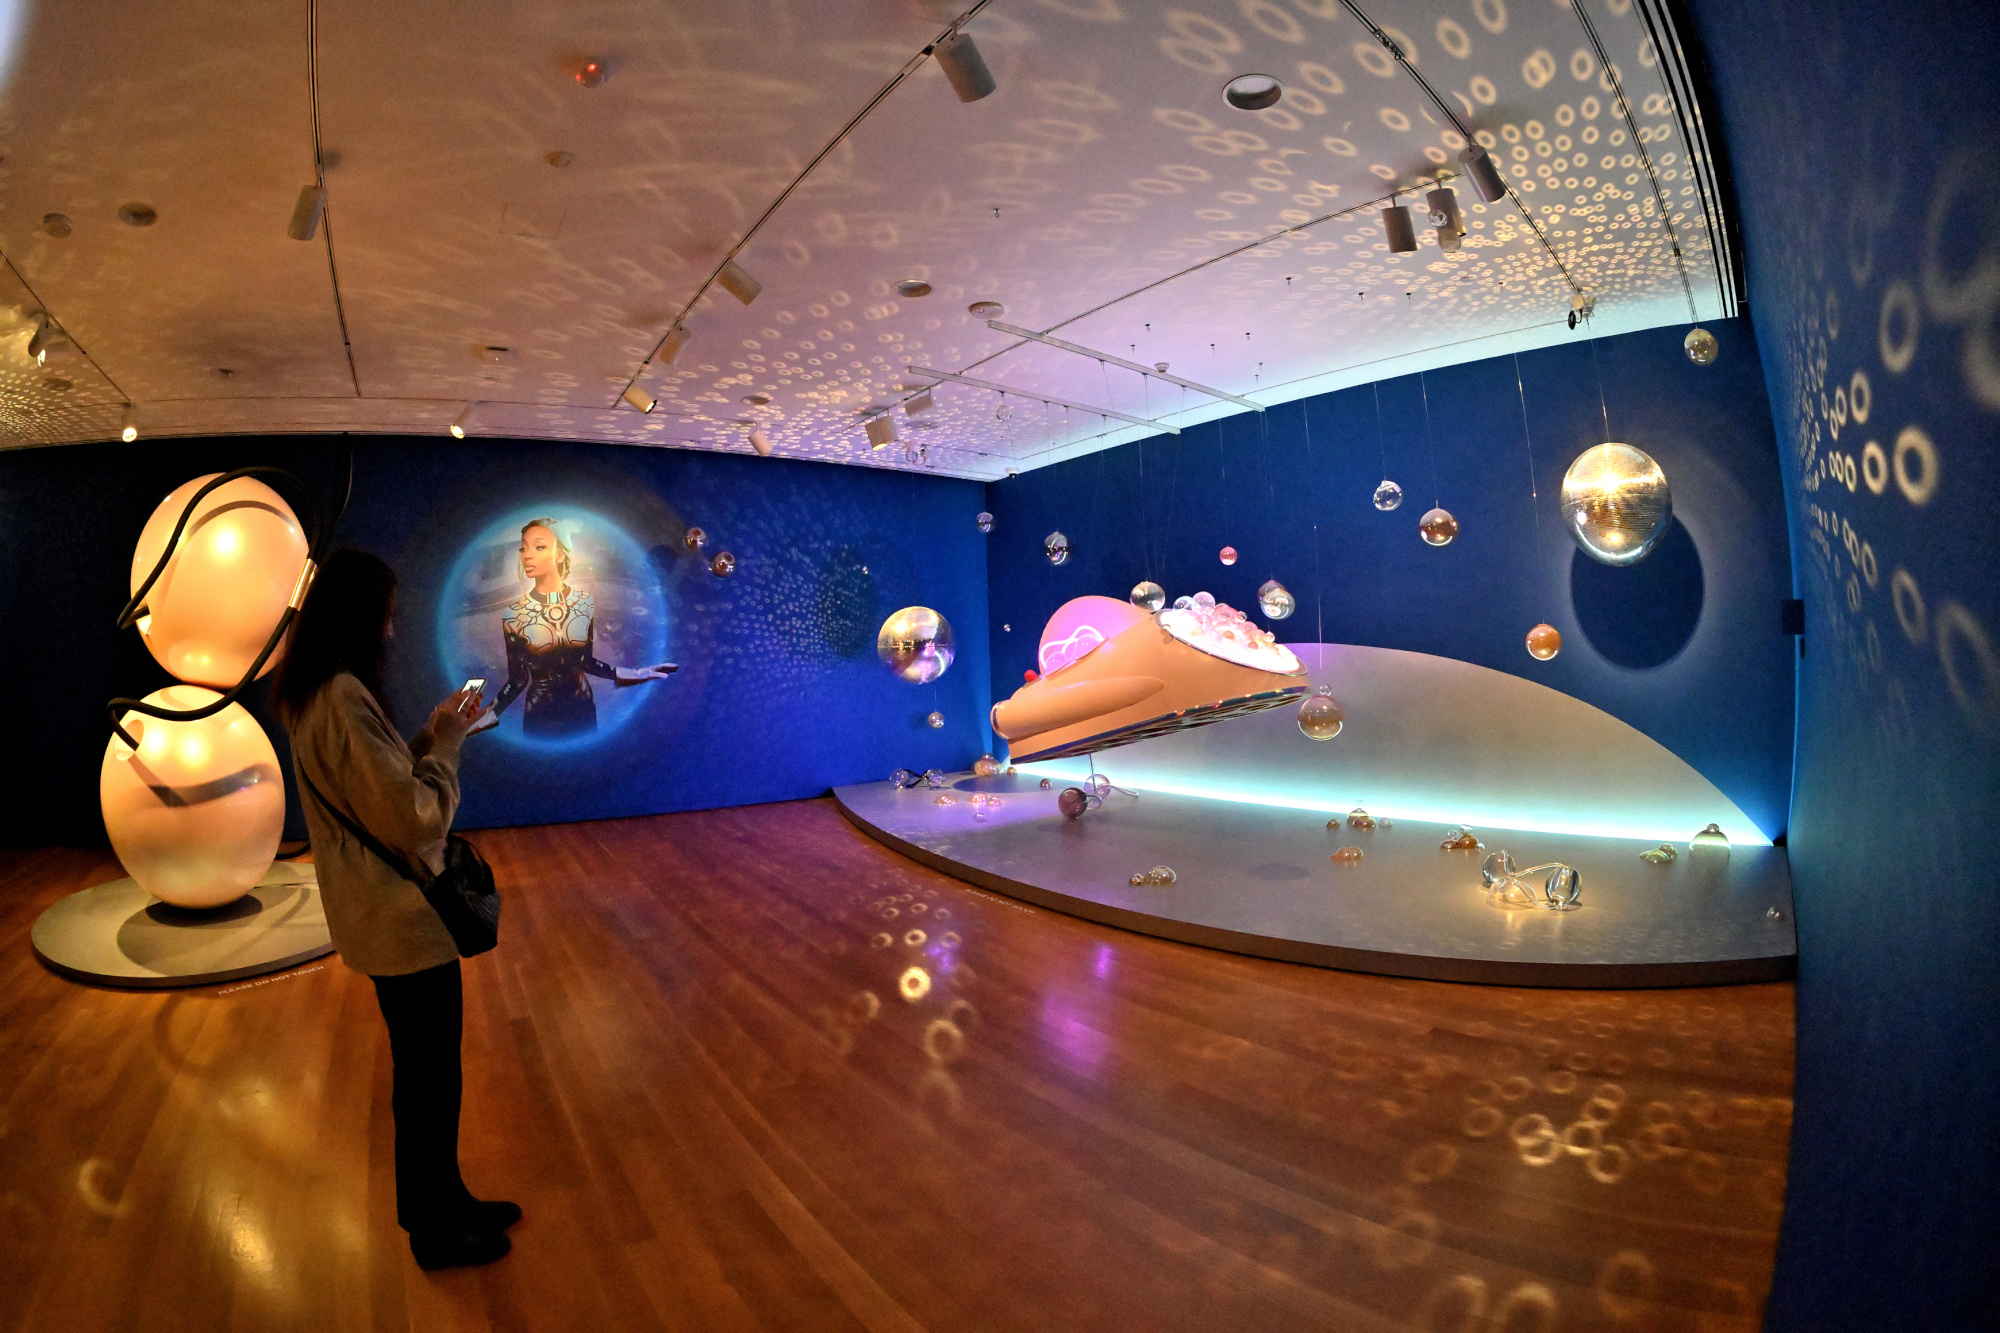
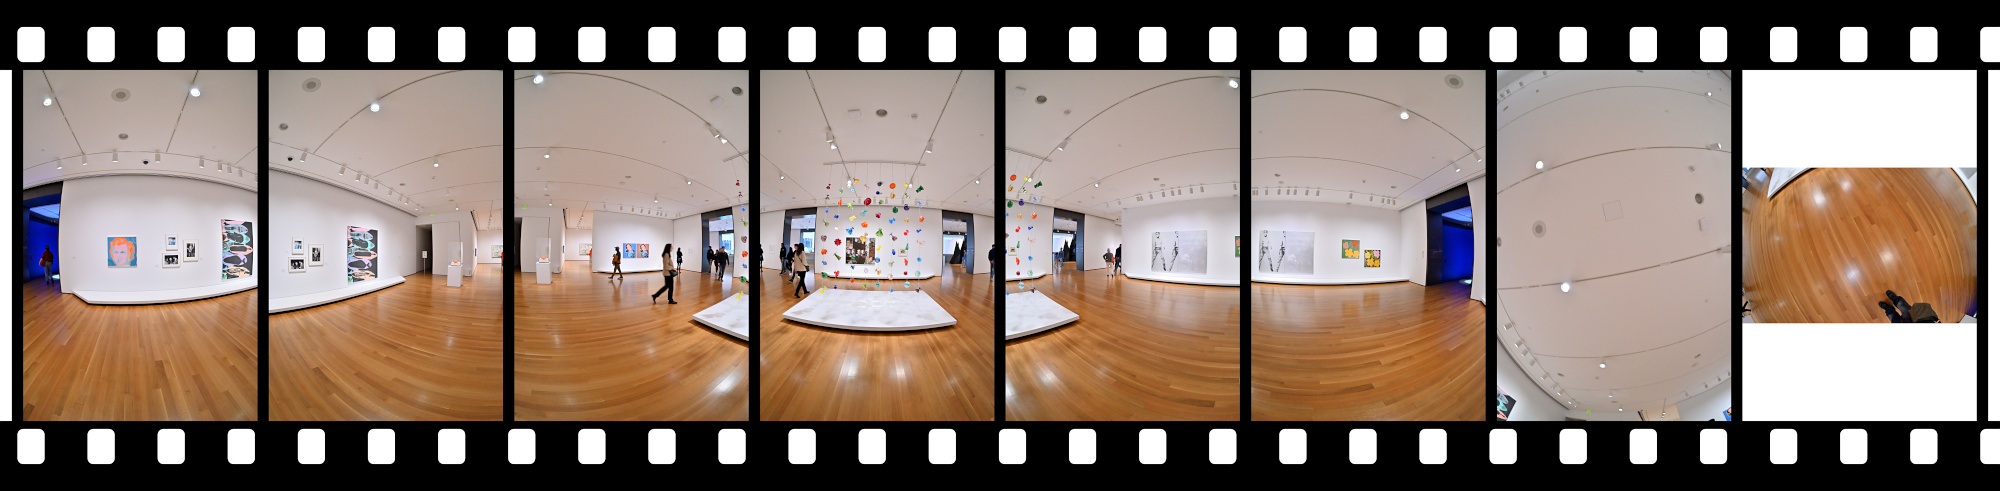
Where architecture curves into art — captured in a fisheye projection1/200s f/5,6 ISO 200/24° f=7,5mm
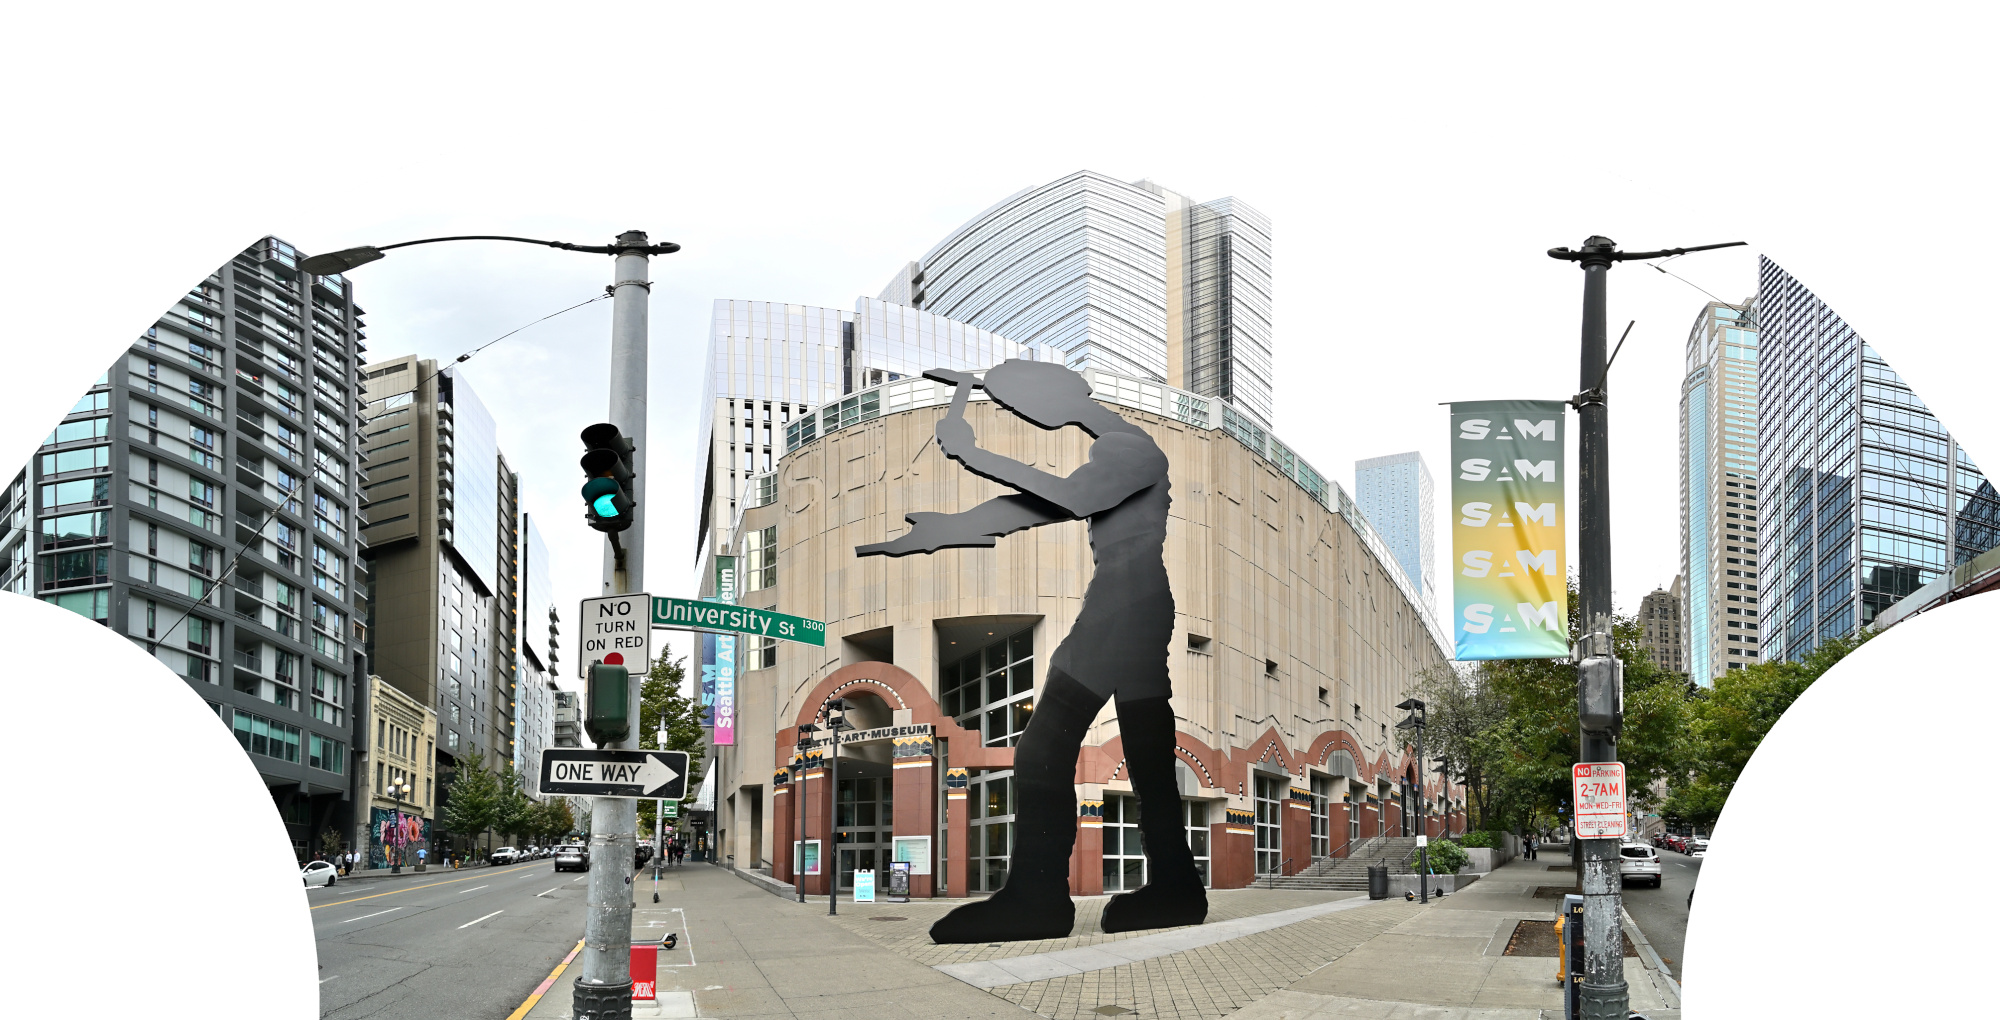
Interactive Panorama Seattle Art Museum 1
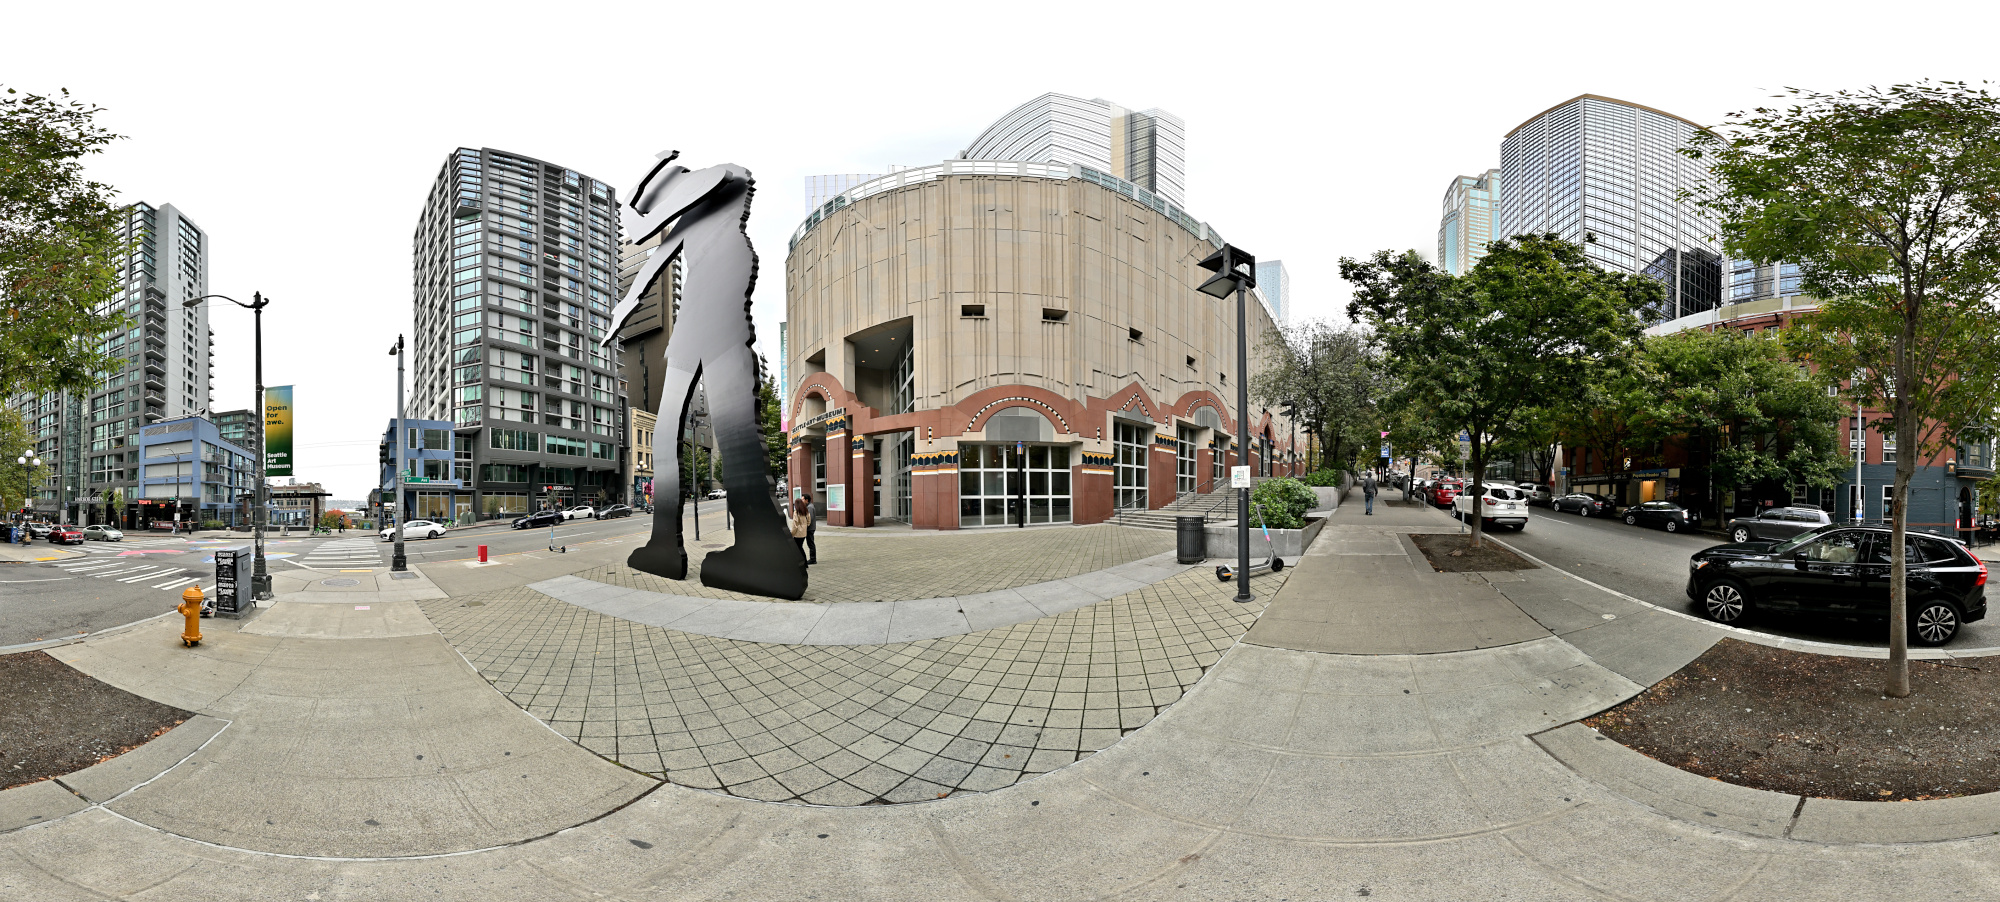
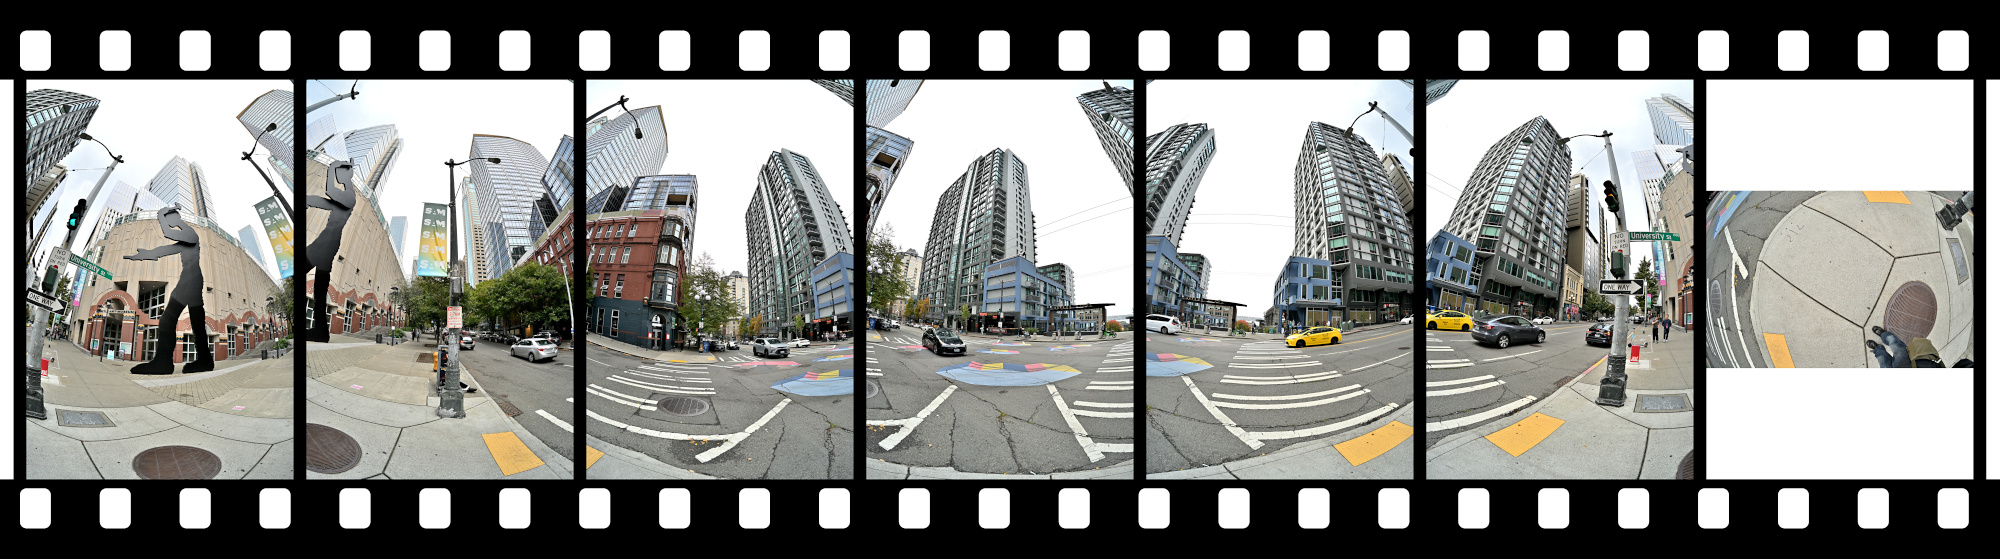
1/200s f/5,6 ISO 200/24° f=7,5mm
Interactive Panorama Seattle Art Museum 2
1/200s f/5,6 ISO 200/24° f=7,5mm
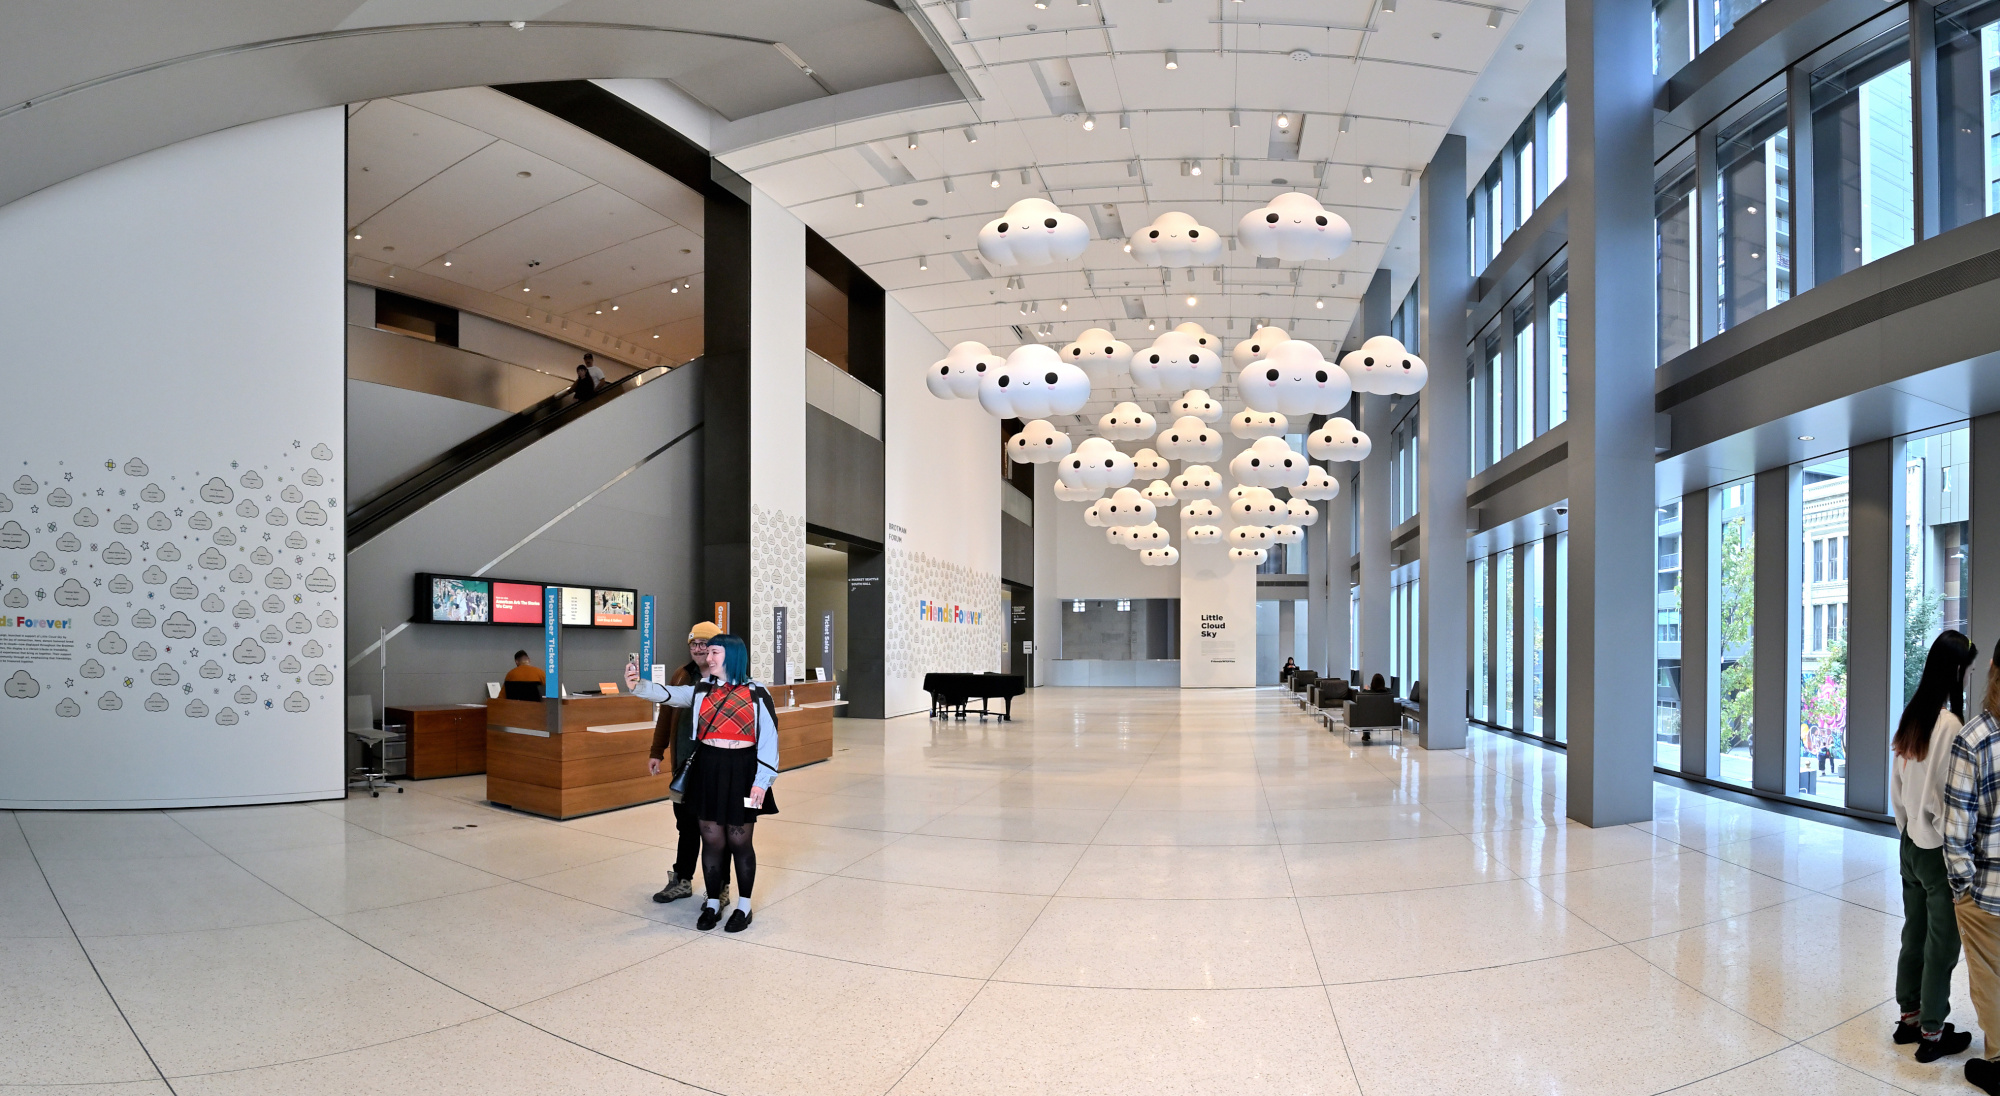
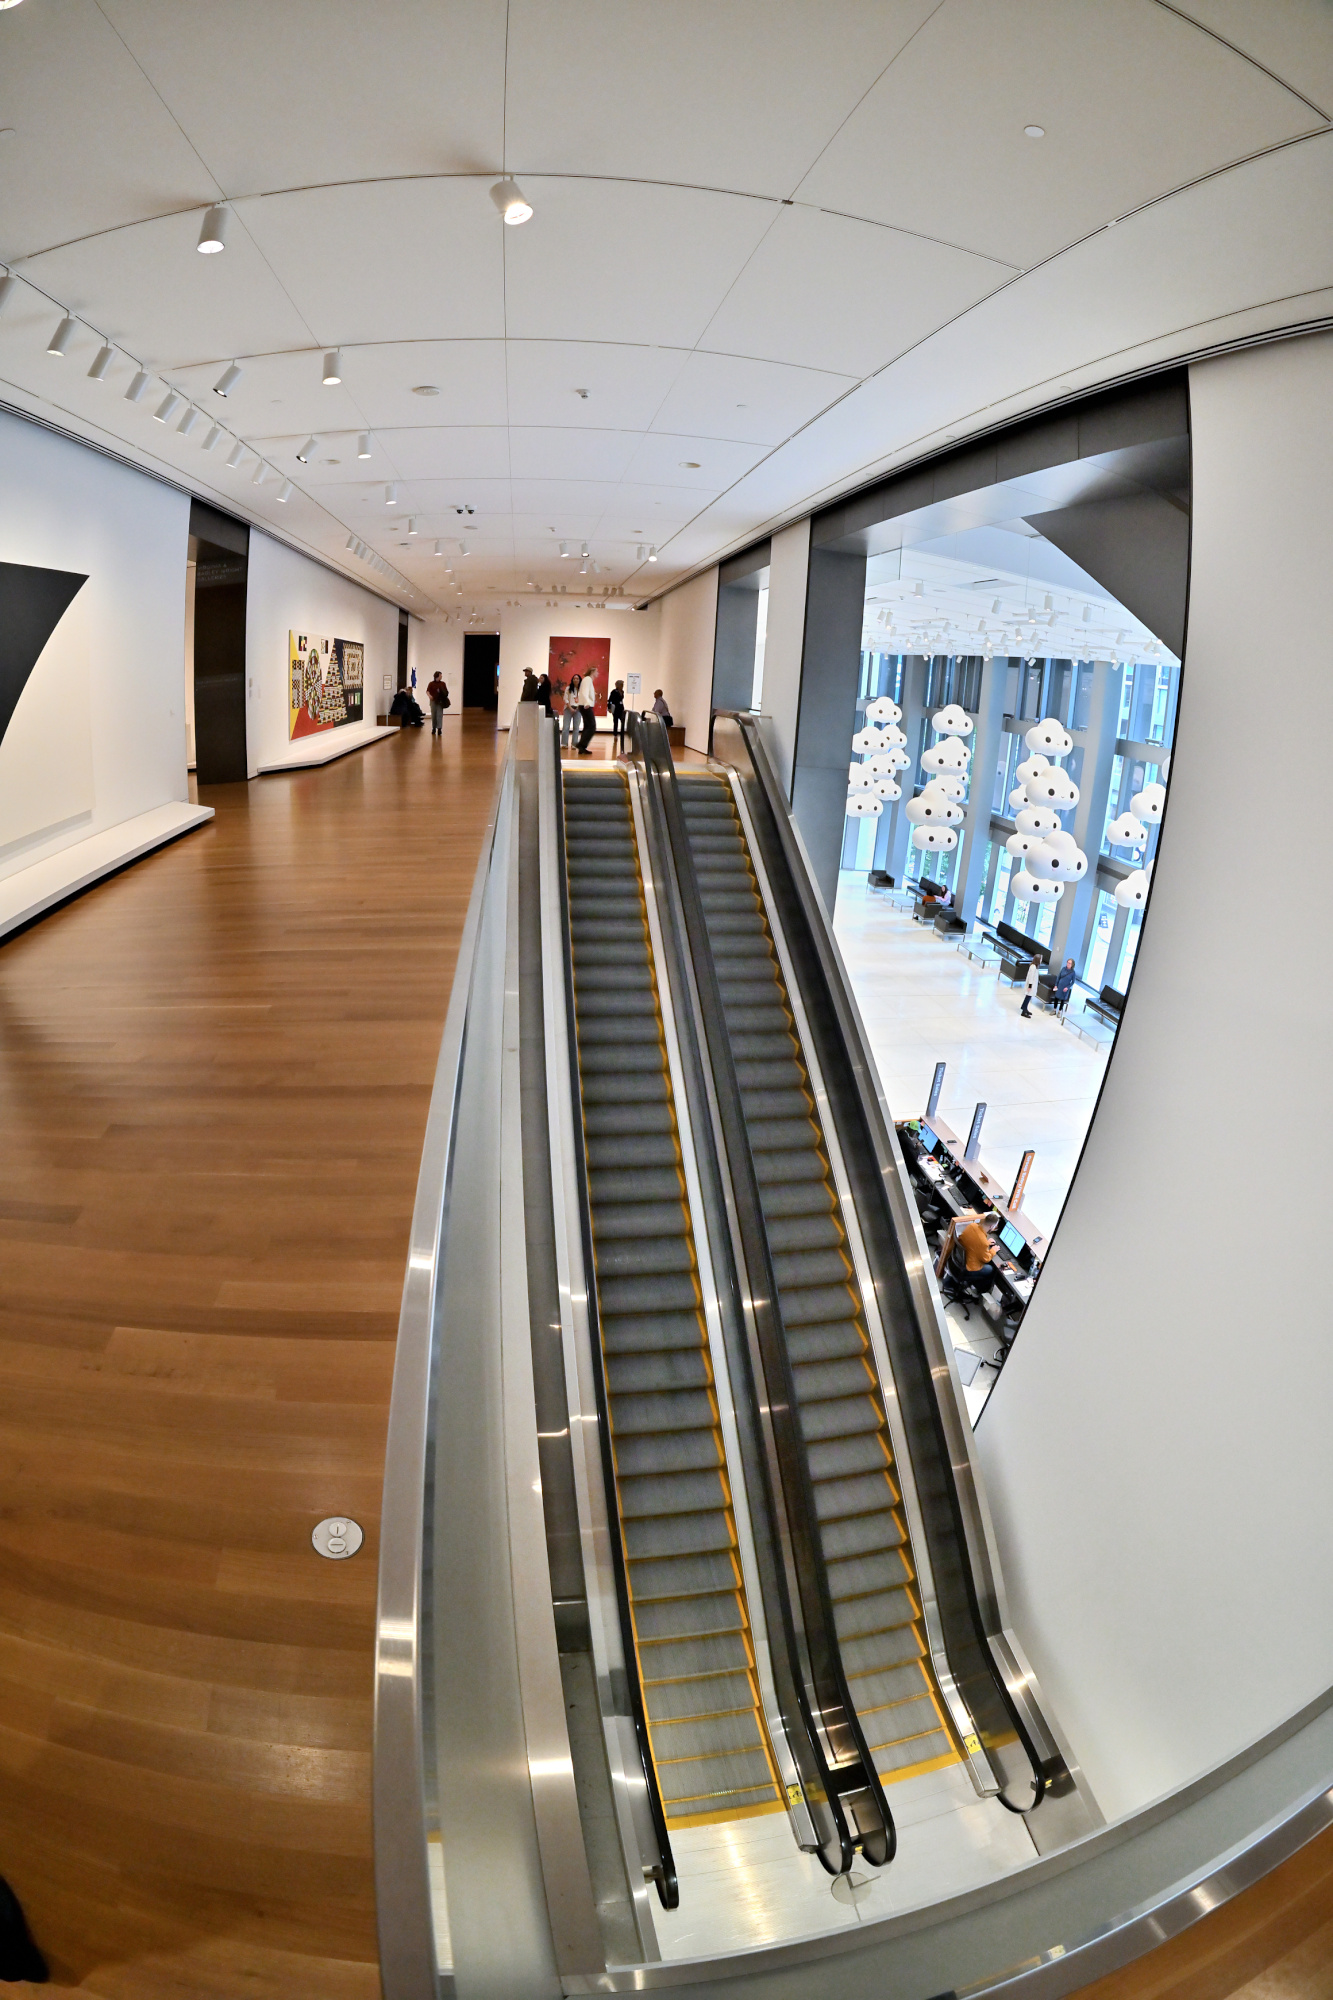
FriendsWithYou: Little Cloud Sky
Location: Brotman Forum (Main Foyer)
1/50s f/5,6 ISO 640/29° f=7,5mm
1/30s f/5,6 ISO 250/25° f=7,5mm
1/40s f/5,6 ISO 1000/31° f=7,5mm
1/30s f/5,6 ISO 2000/34° f=7,5mm
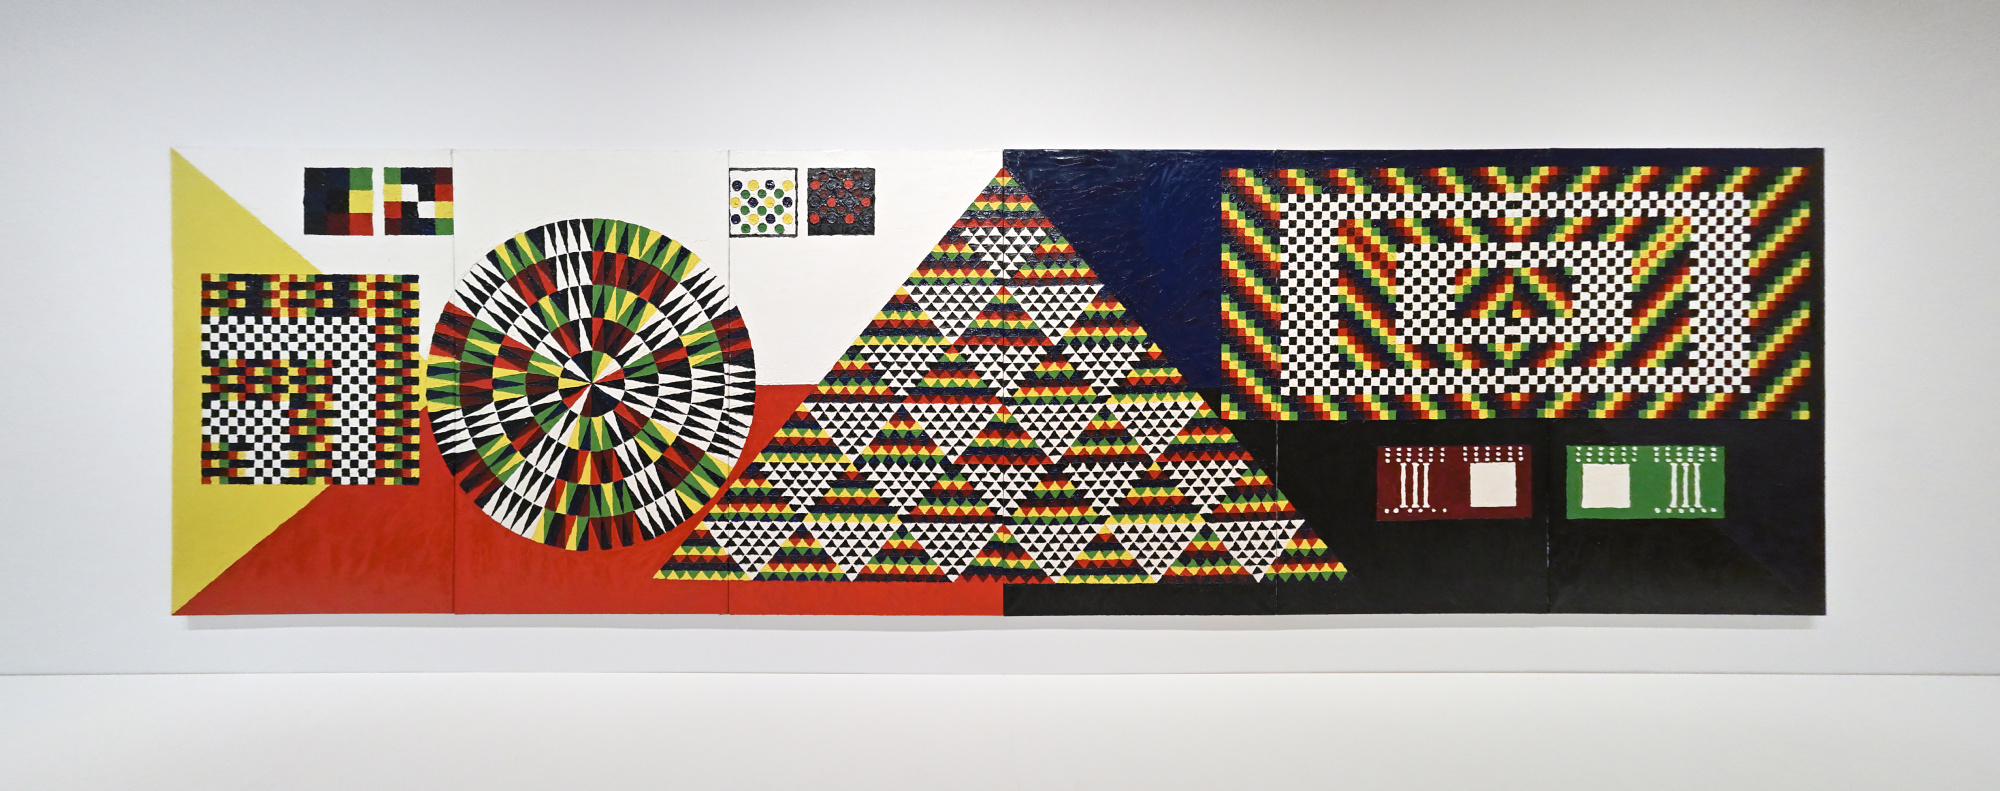
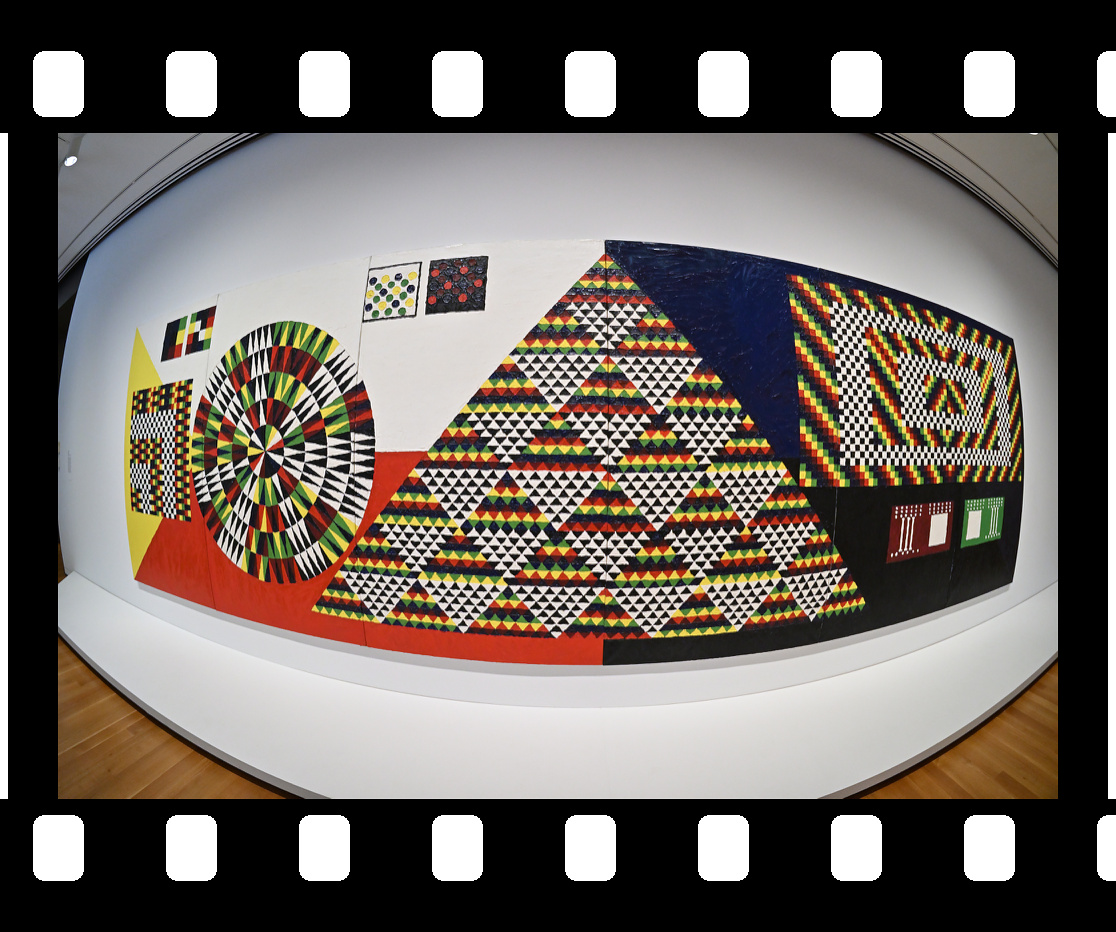
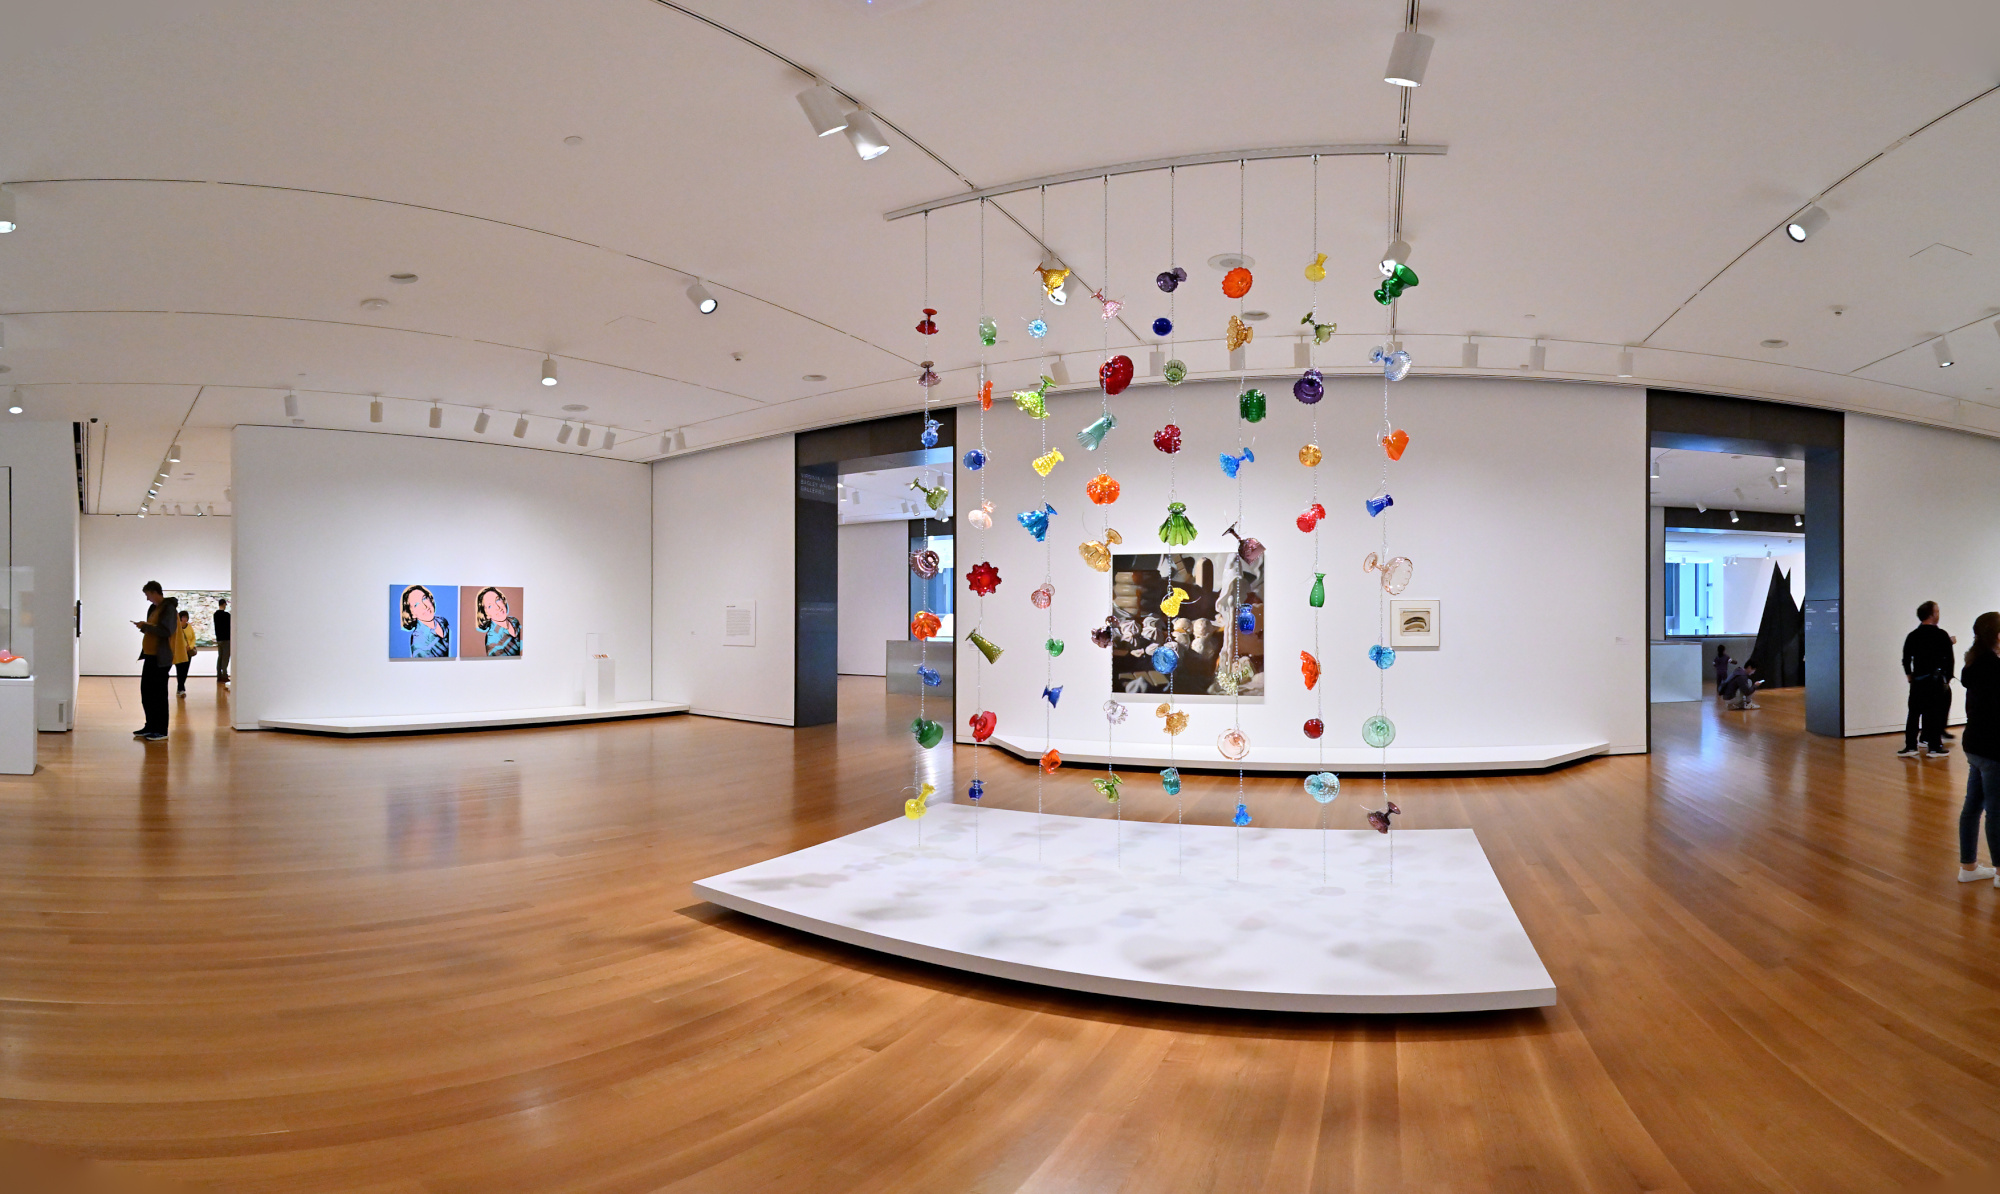
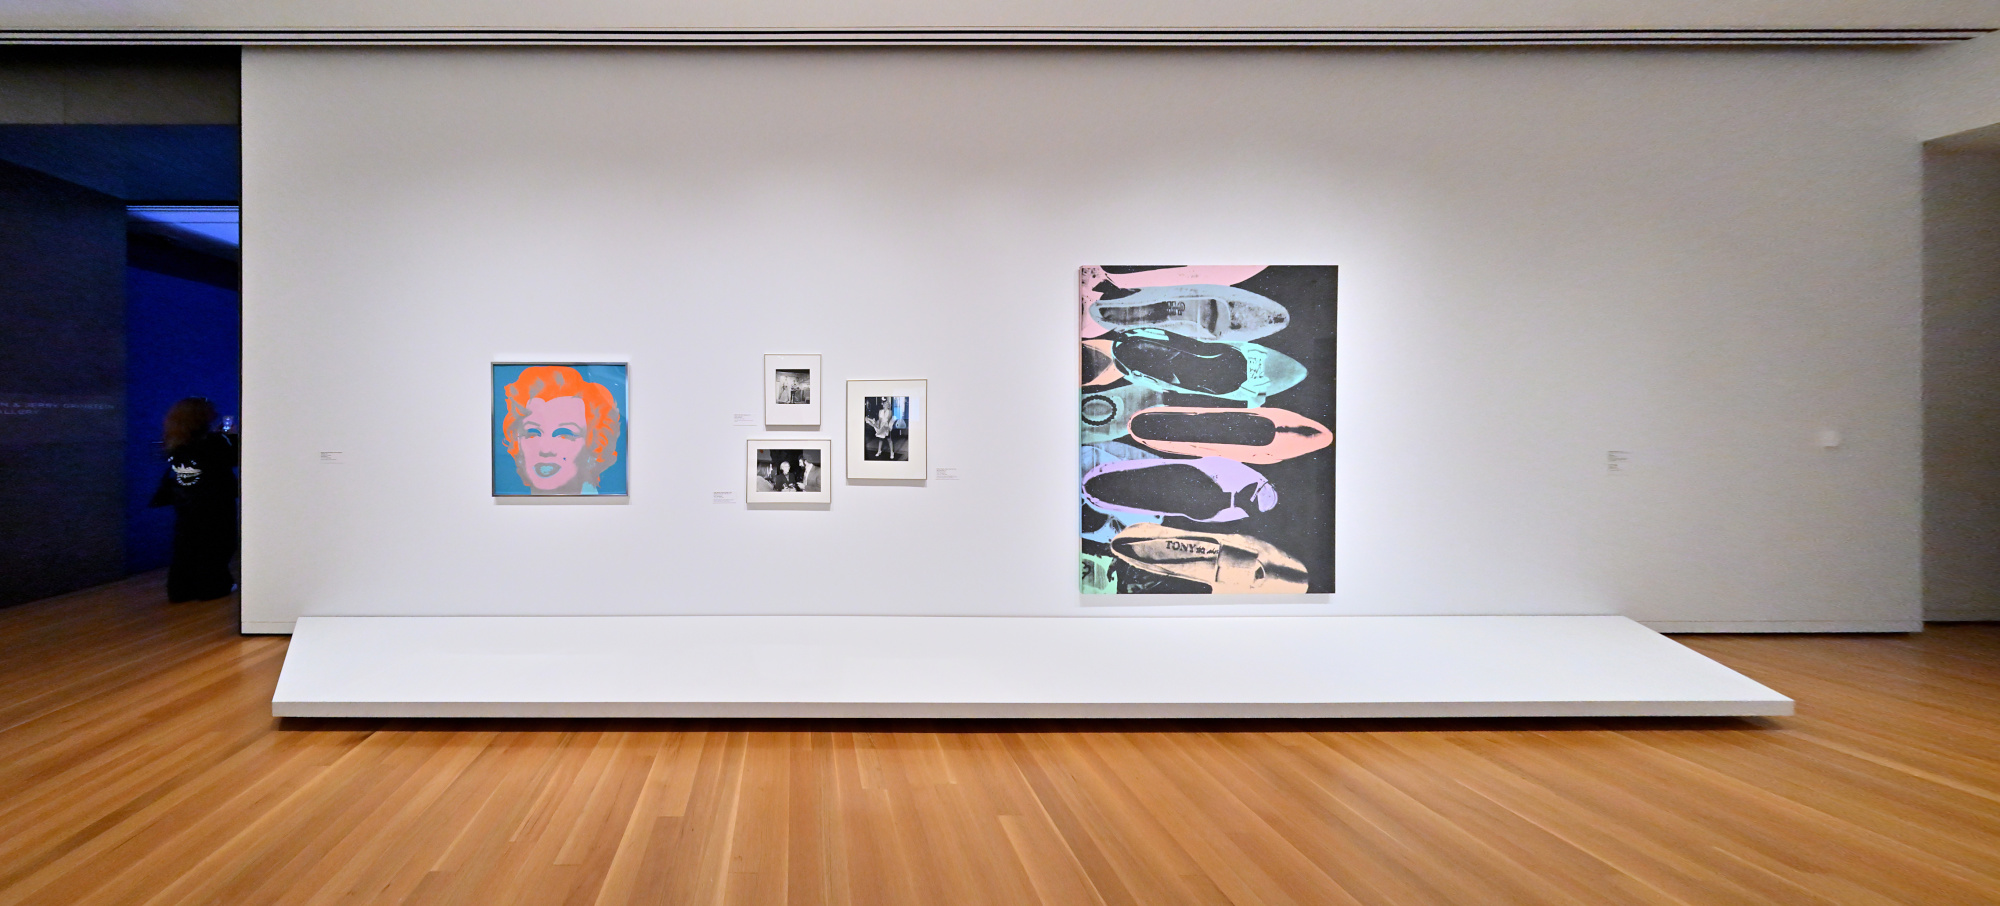
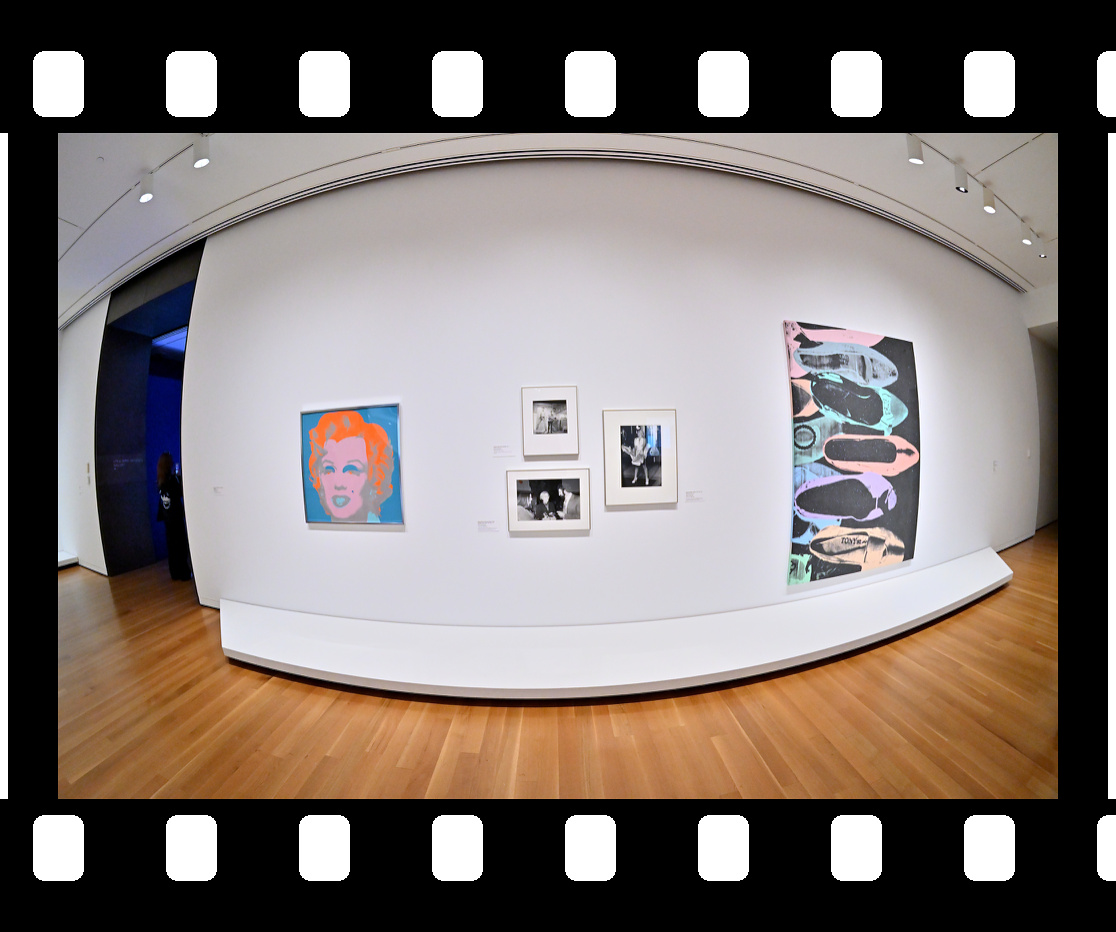
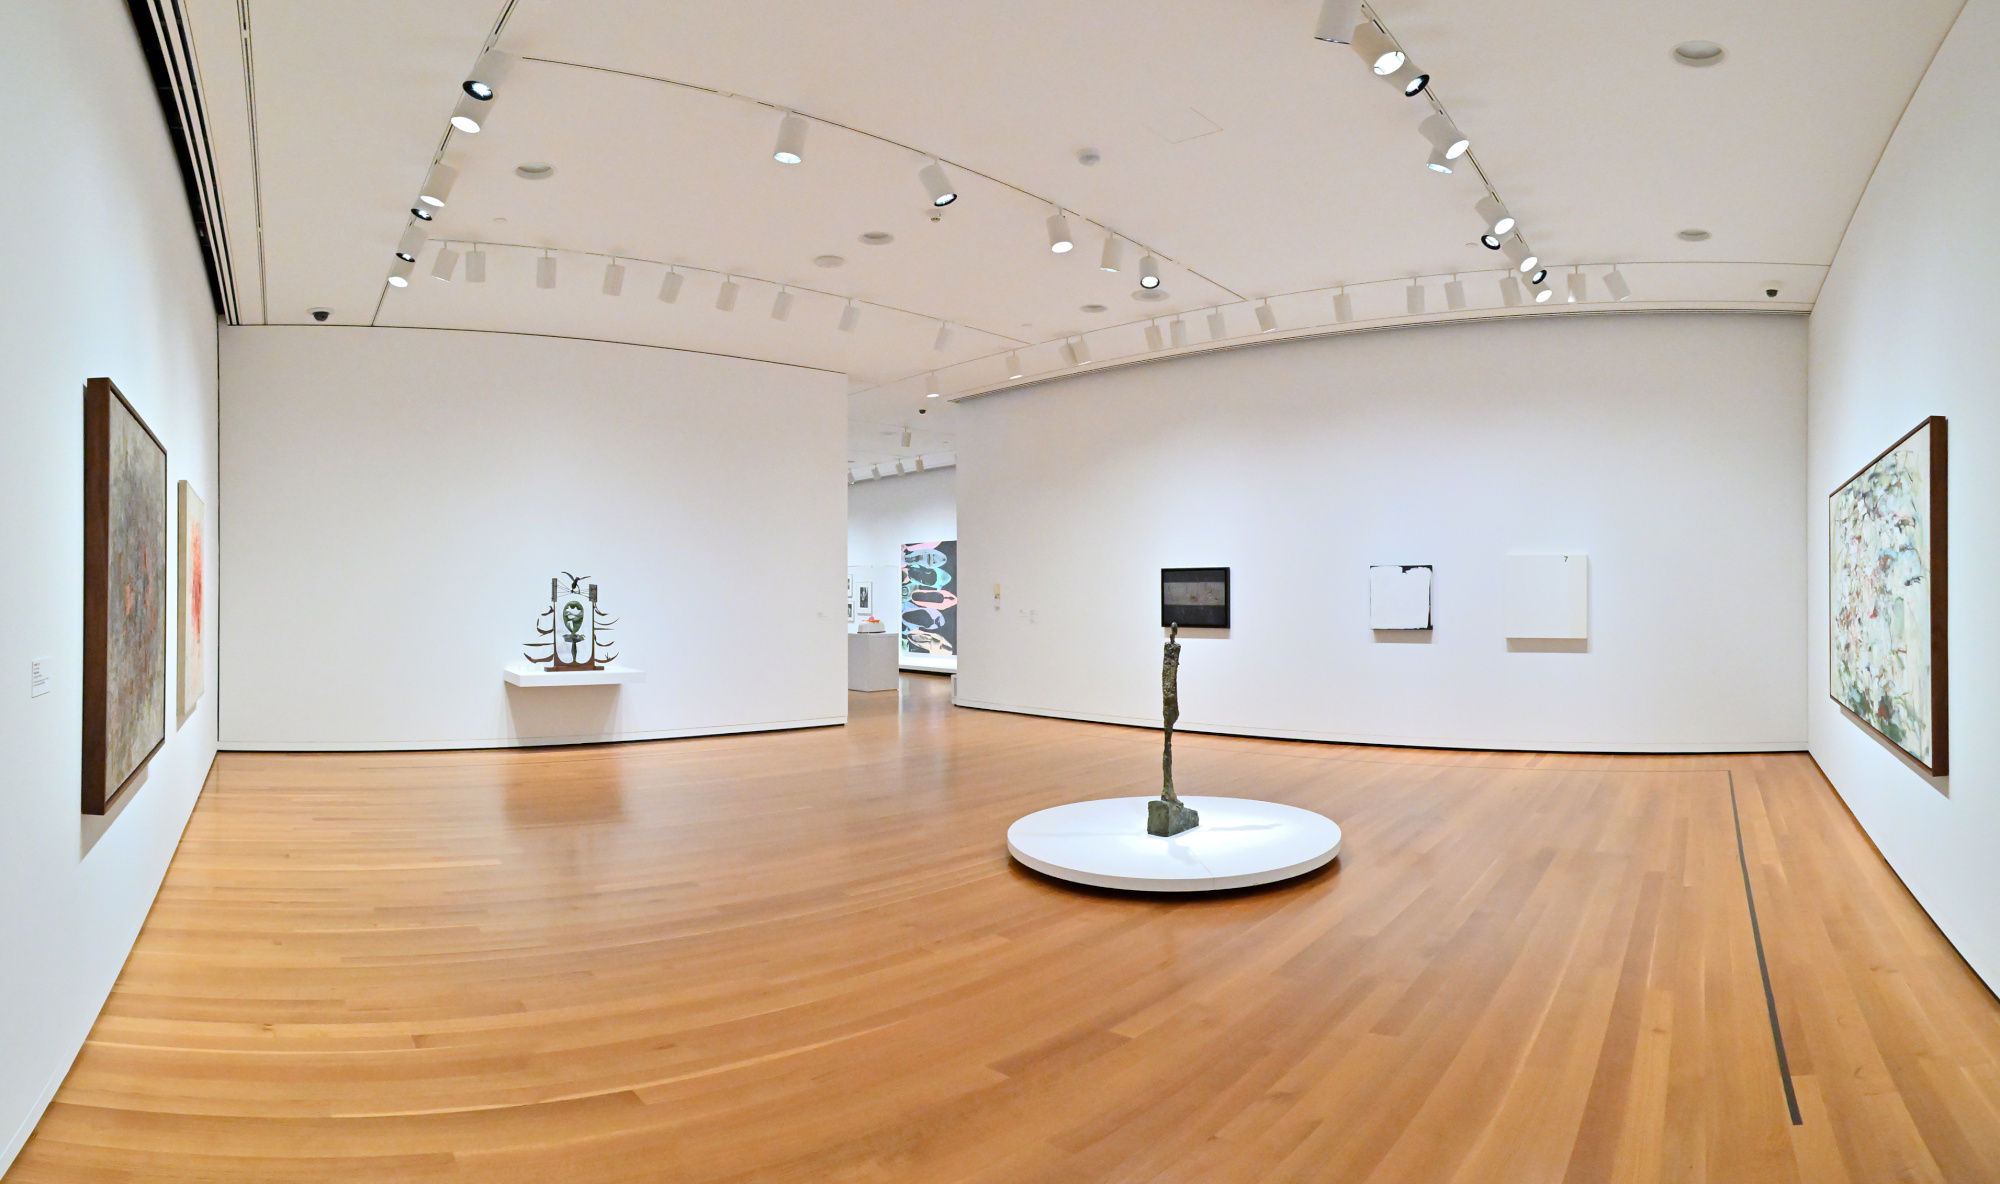
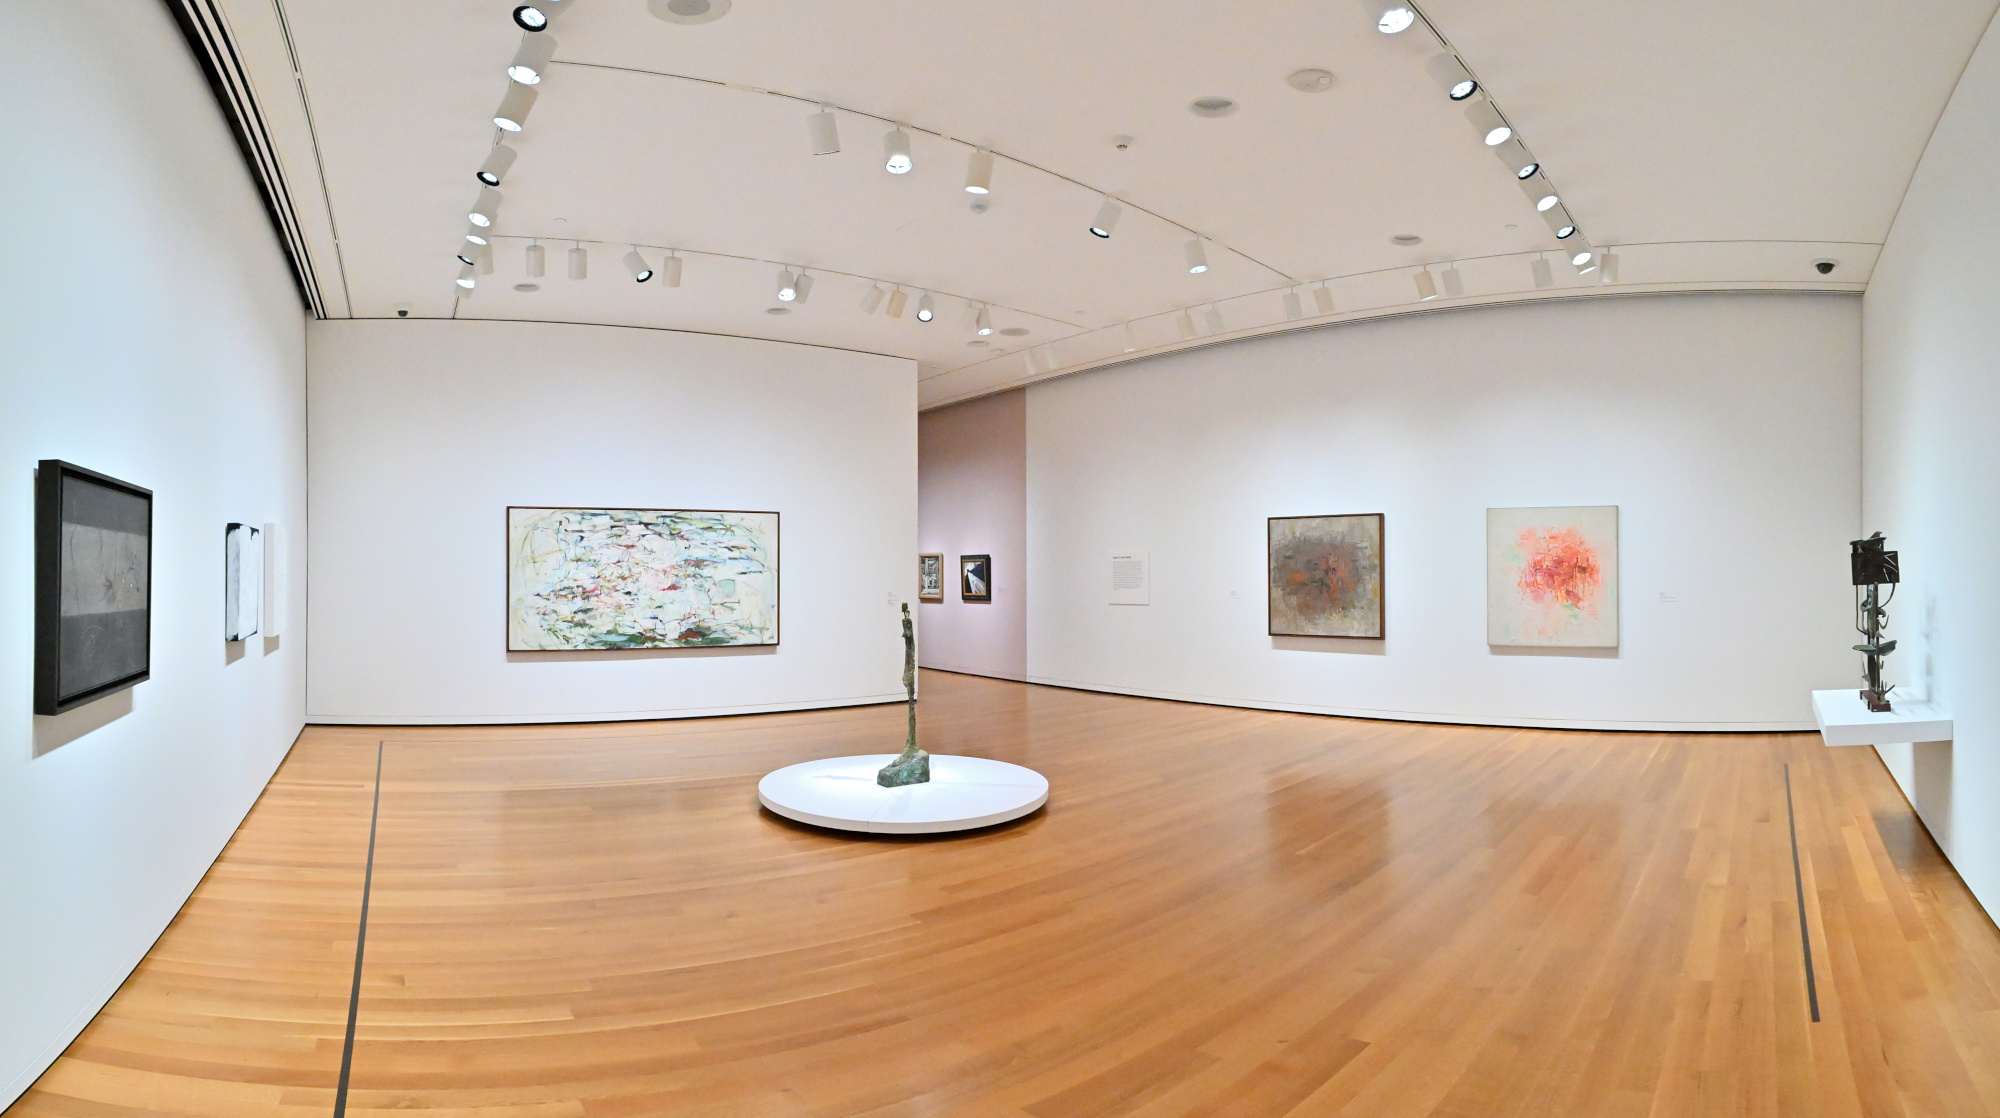
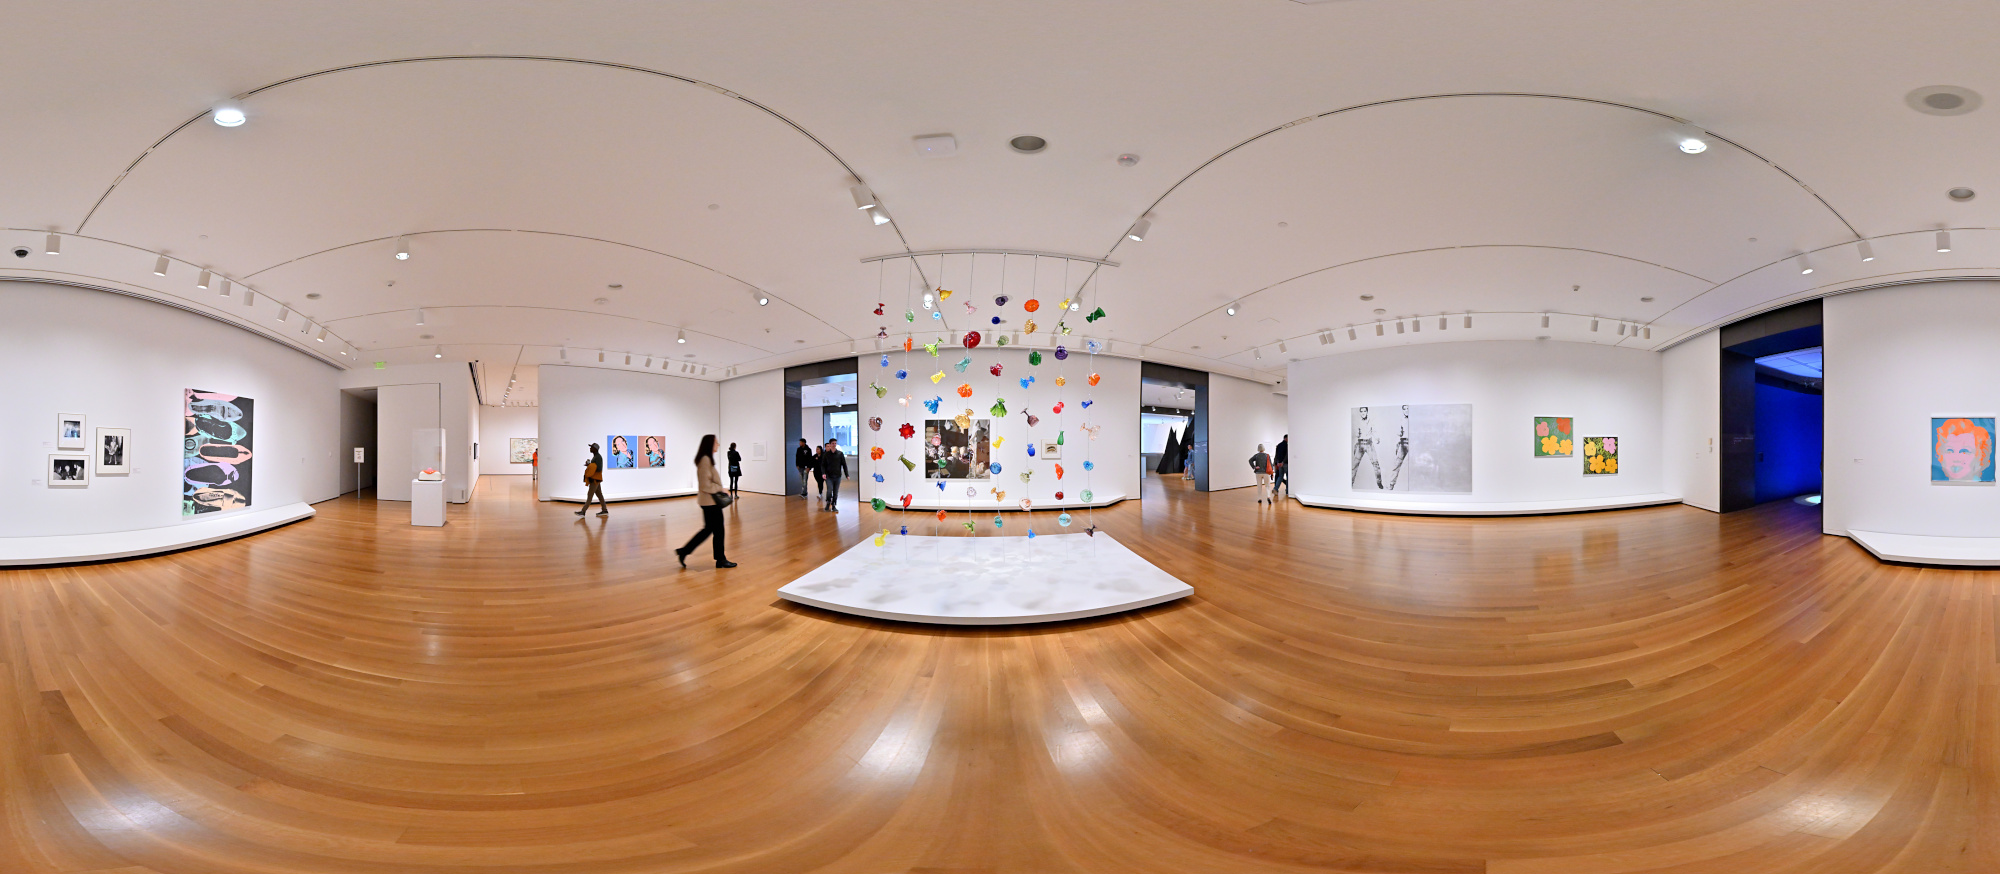
American Art: The Stories We Carry
This exhibition includes several works by Andy Warhol, highlighting his iconic Pop Art style.
1/40s f/5,6 ISO 2000/34° f=7,5mm
1/40s f/5,6 ISO 2500/35° f=7,5mm
1/40s f/5,6 ISO 6400/39° f=7,5mm
1/50s f/5,6 ISO 3200/36° f=7,5mm
1/50s f/5,6 ISO 3200/36° f=7,5mm
Interactive Panorama American Art: The Stories We Carry
1/40s f/5,6 ISO 2500/35° f=7,5mm
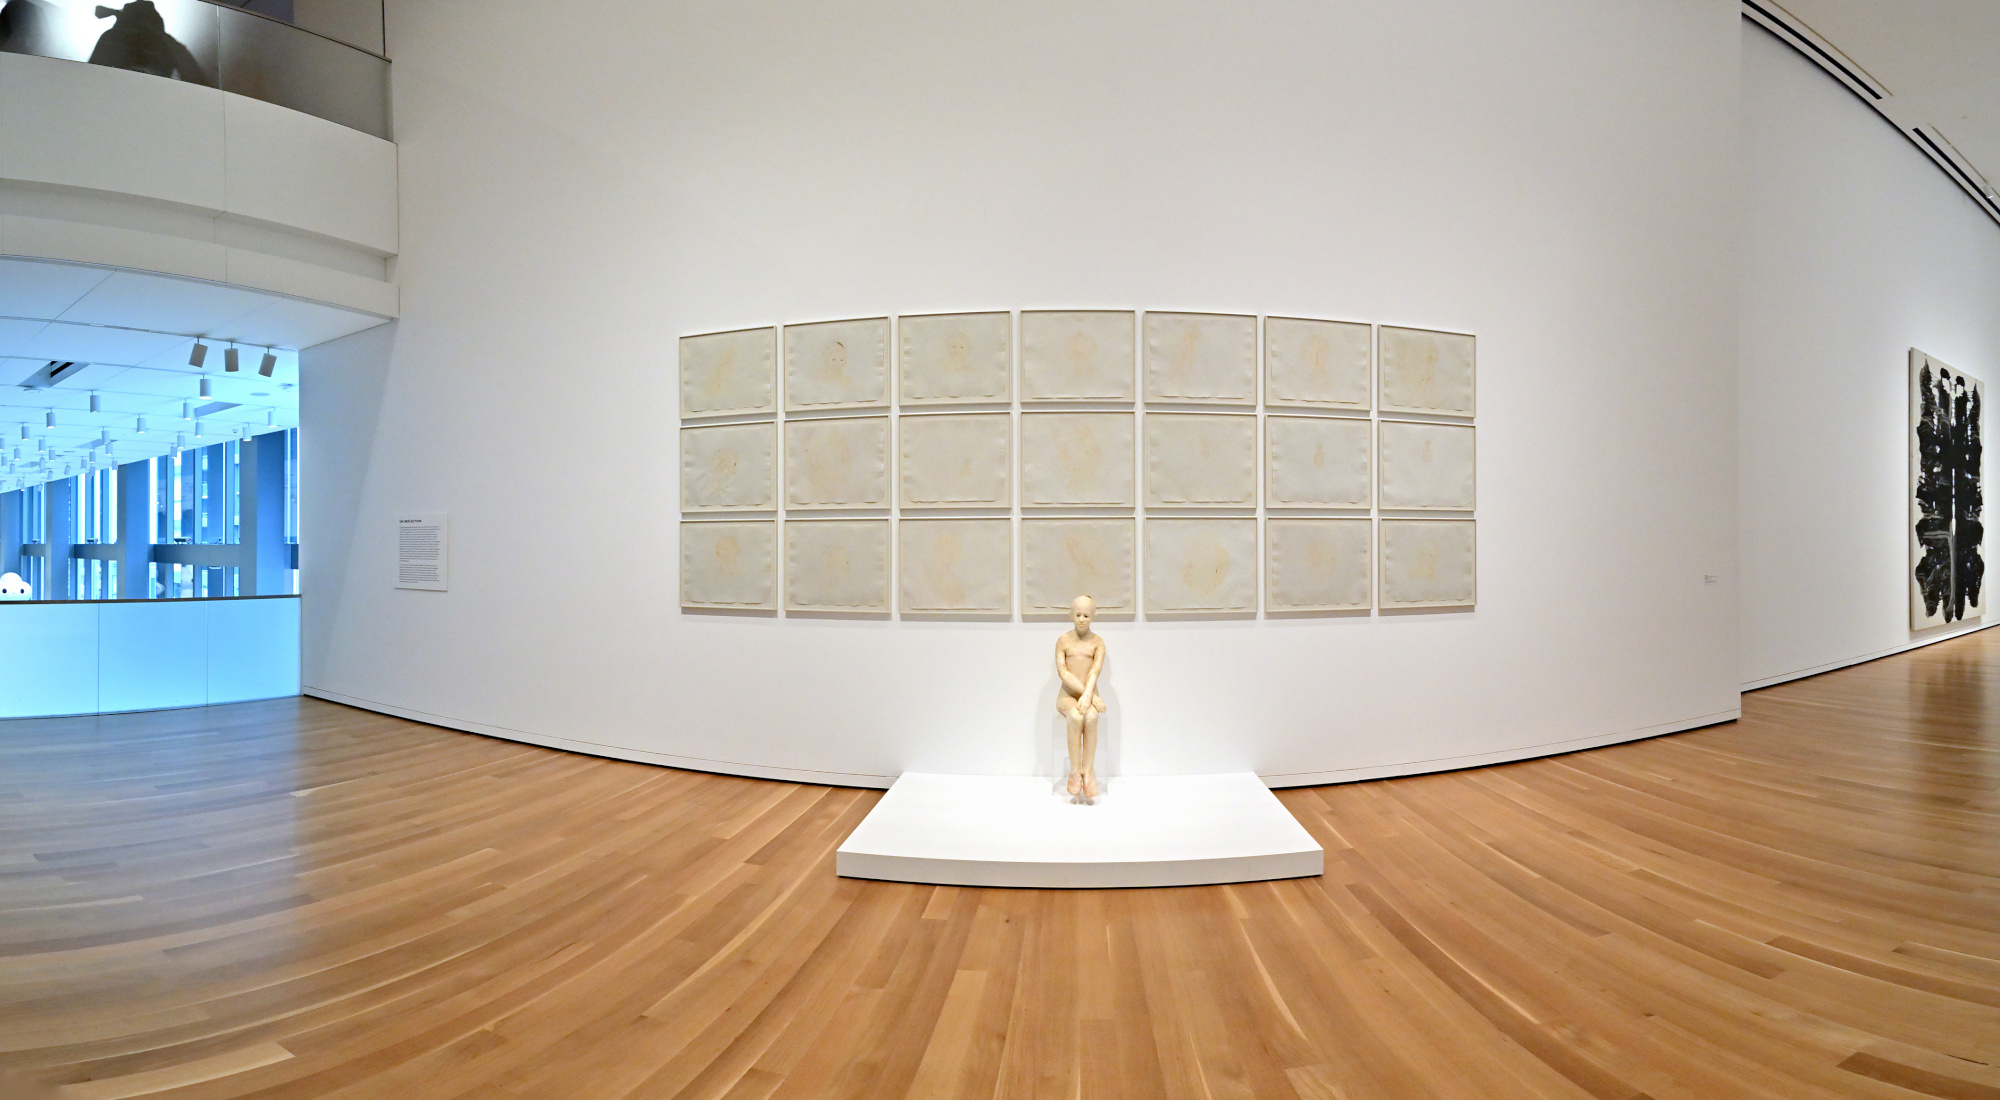
1/50s f/5,6 ISO 1000/31° f=7,5mm
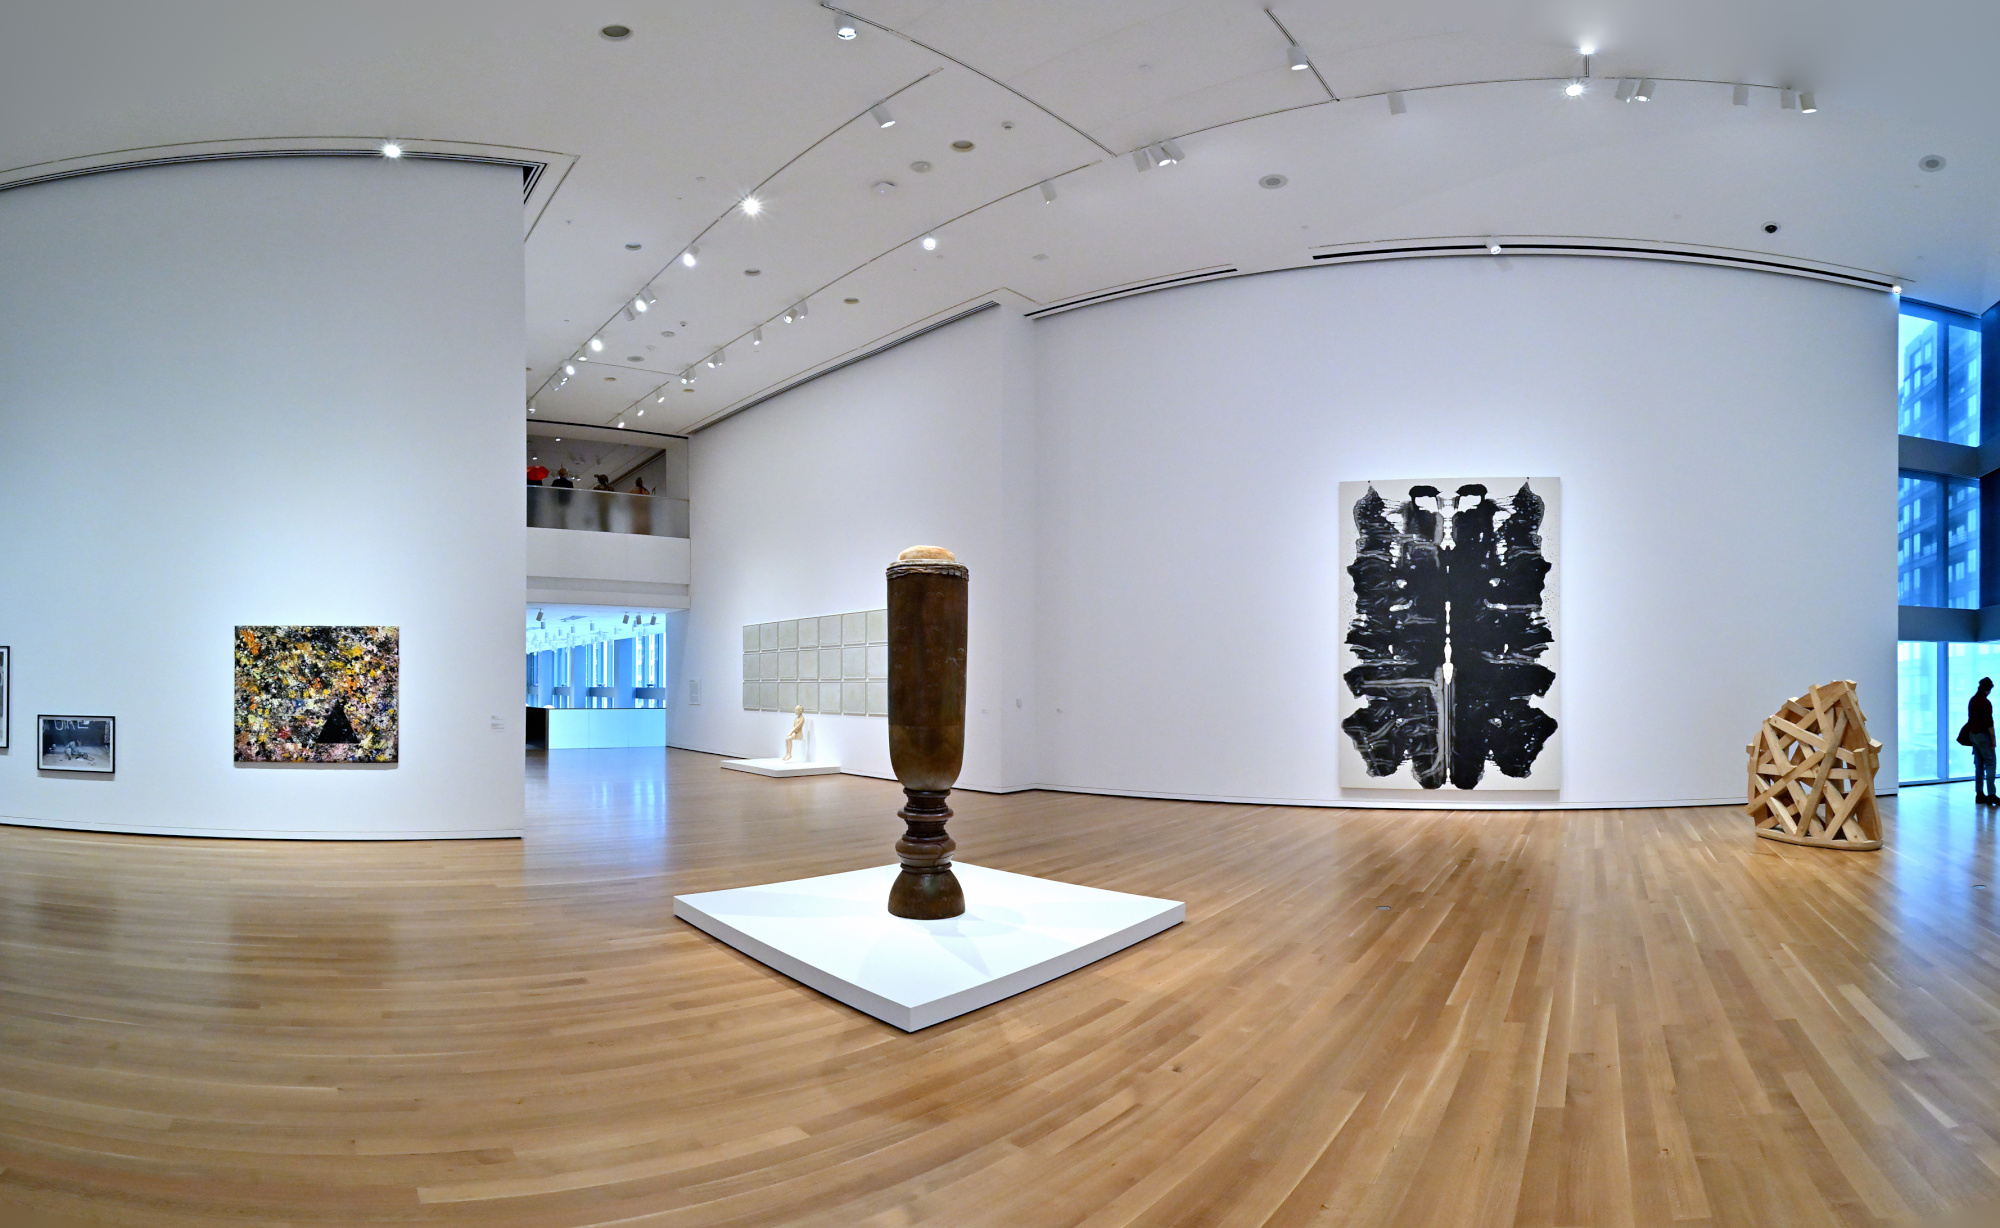
1/50s f/5,6 ISO 1000/31° f=7,5mm
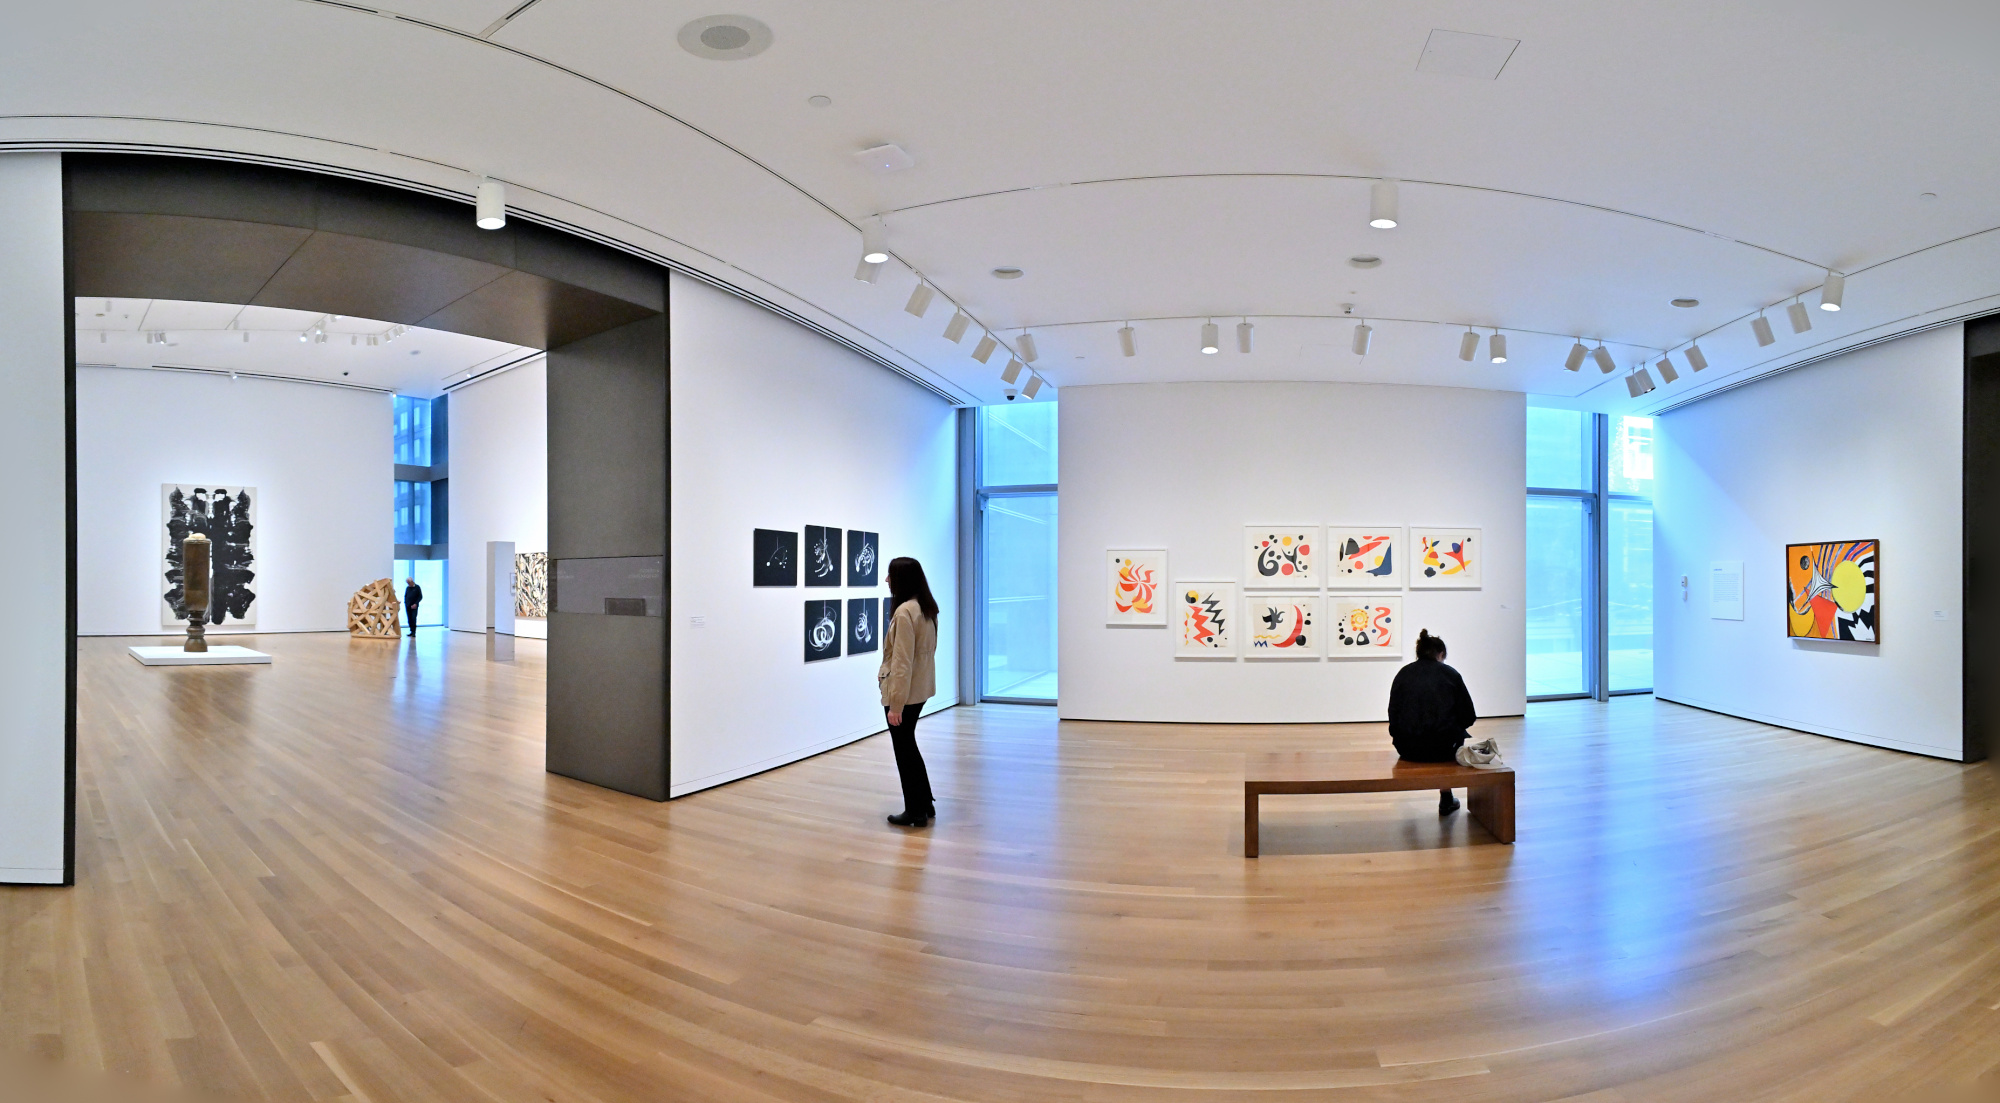
1/50s f/5,6 ISO 1600/33° f=7,5mm
1/50s f/5,6 ISO 1600/33° f=7,5m
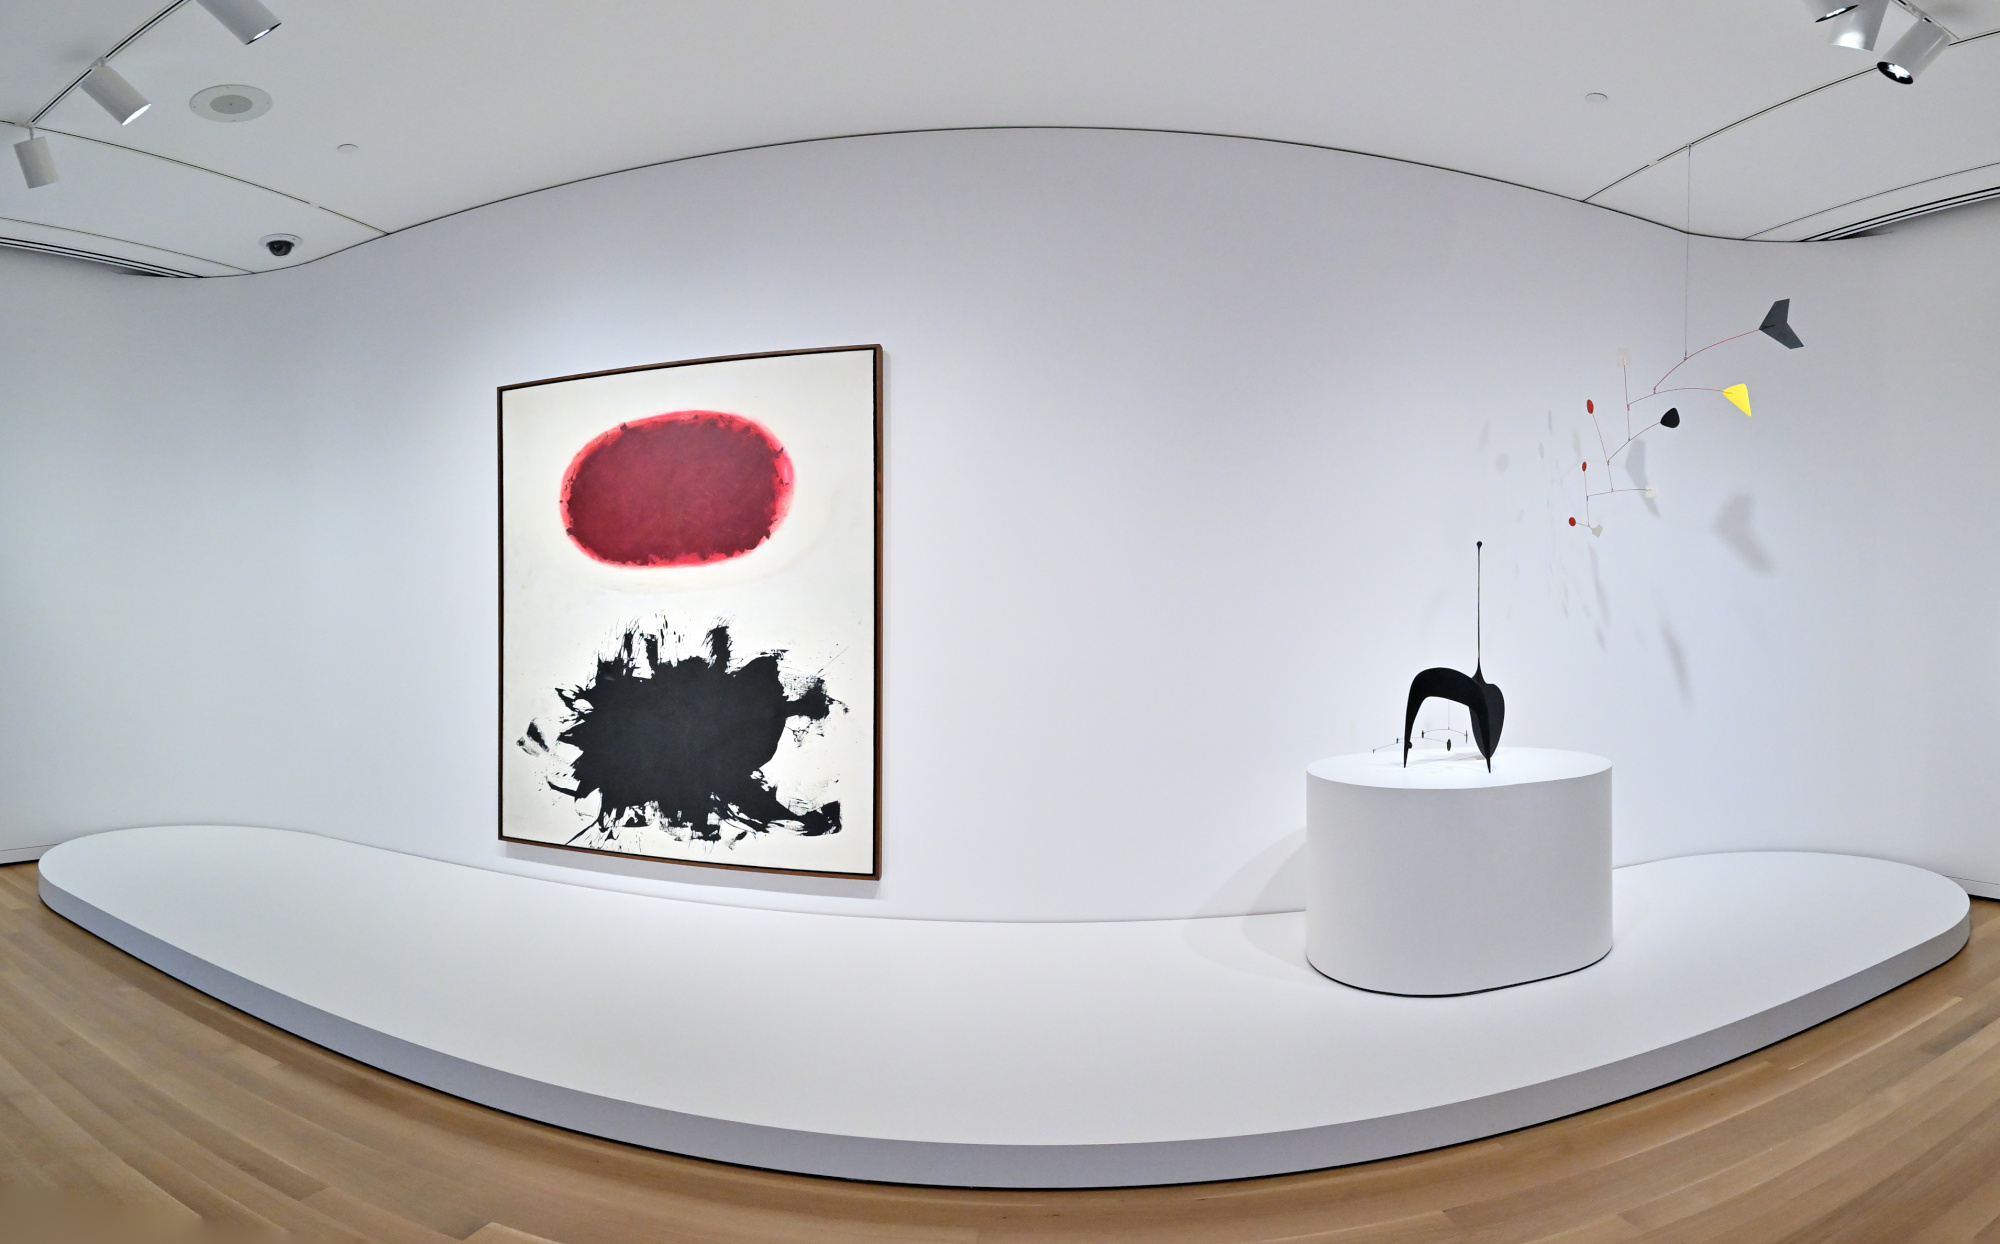
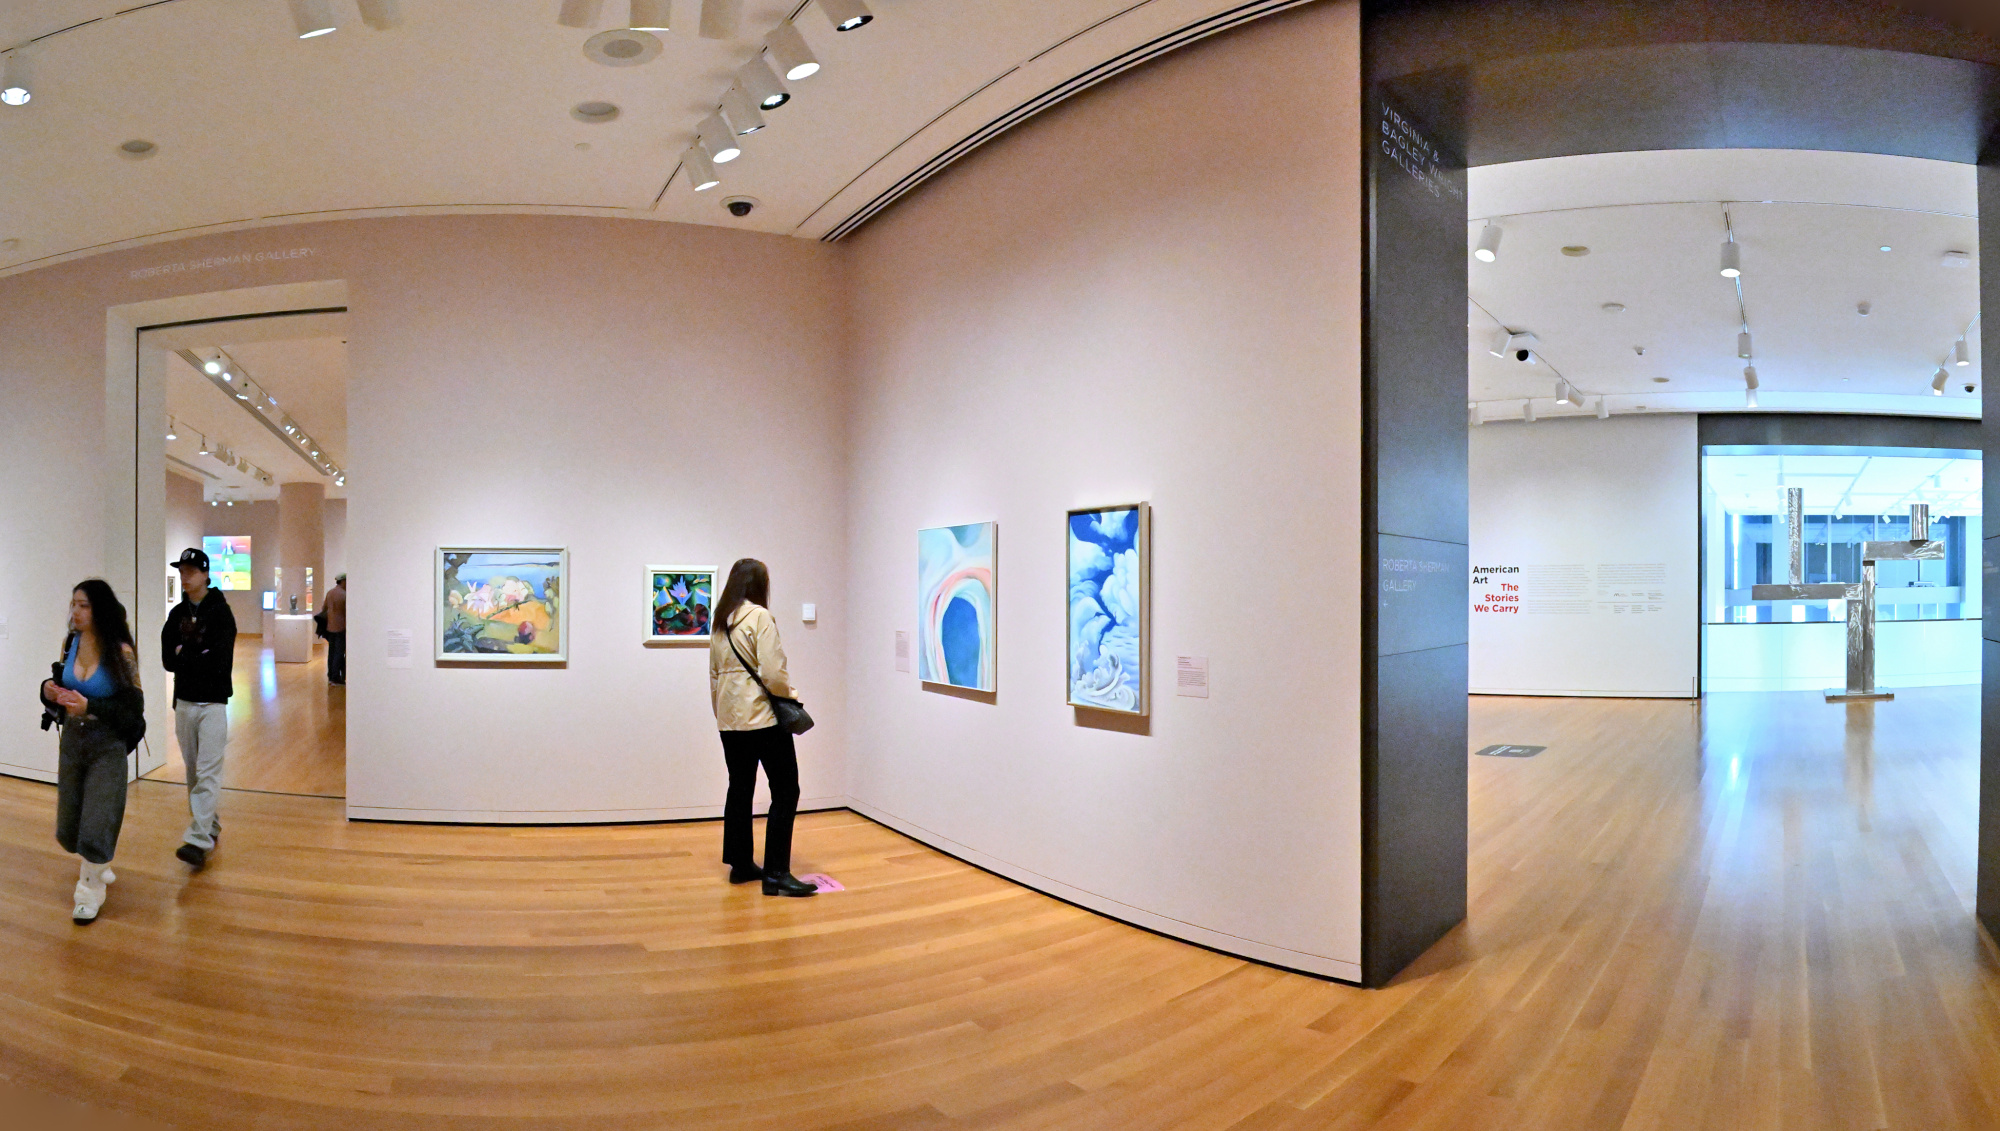
1/80s f/5,6 ISO 5000/38° f=7,5mm
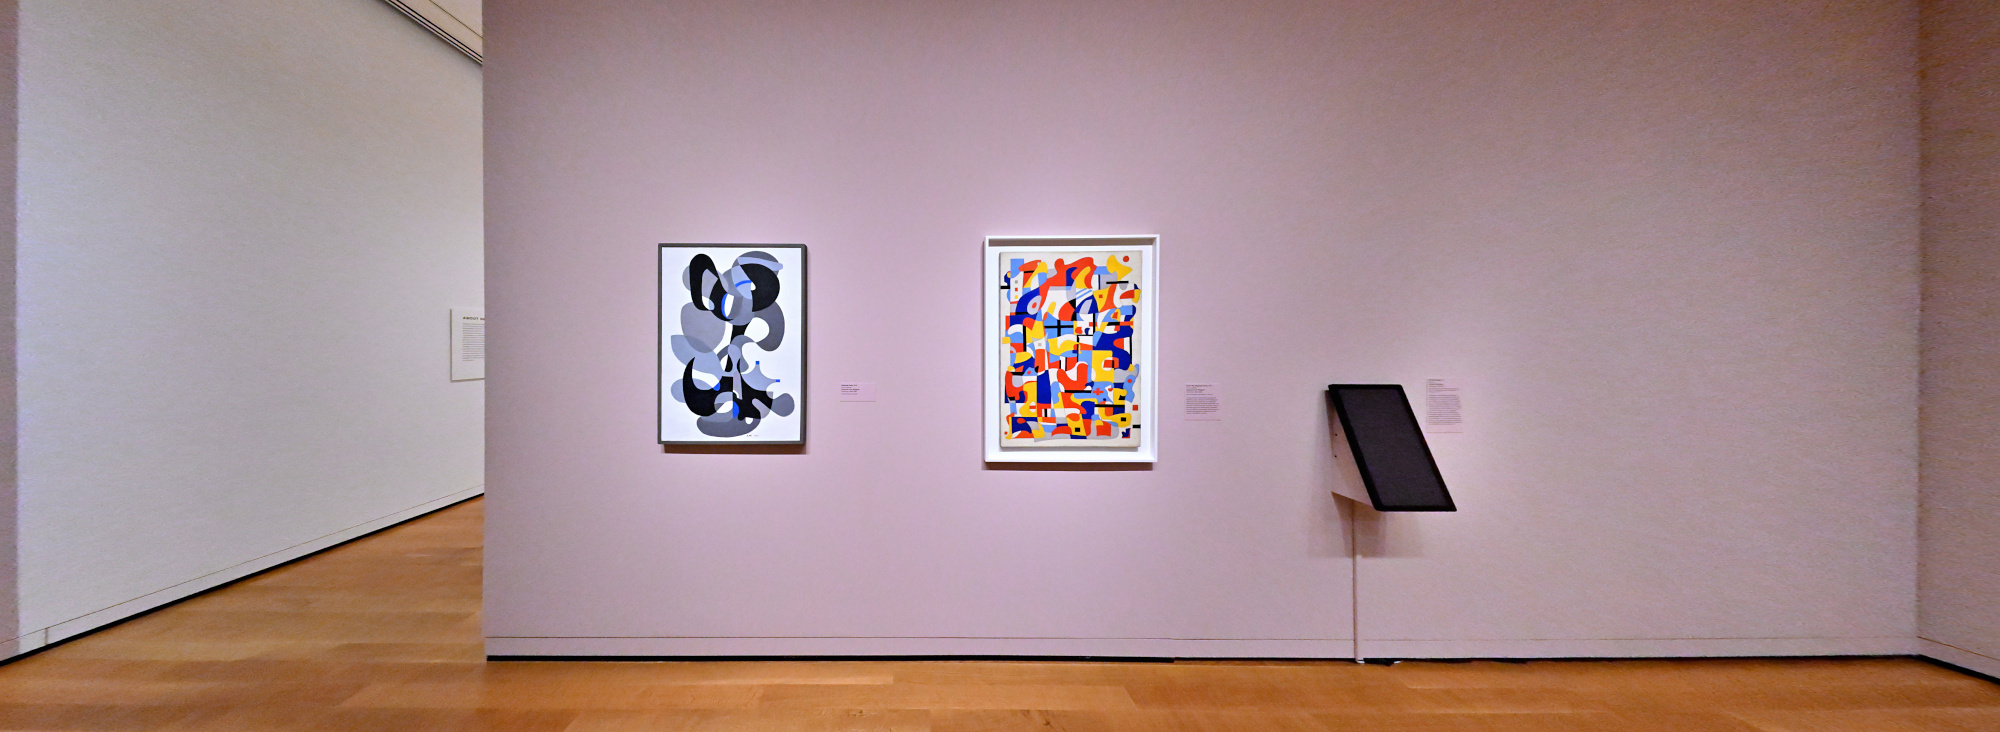
Only Connect: The Art of Devotion
1/50s f/5,6 ISO 16000/43° f=7,5mm
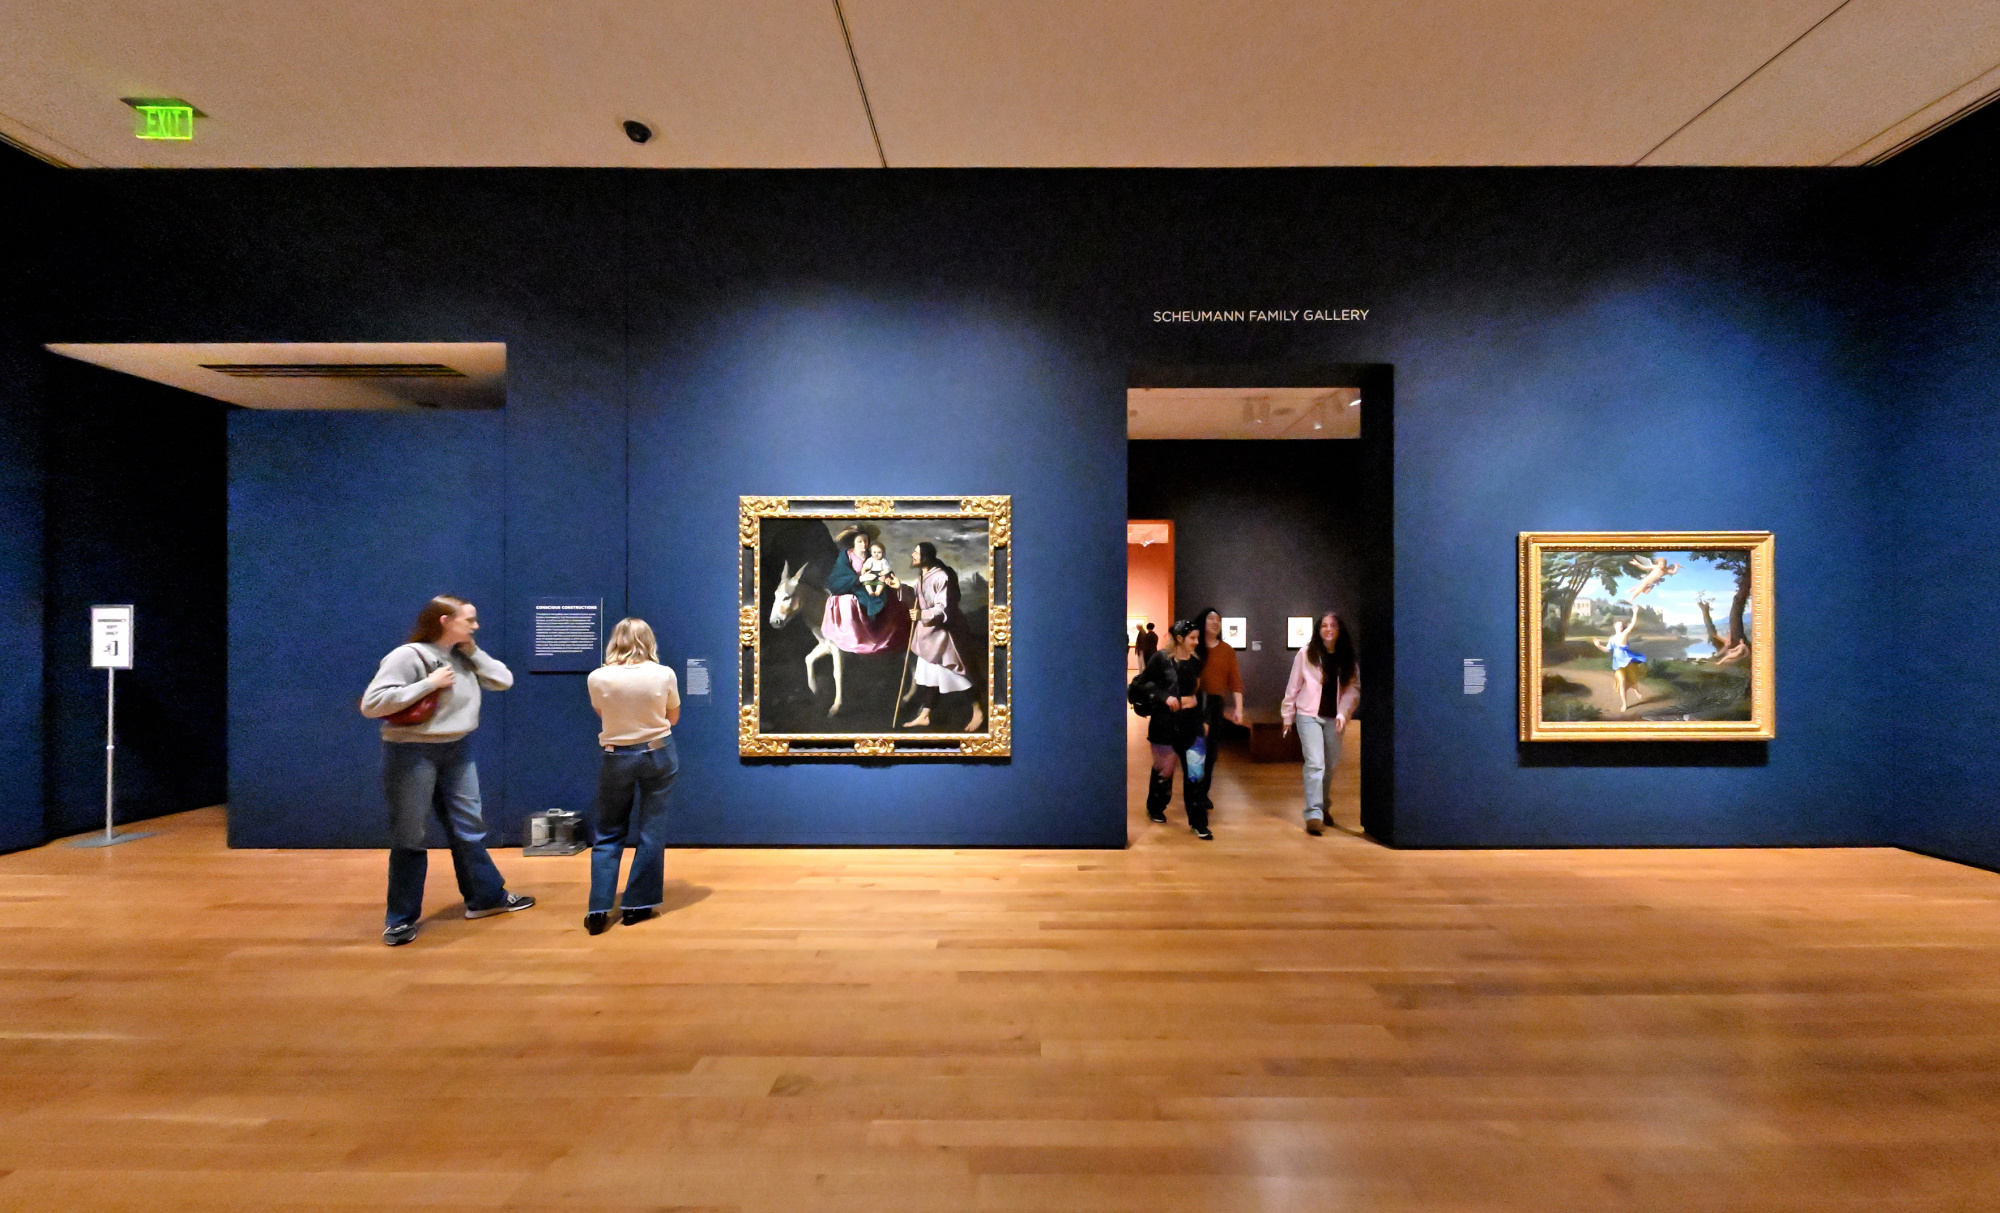
SAM Stories, The Visitation, 1643, Philippe de Champaigne
1/50s f/5,6 ISO 8000/40° f=7,5mm
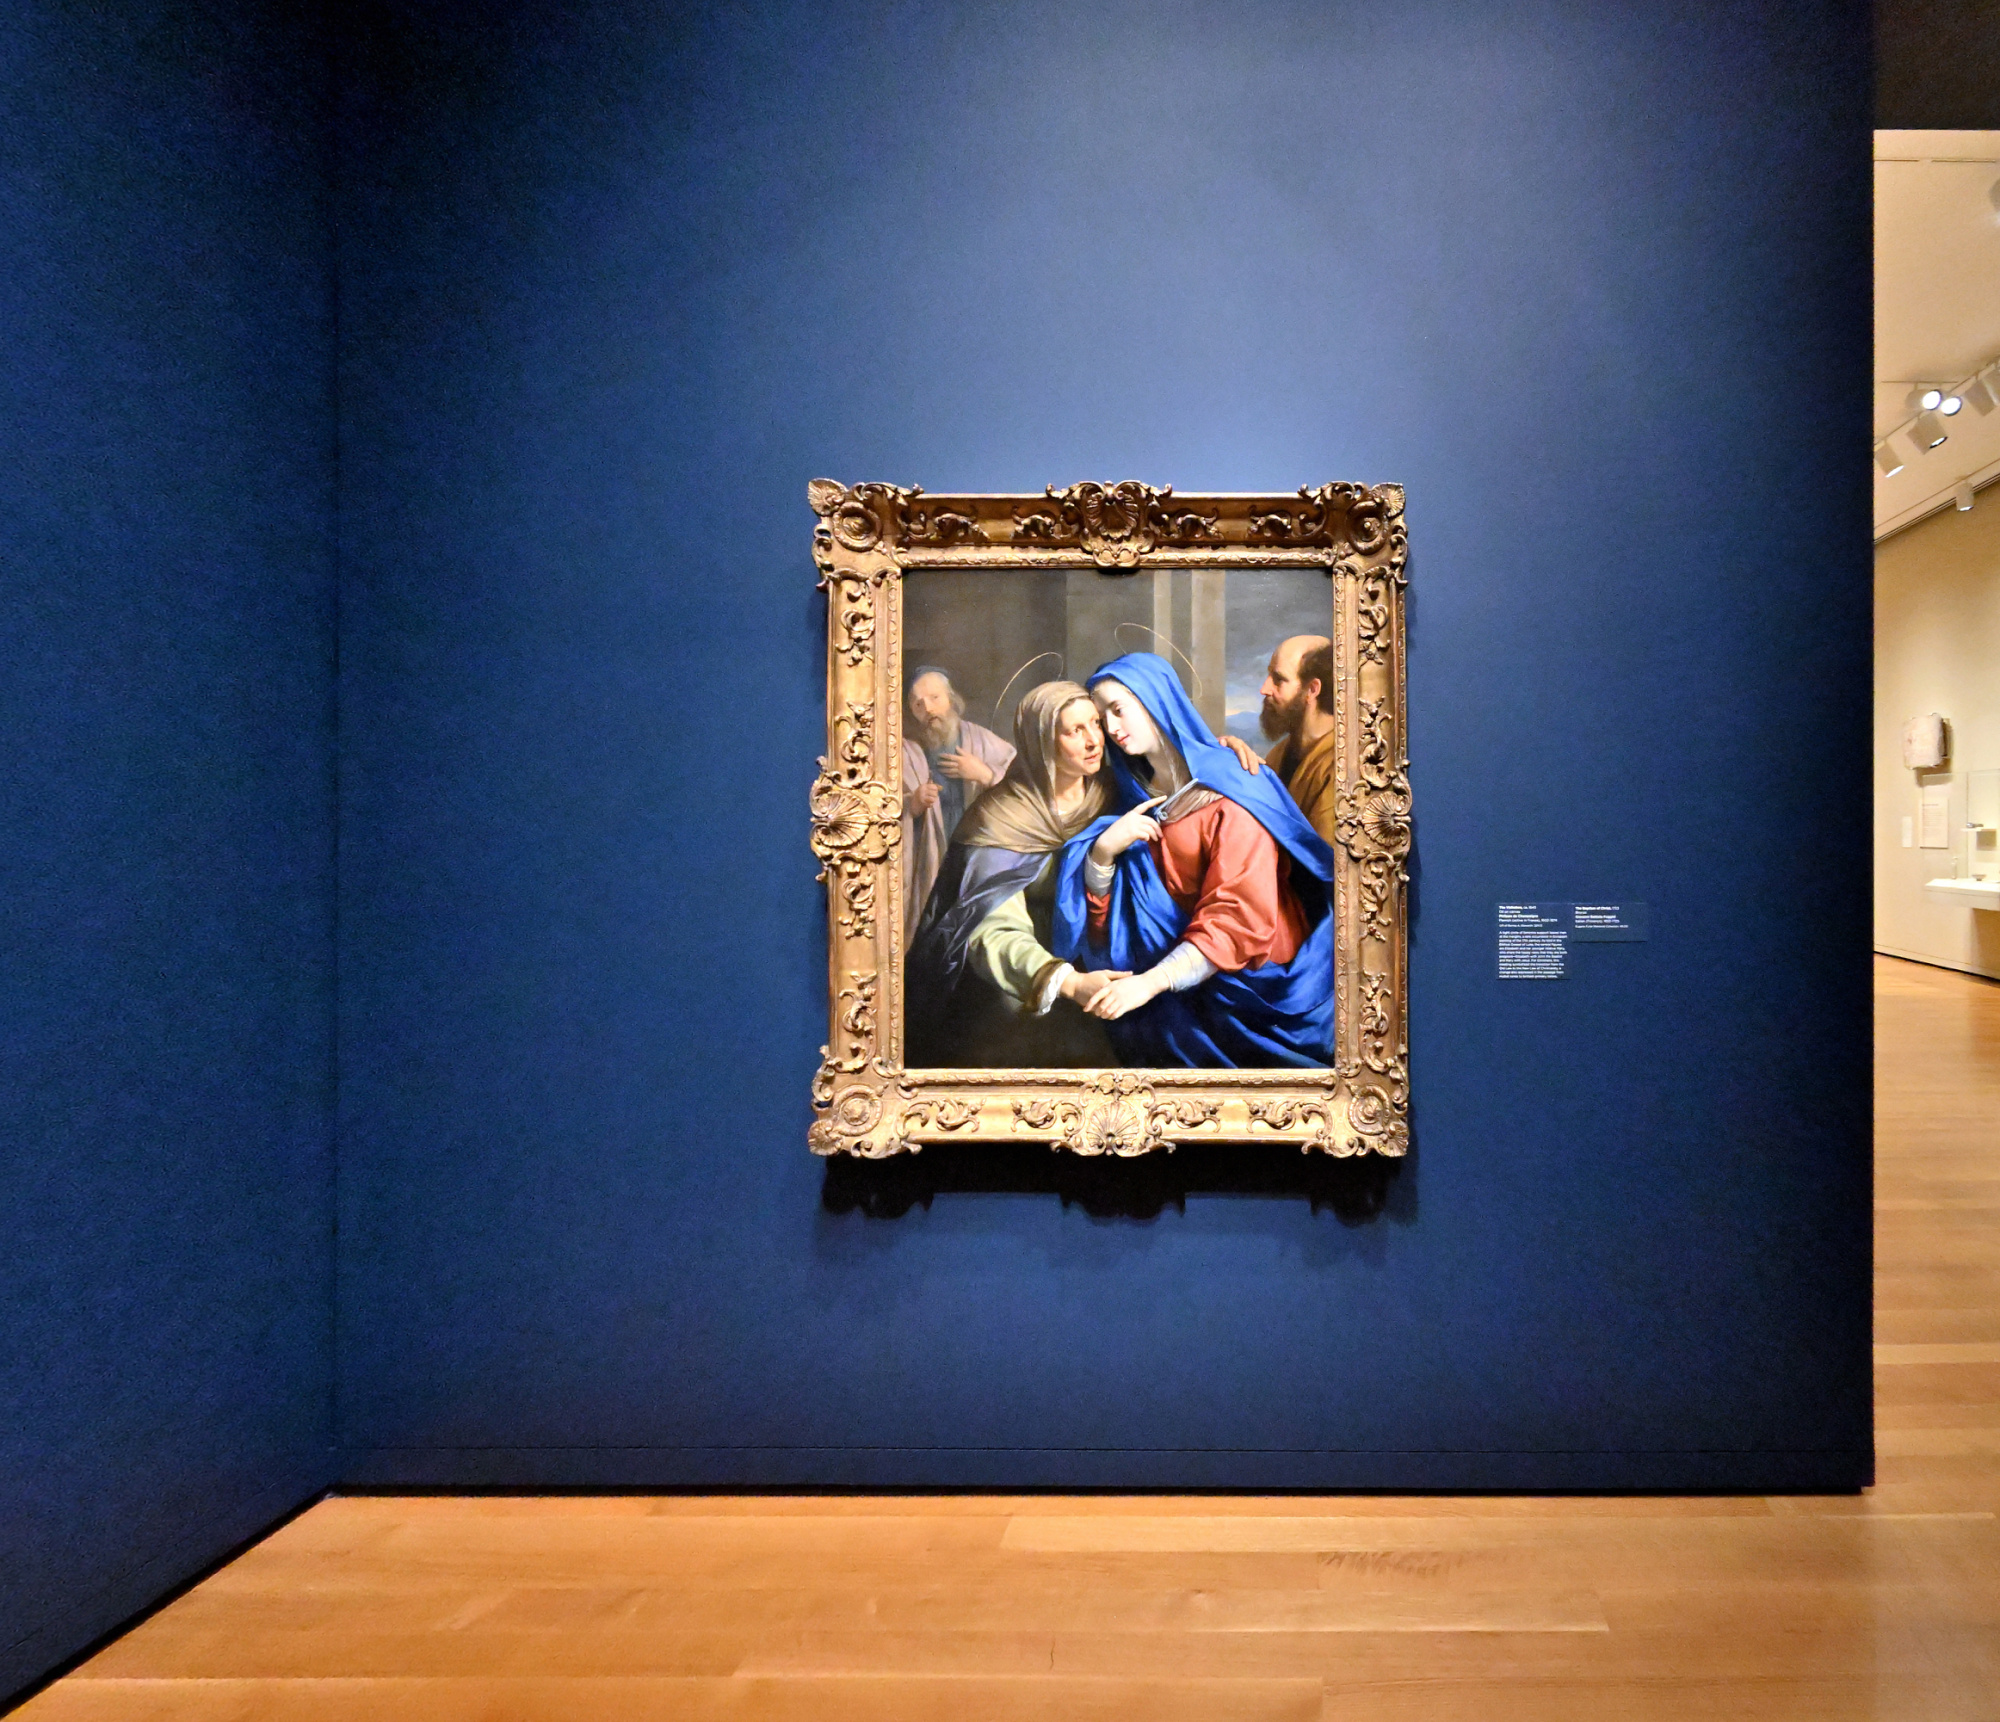
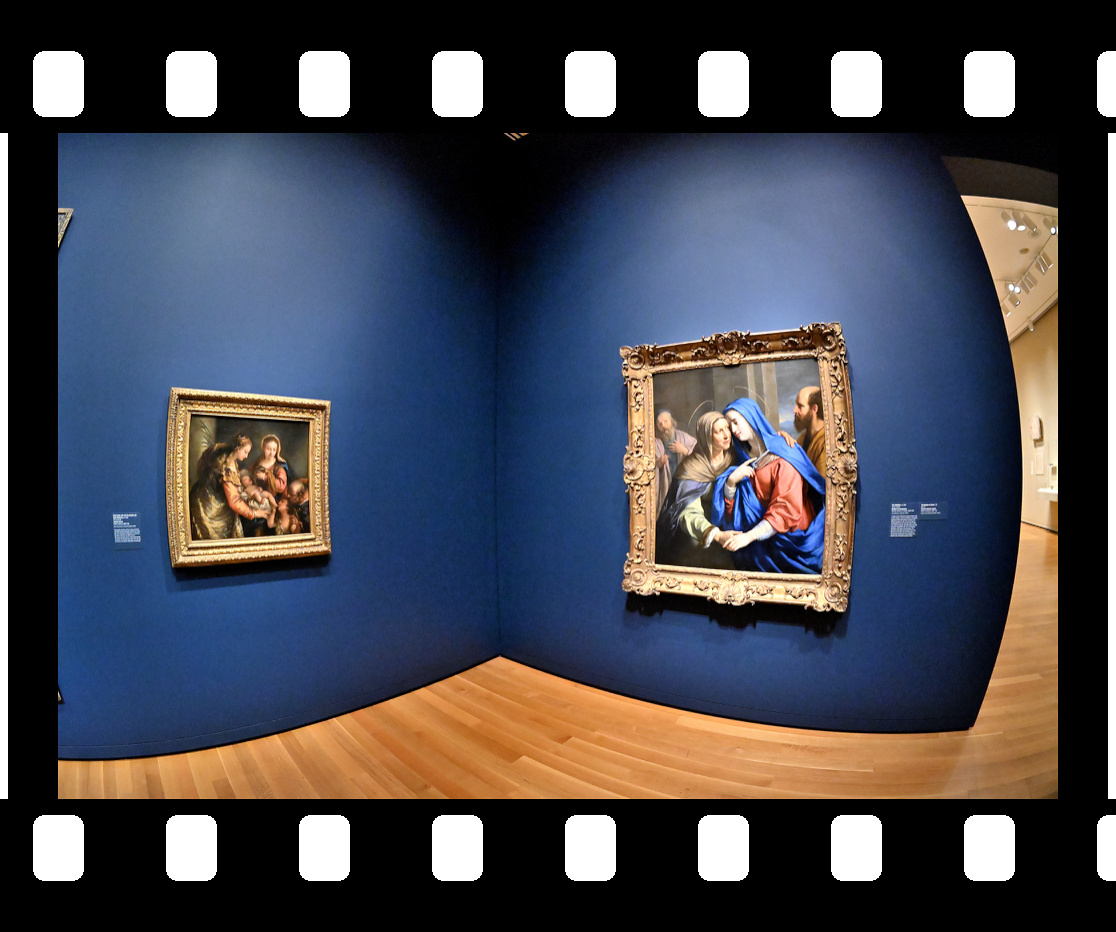
Interactive Panorama Only Connect: The Art of Devotion
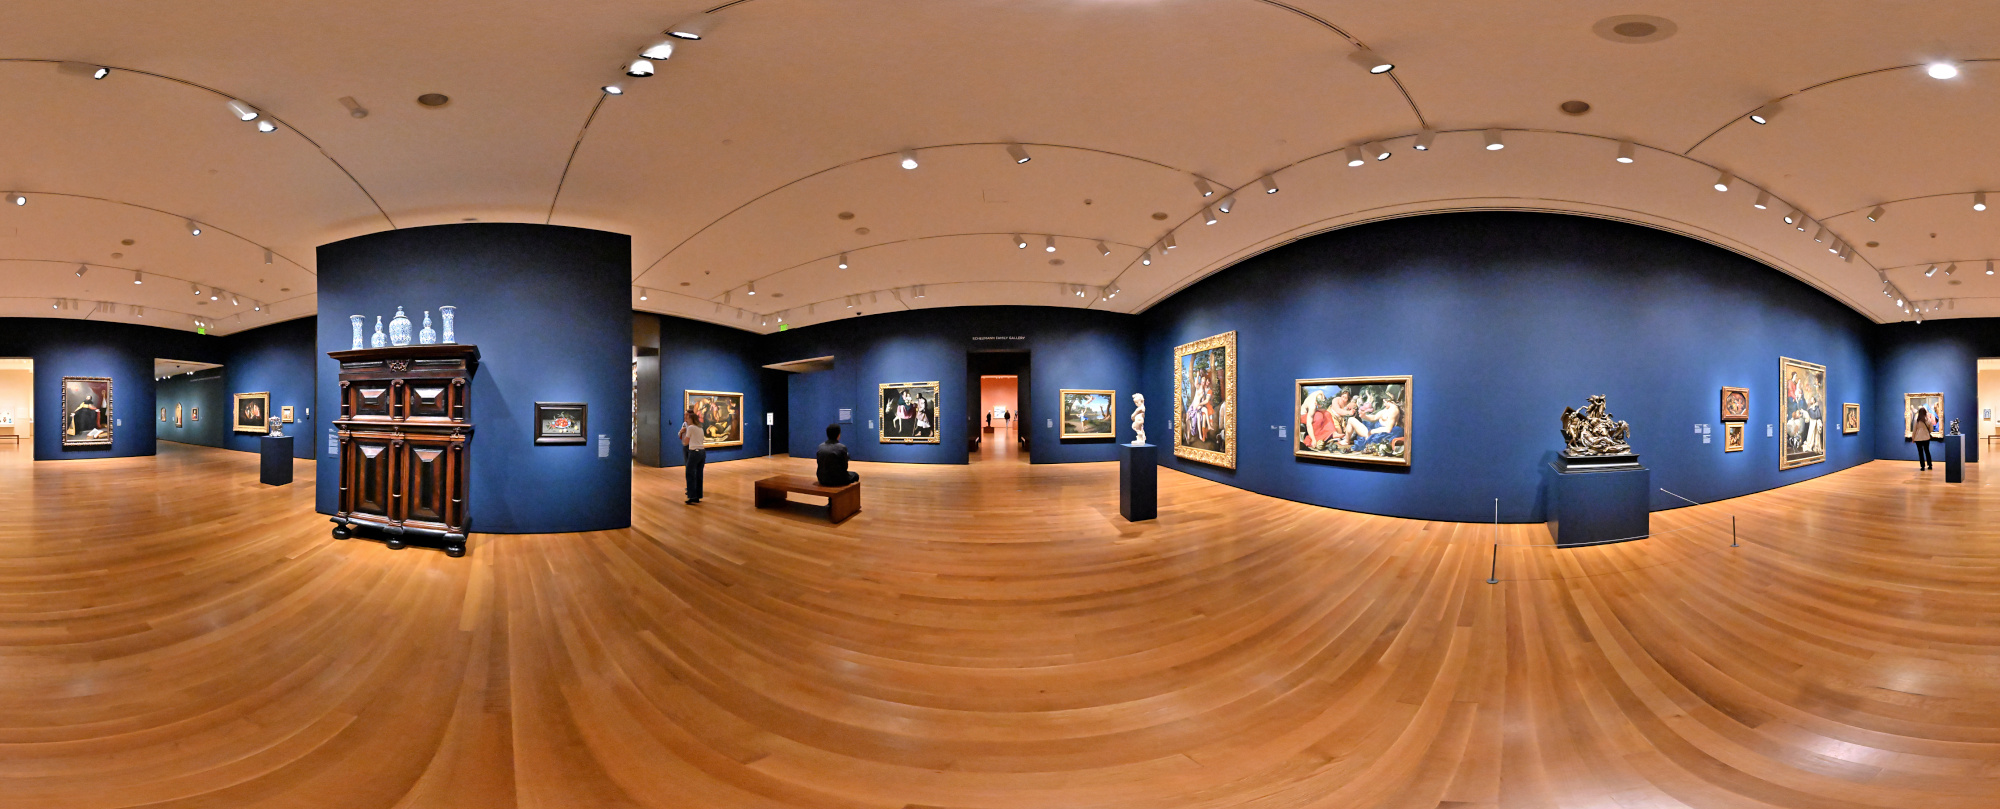
1/50s f/5,6 ISO 16000/43° f=7,5mm

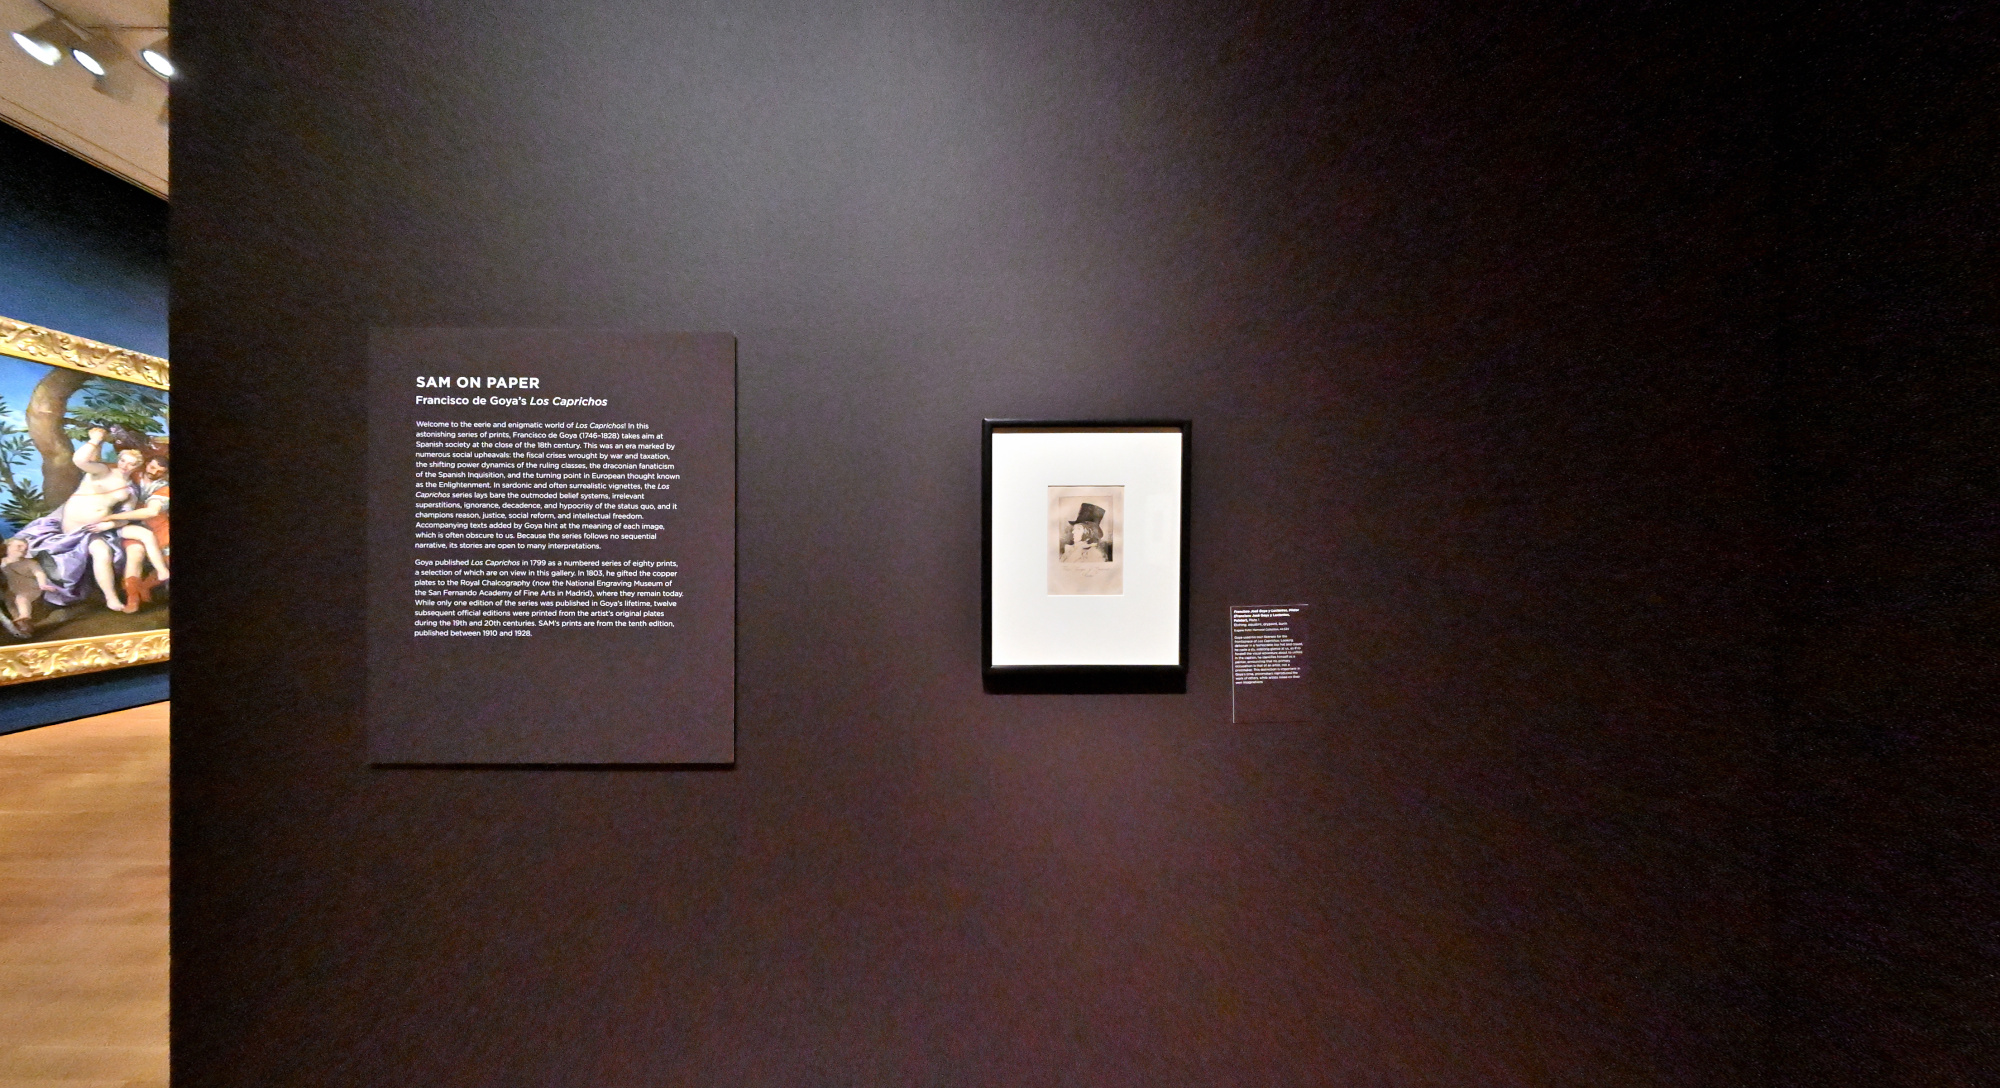
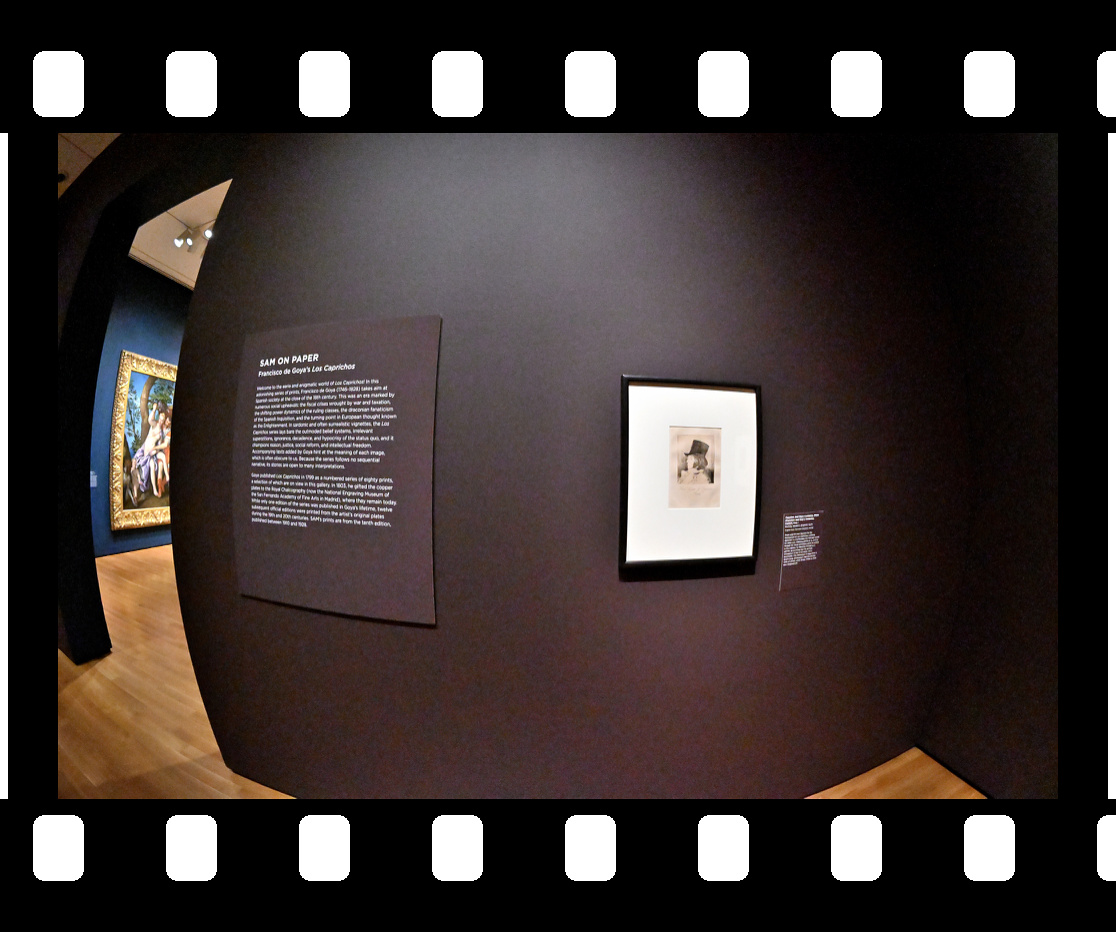
A Goya worth reversing entropy for, but today I let time flow forward through my lens. Tenet.
SAM Stories1/50s f/5,6 ISO 6400/39° f=7,5mm
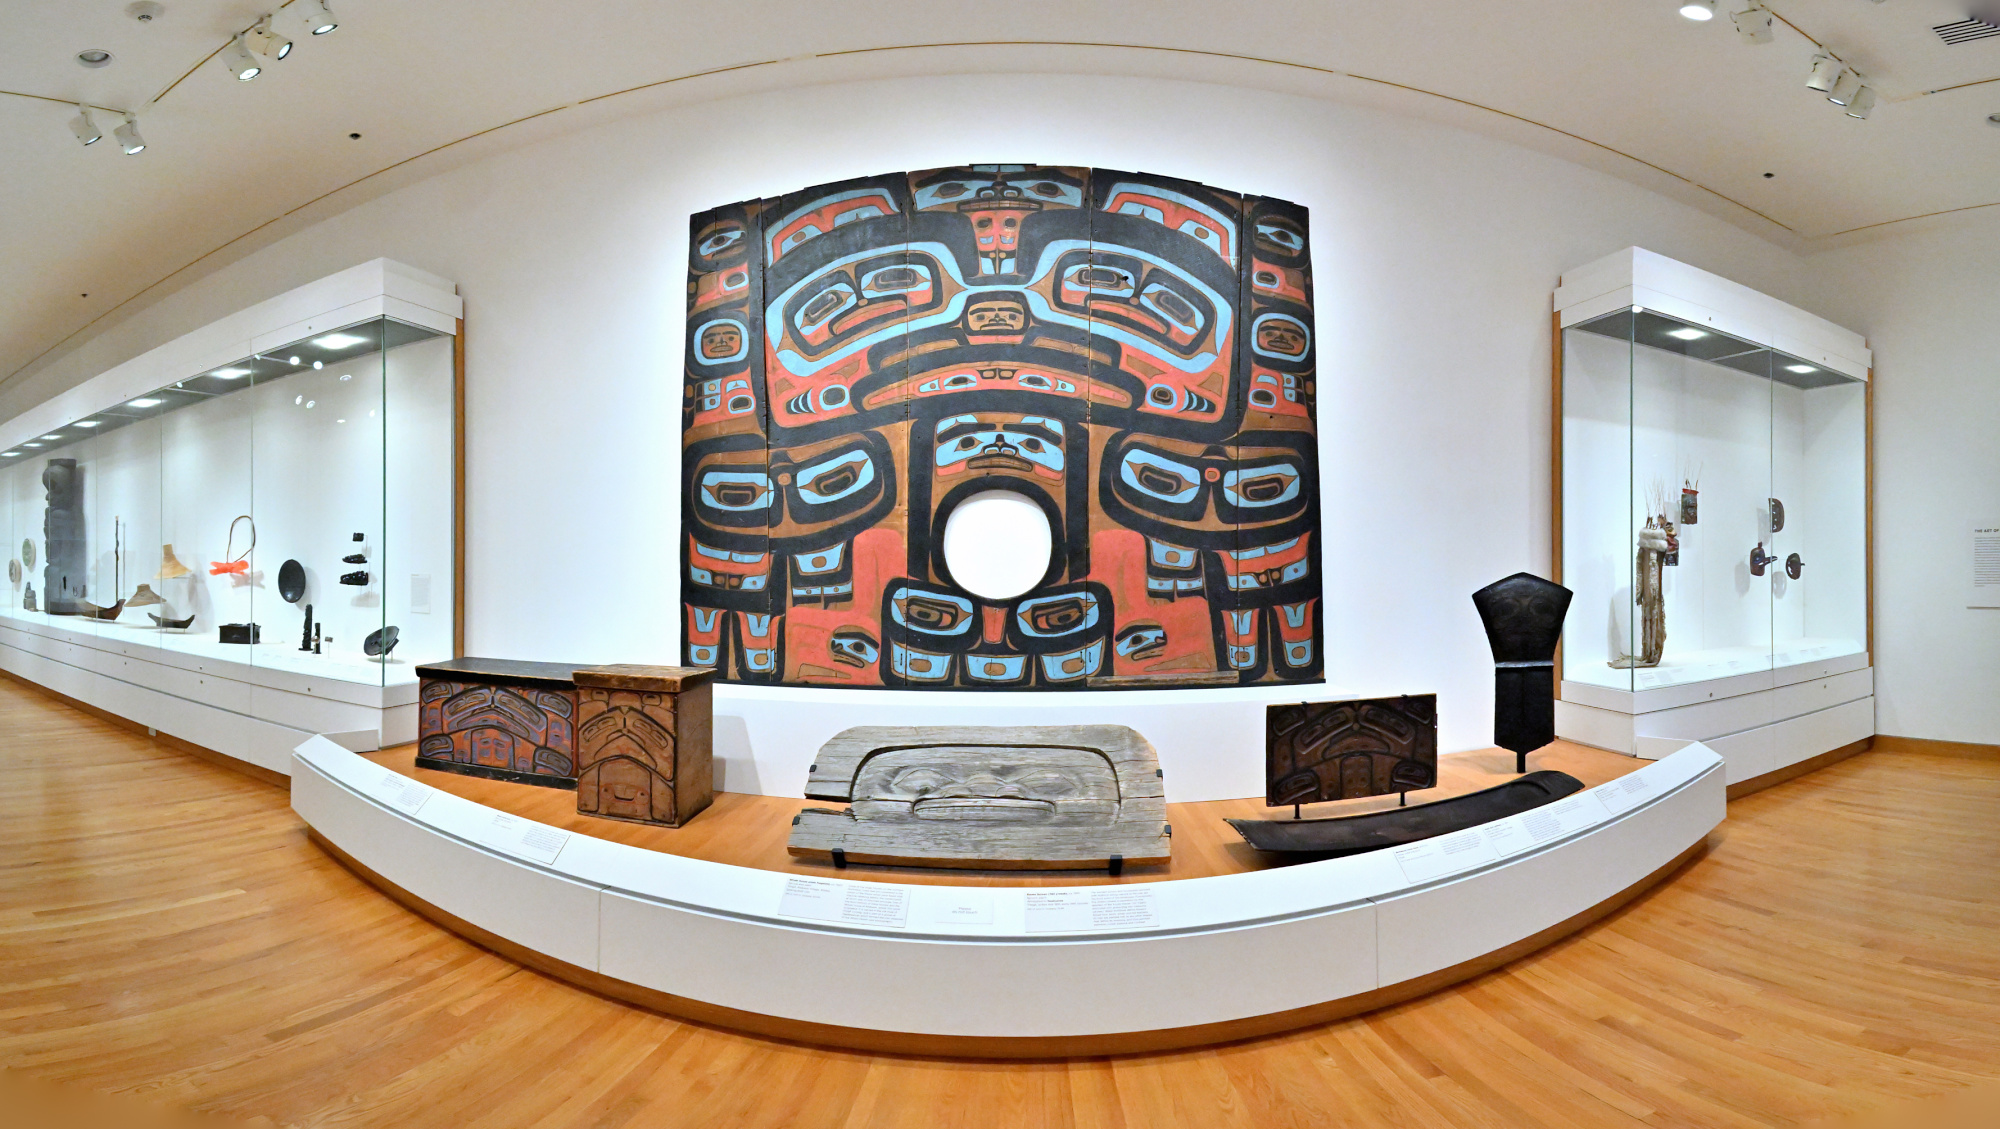
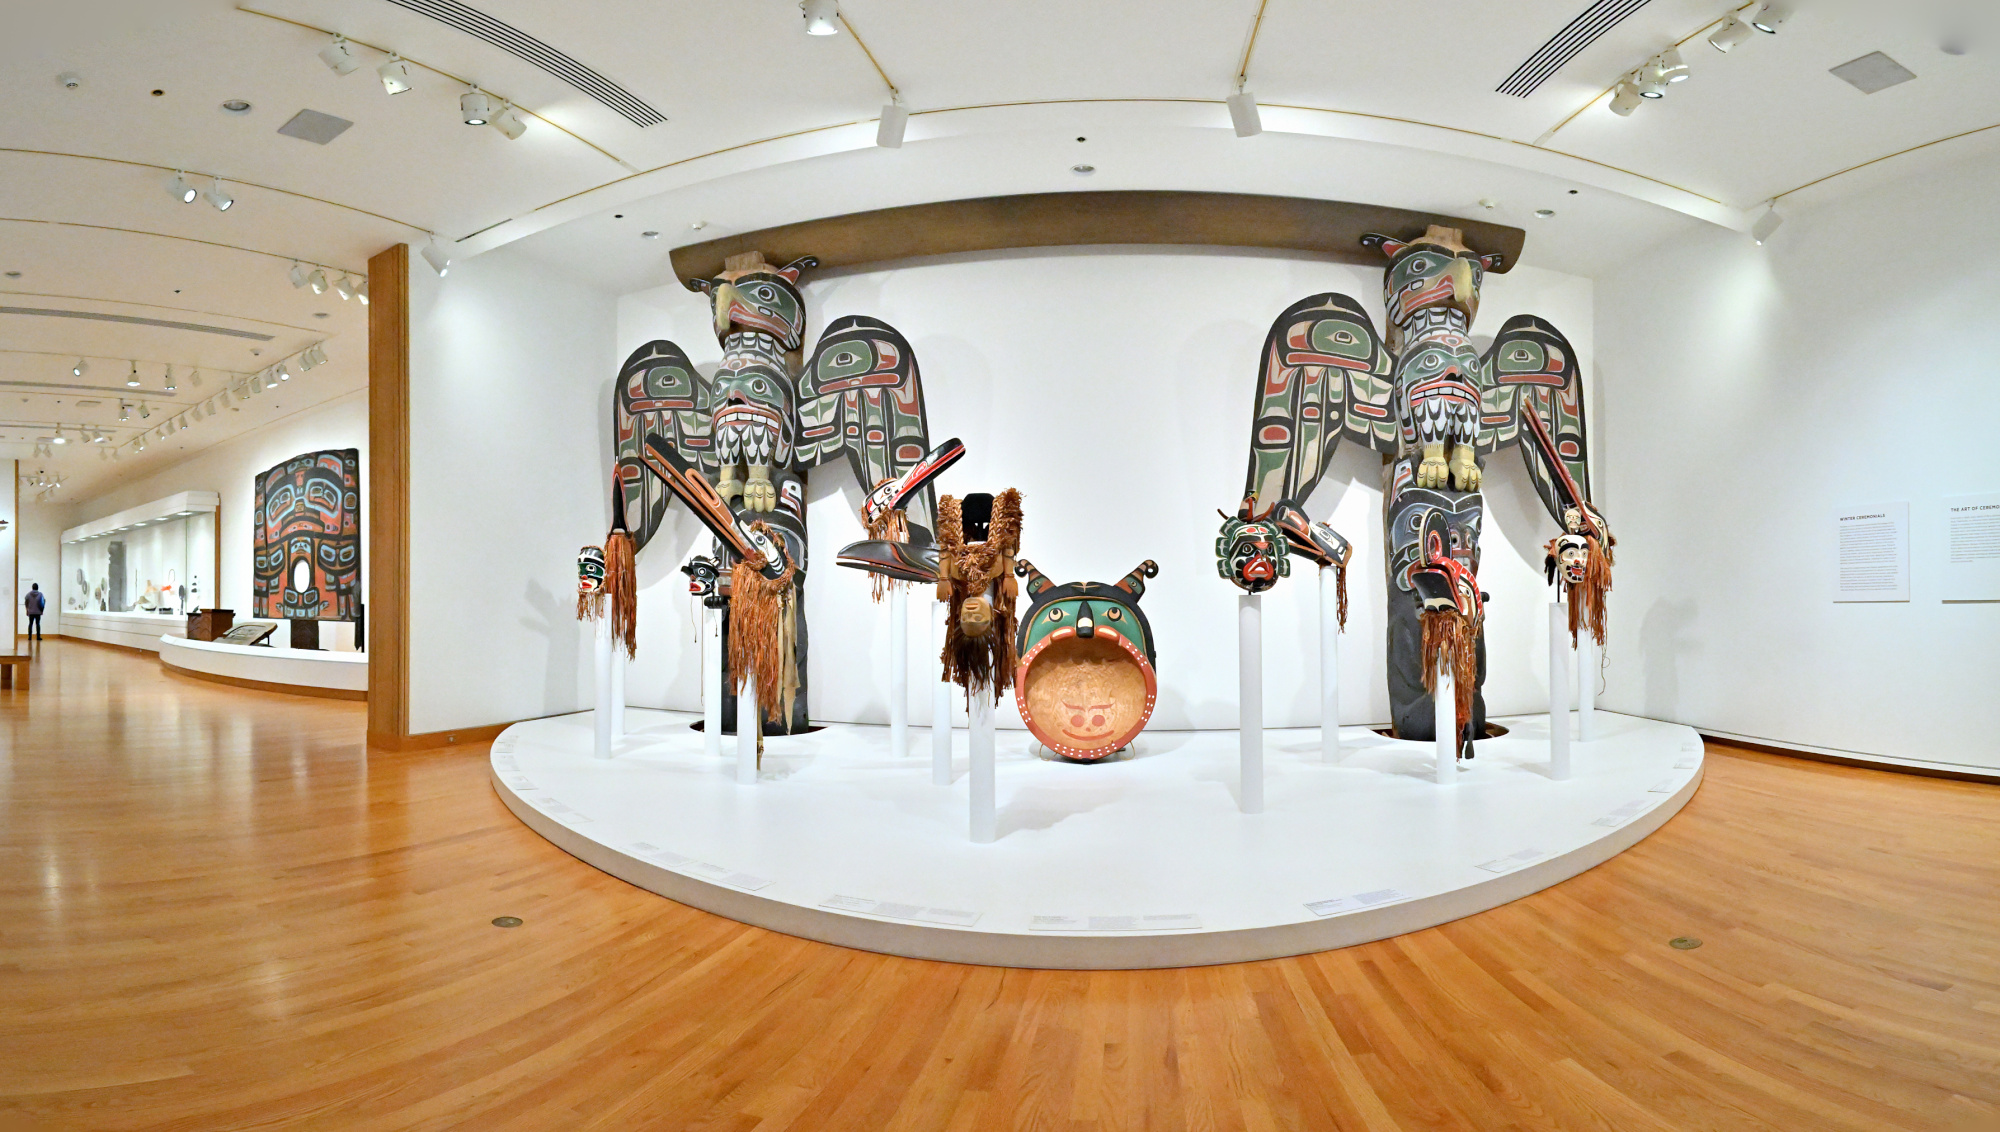
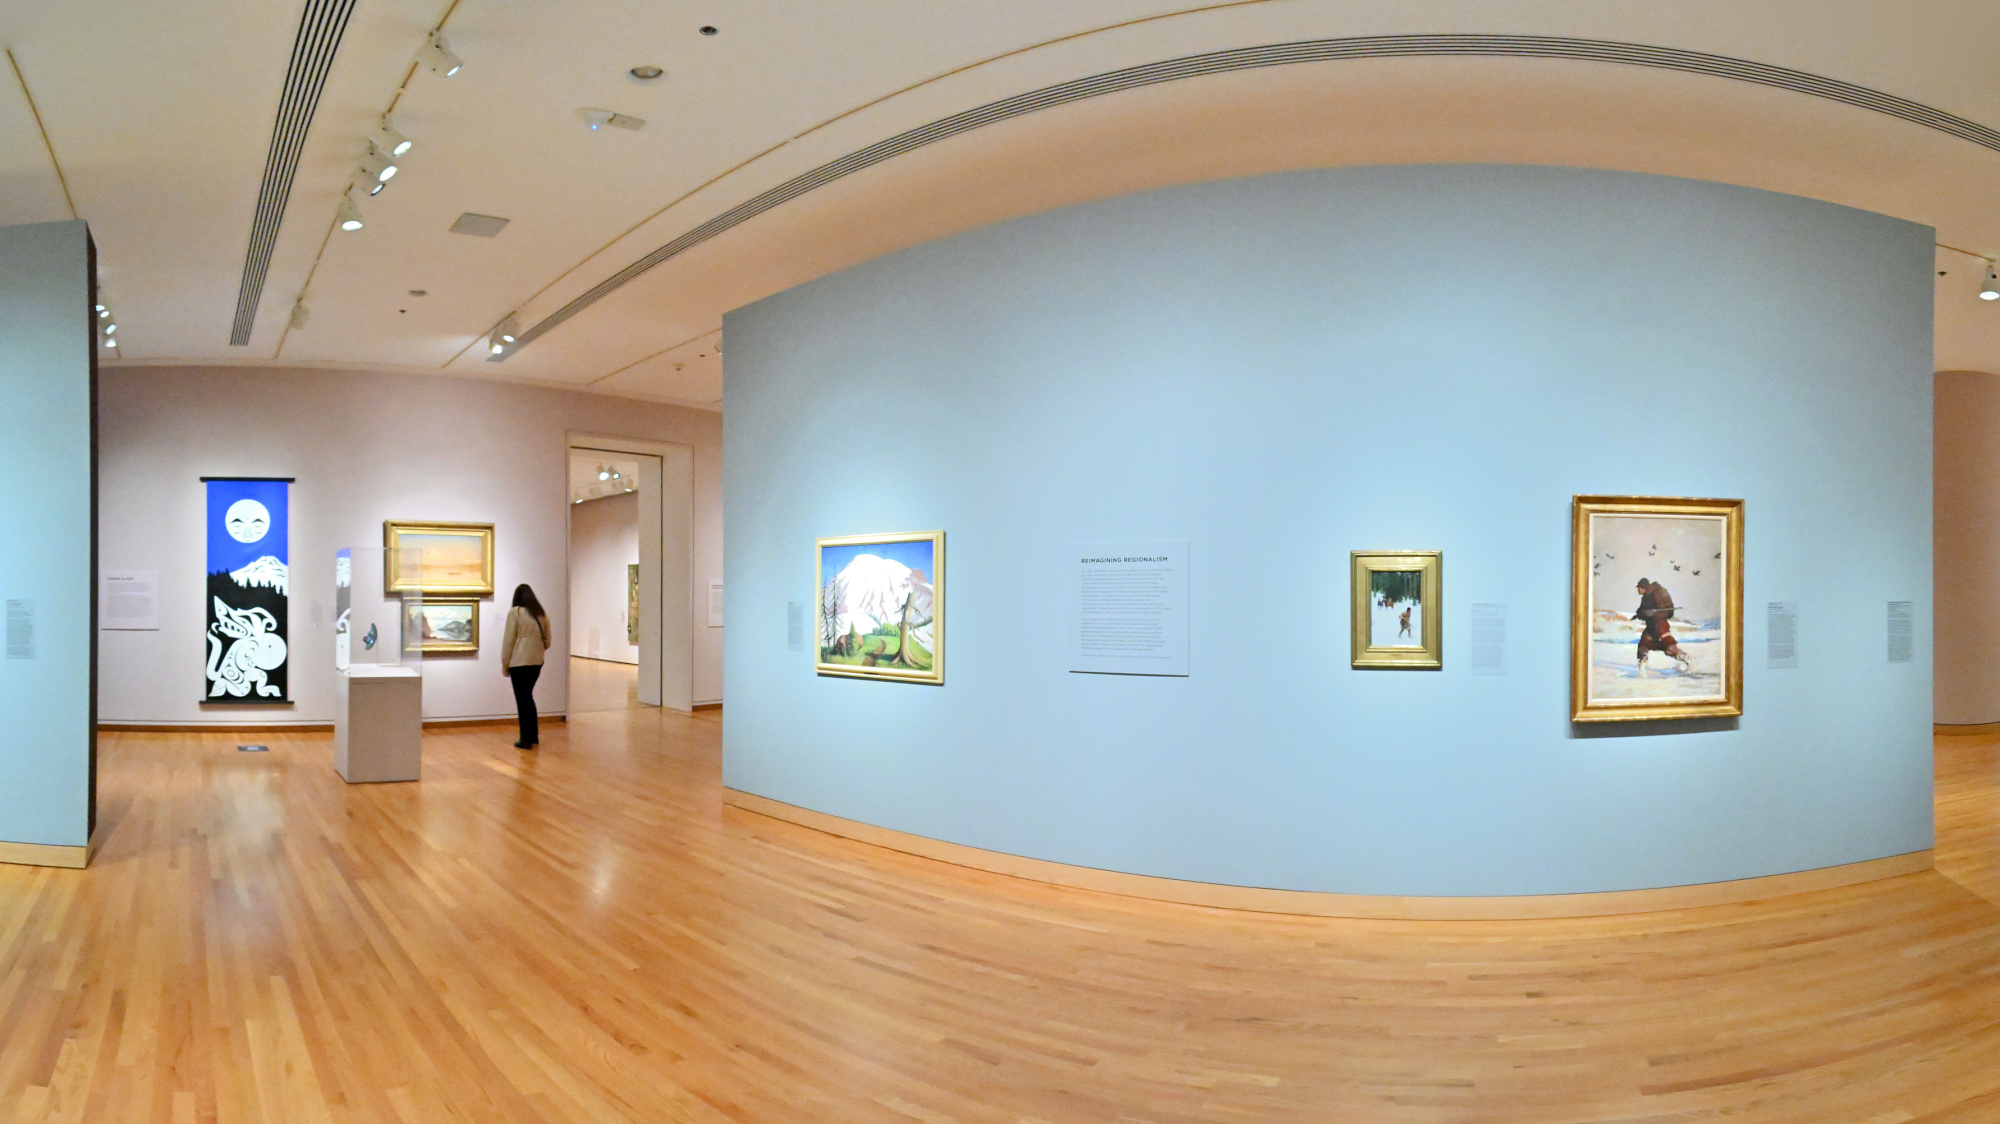
Art and Life Along the Northwest Coast
1/50s f/5,6 ISO 4000/37° f=7,5mm
1/50s f/5,6 ISO 4000/37° f=7,5mm
1/50s f/5,6 ISO 5000/38° f=7,5mm
1/50s f/5,6 ISO 5000/38° f=7,5mm
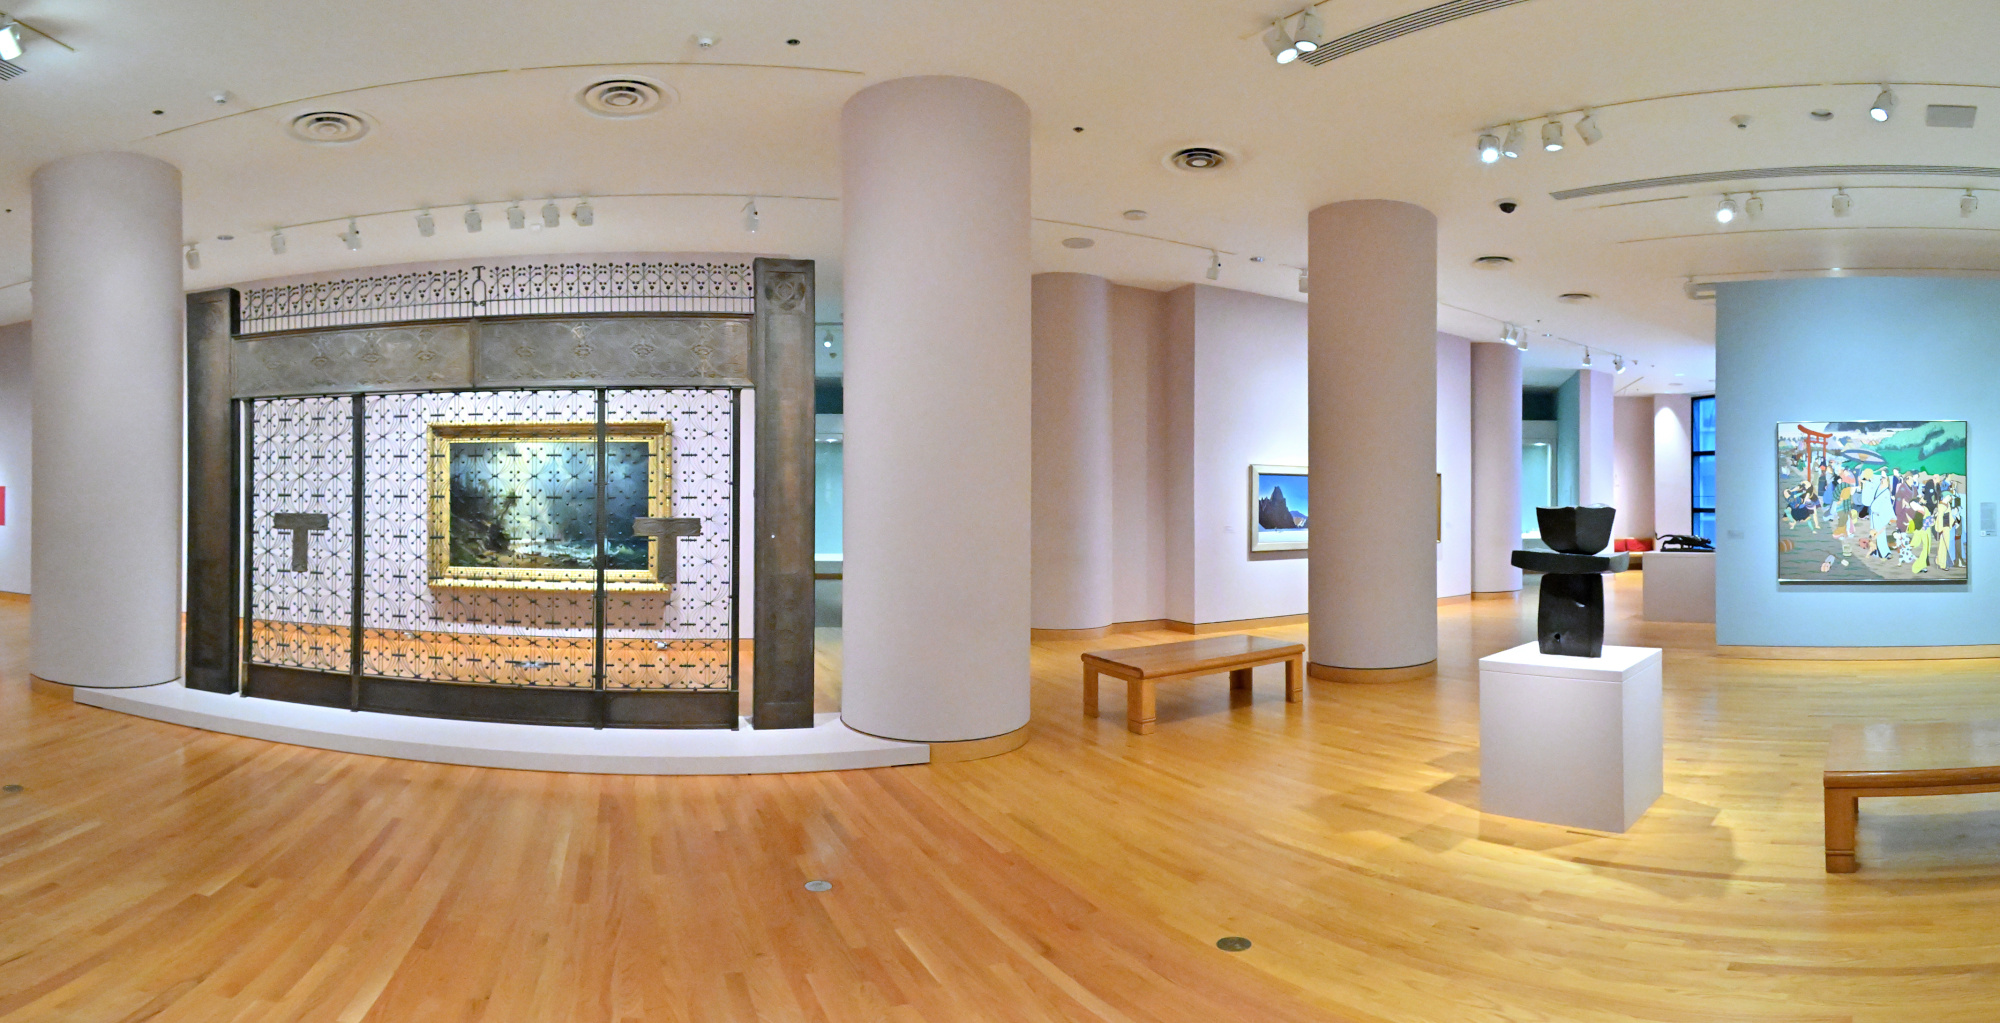
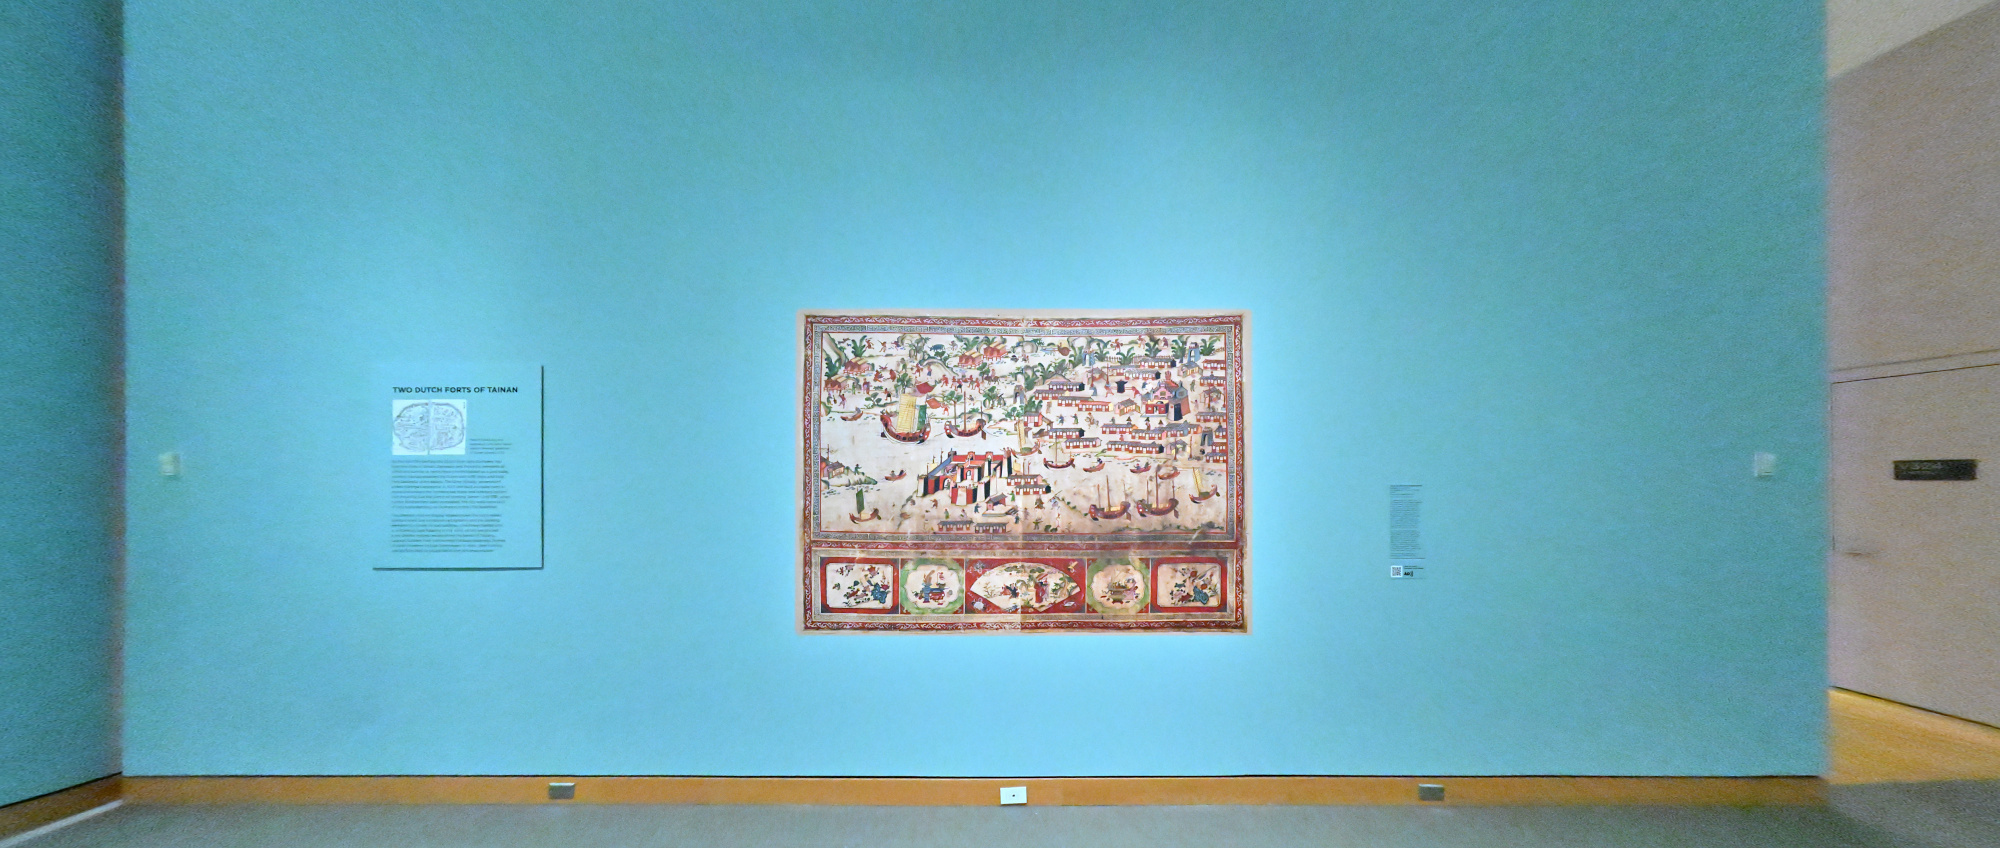
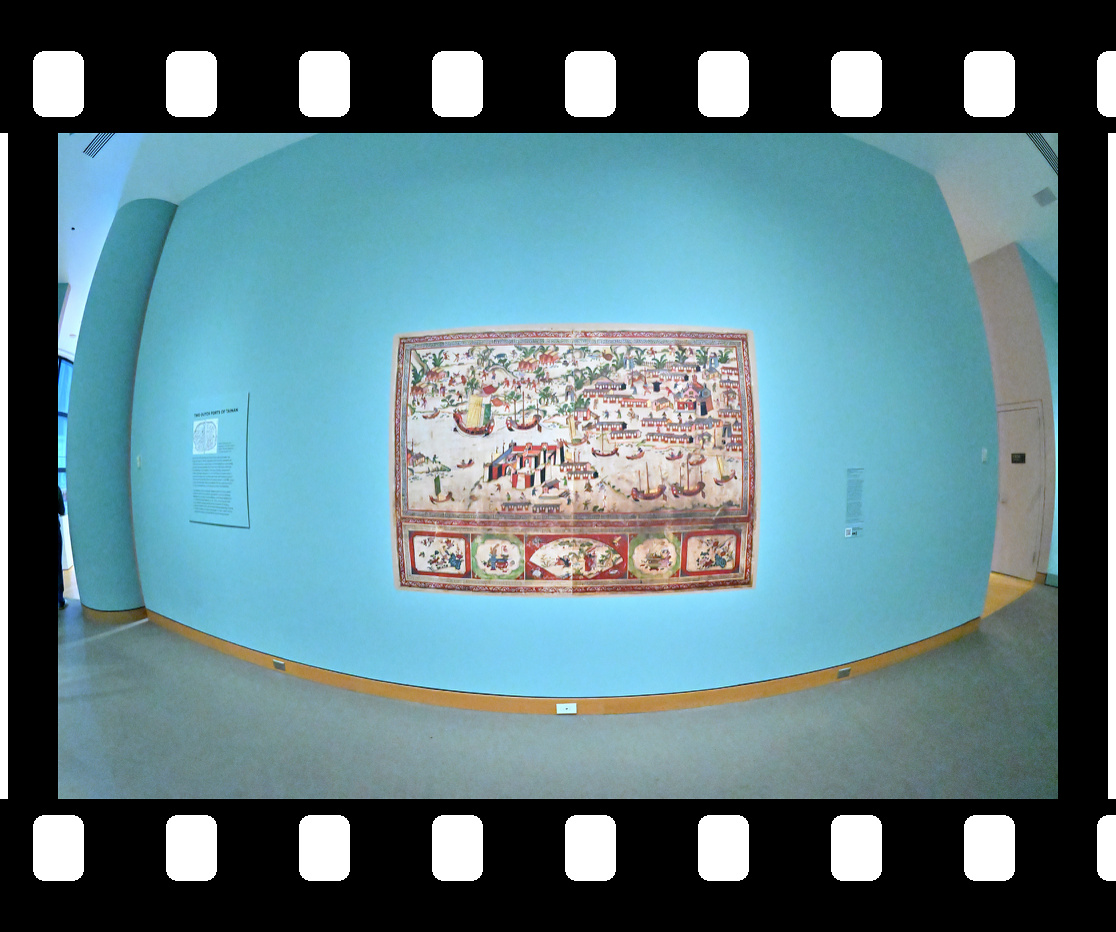
Chronicles of a Global East
1/80s f/5,6 ISO 16000/43° f=7,5mm
Roman Art: The Diversity of an Empire
1/50s f/5,6 ISO 4000/37° f=7,5mm
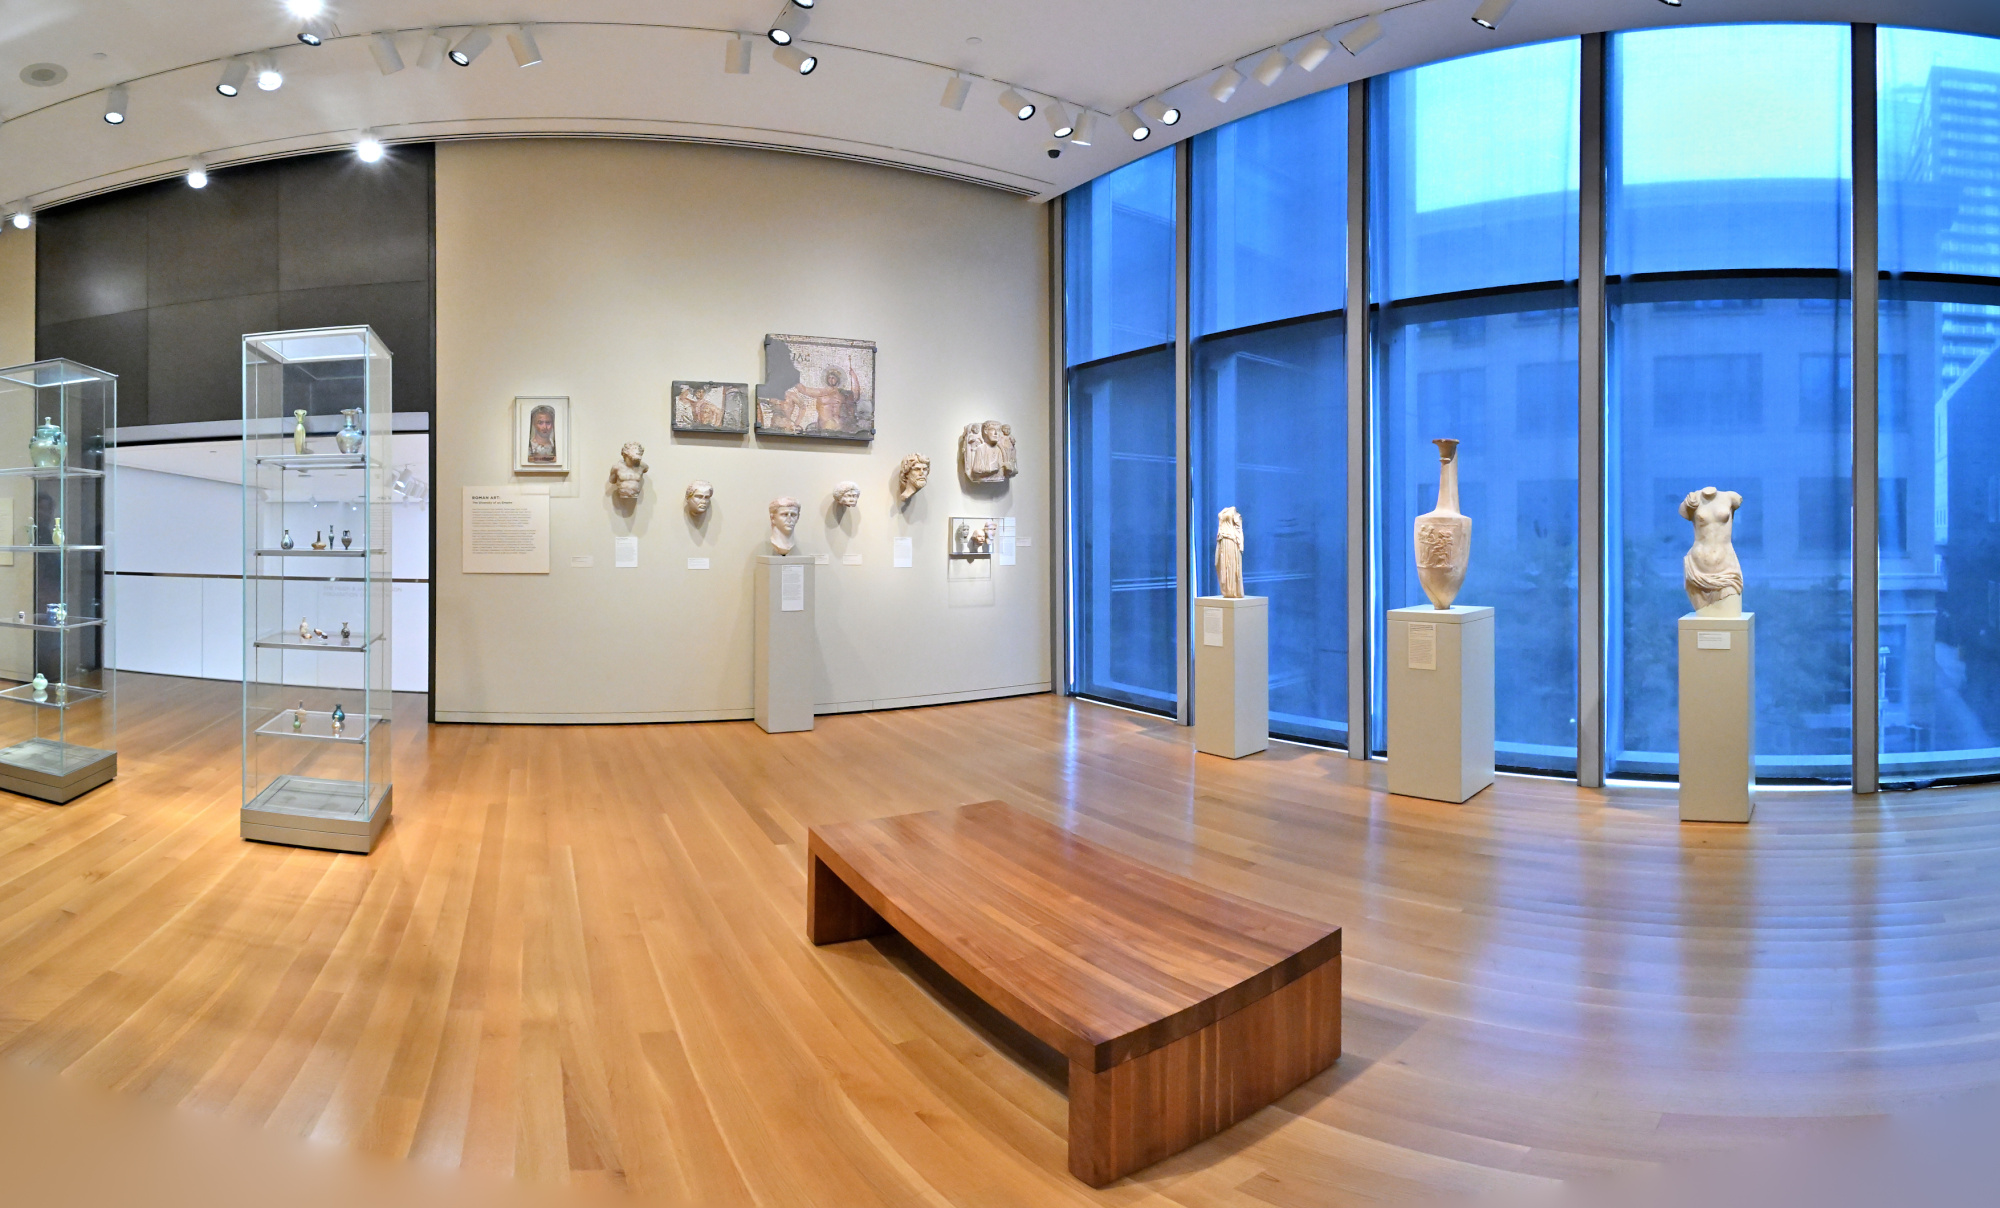
1/50s f/5,6 ISO 4000/37° f=7,5mm
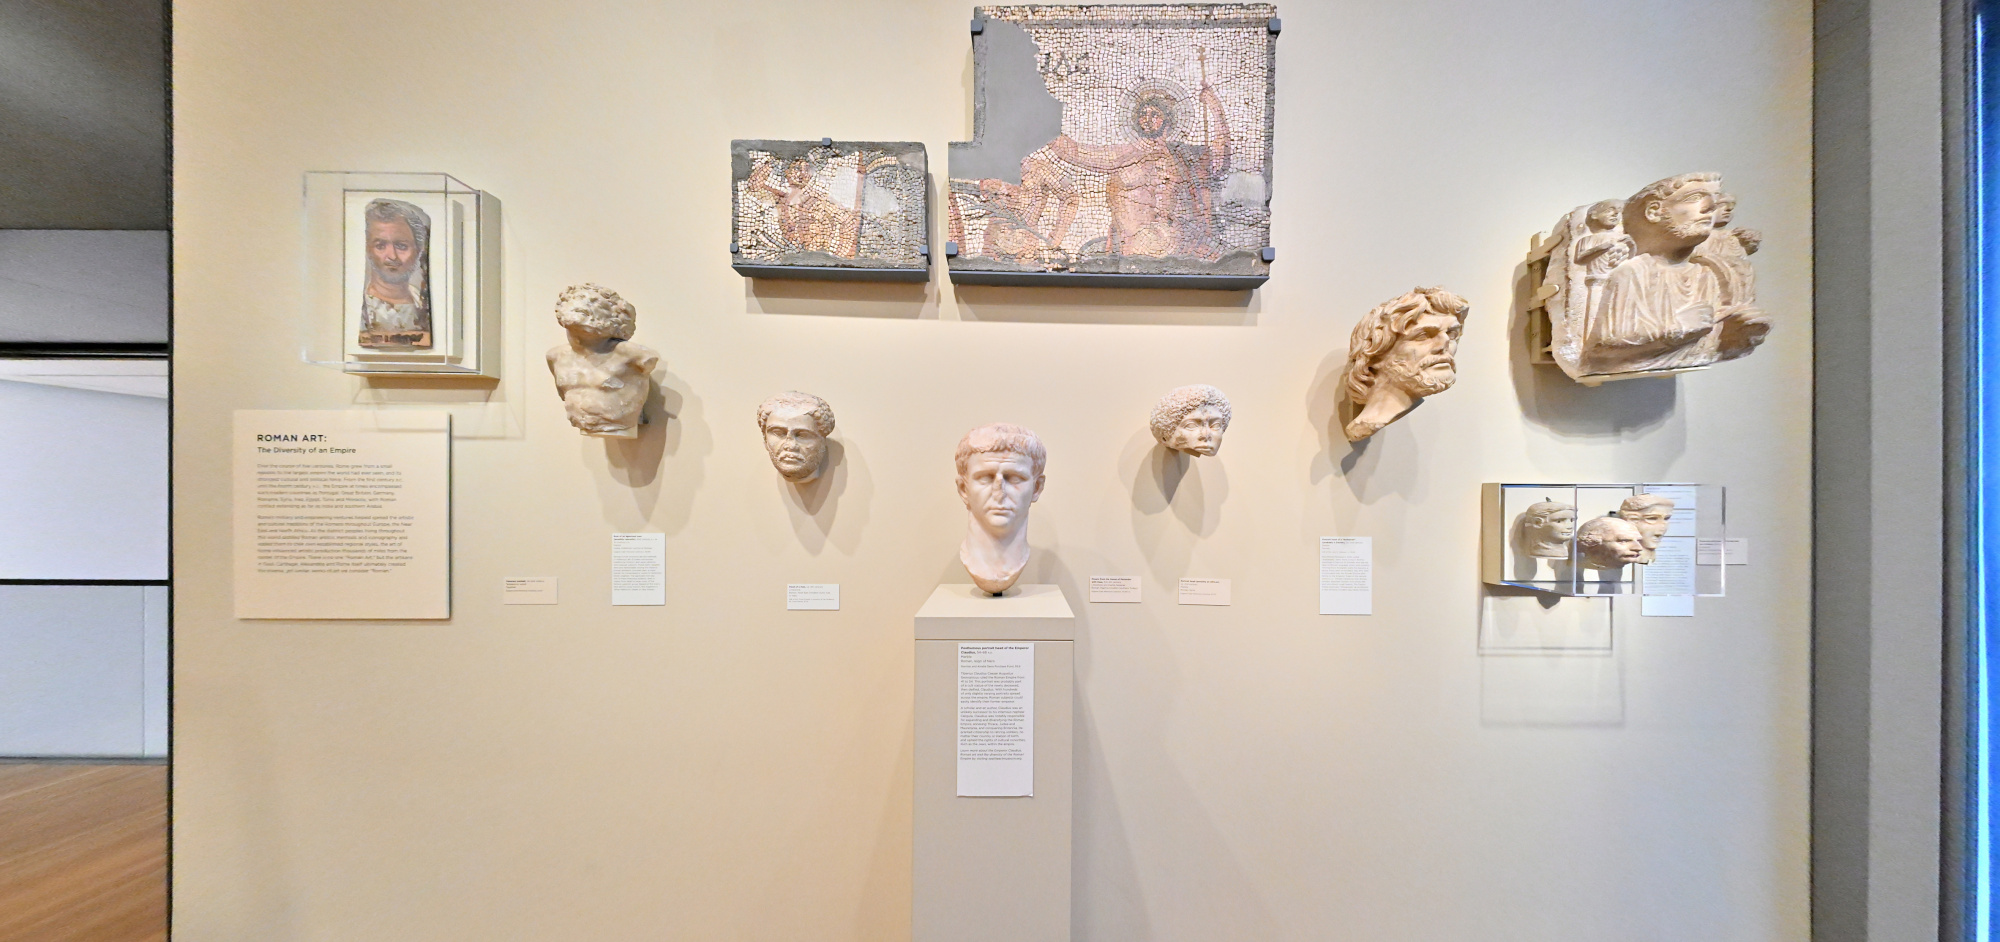
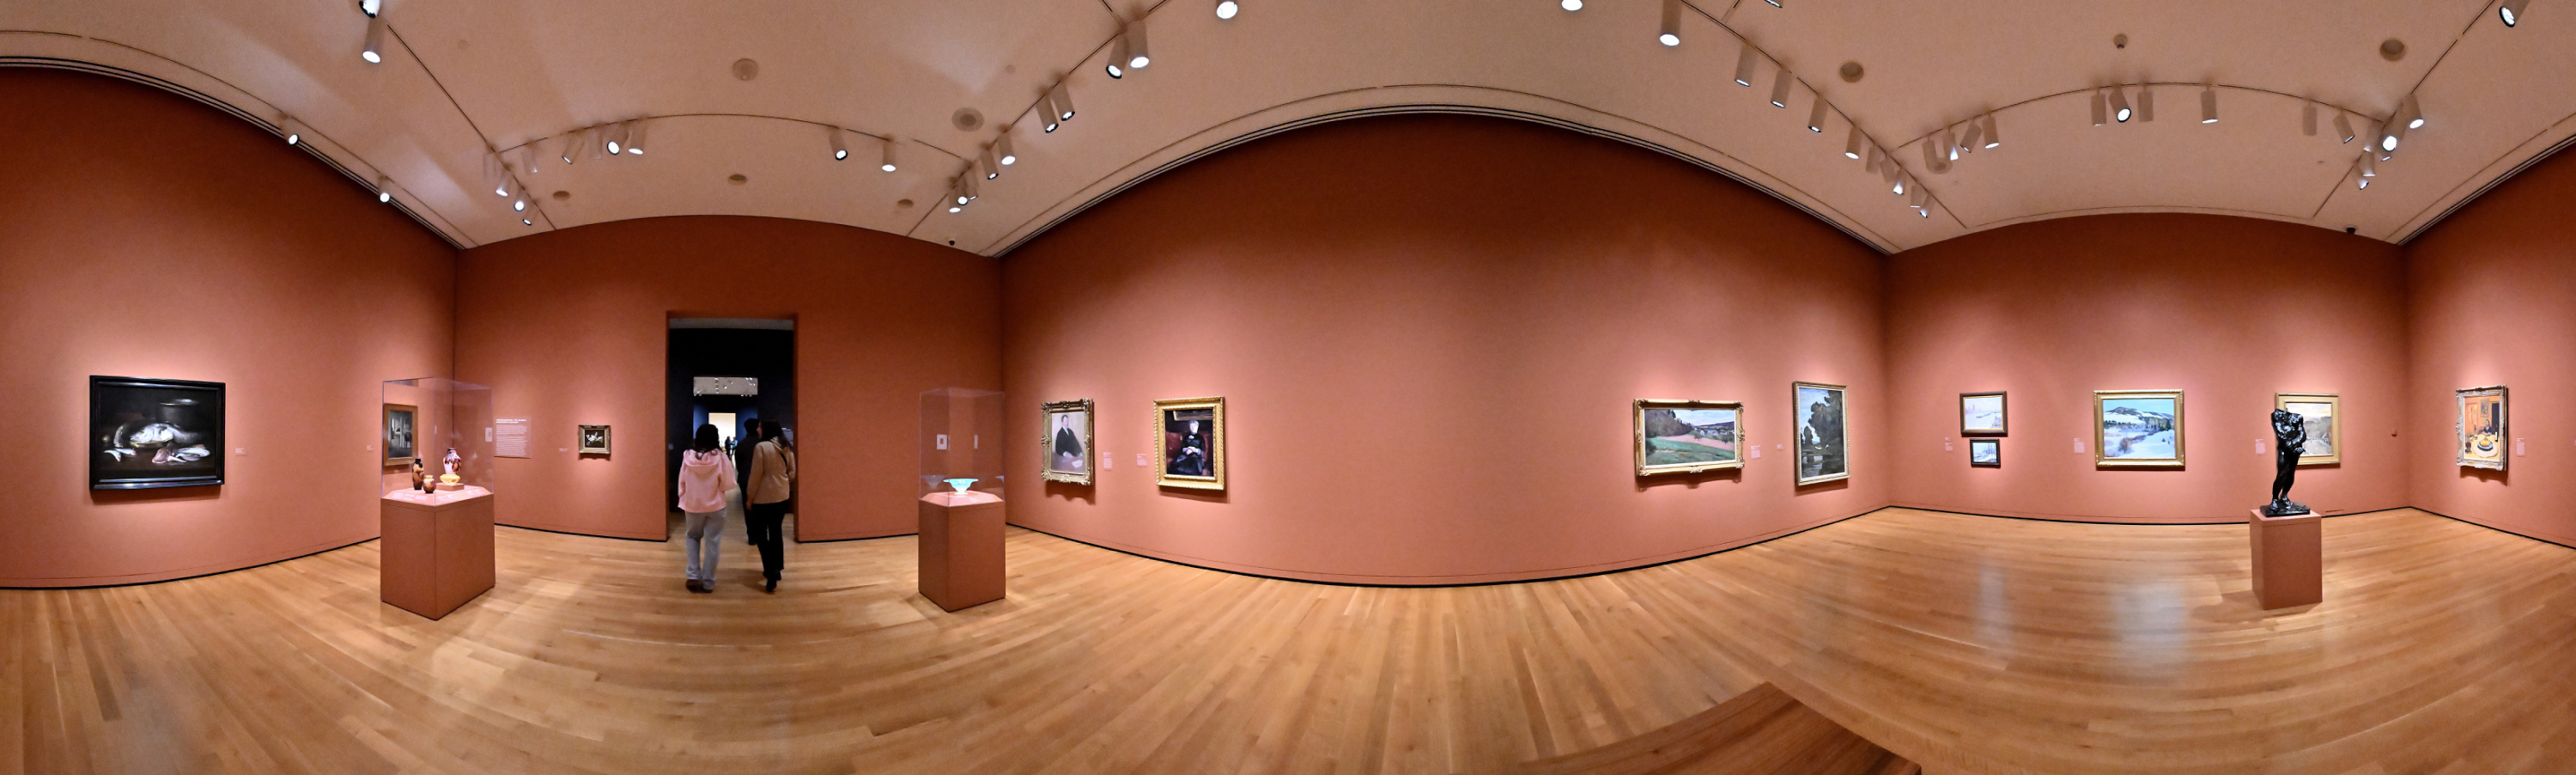
Impressionisms: The Global 19th Century
1/50s f/5,6 ISO 6400/39° f=7,5mm
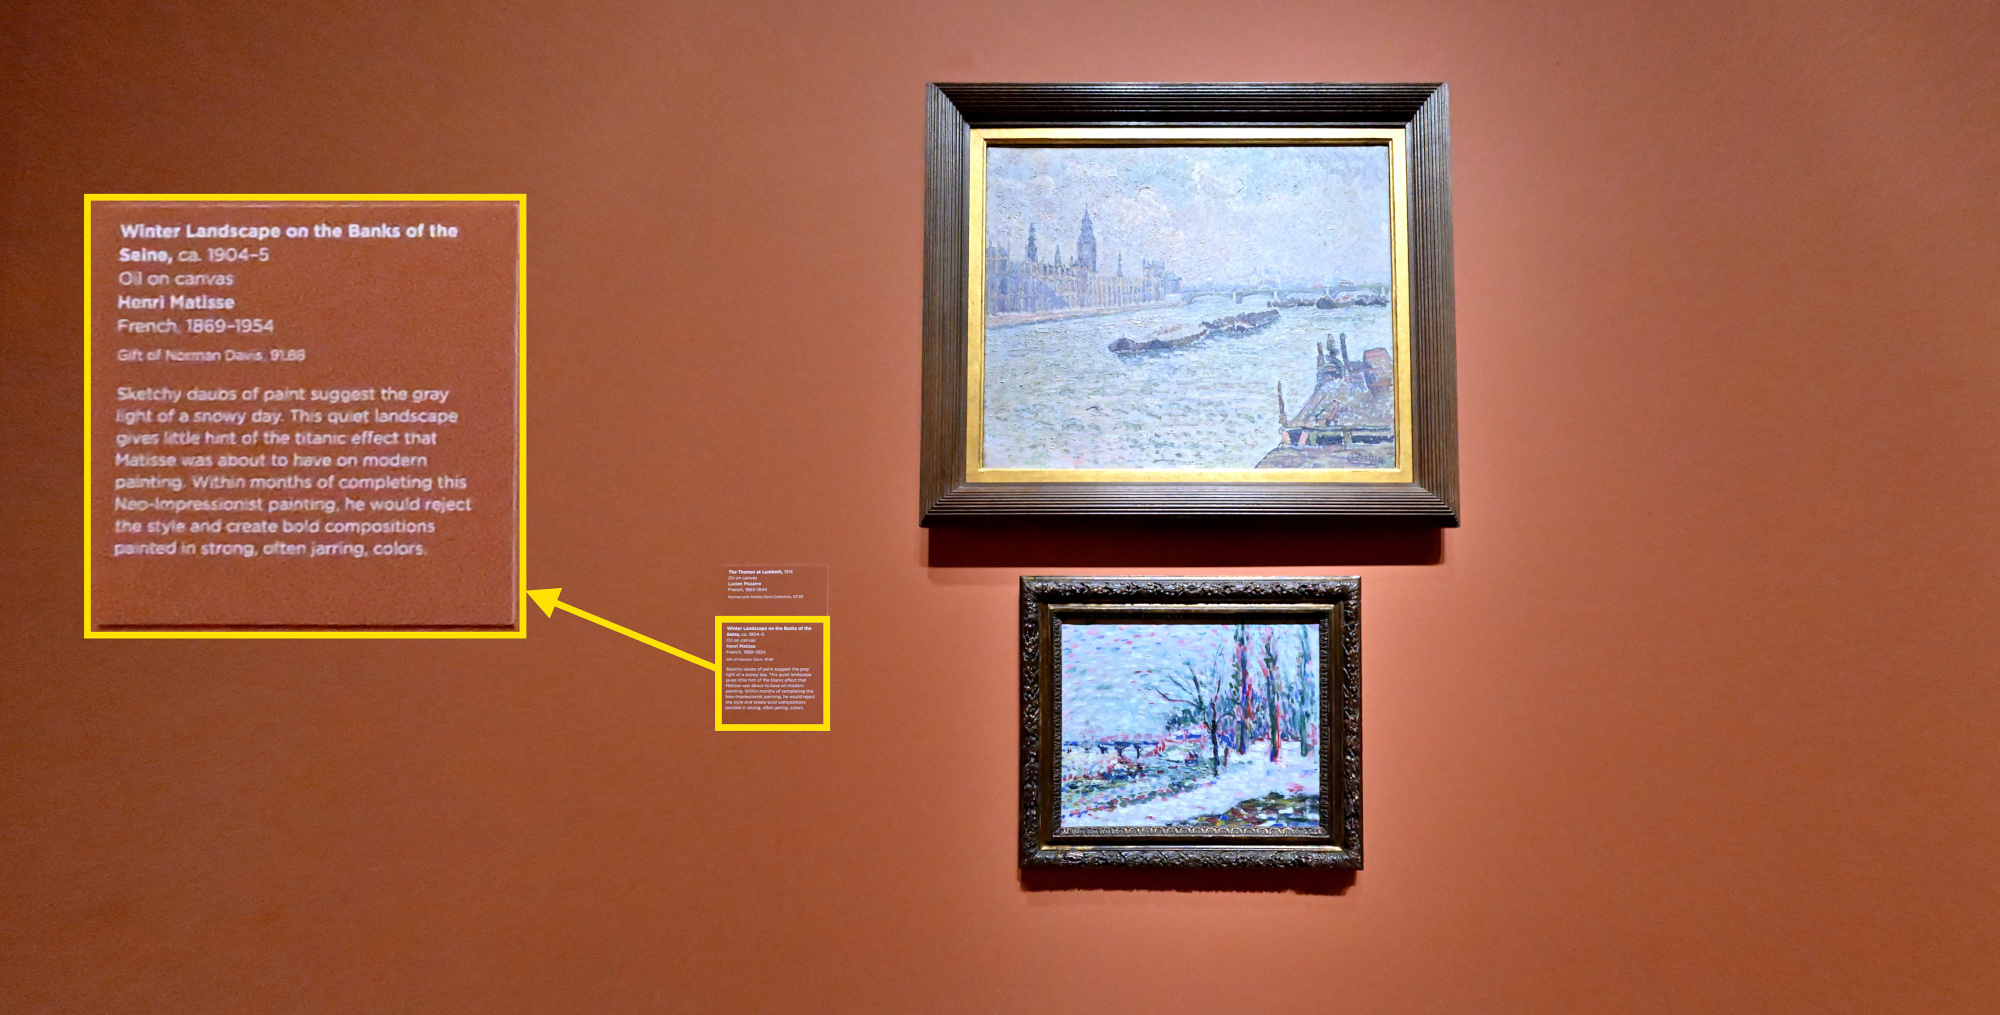
Winter Landscape on the Bank of the Seine, Henri Matisse
SAM Stories and SAM's collection
1/50s f/5,6 ISO 6400/39° f=7,5mm
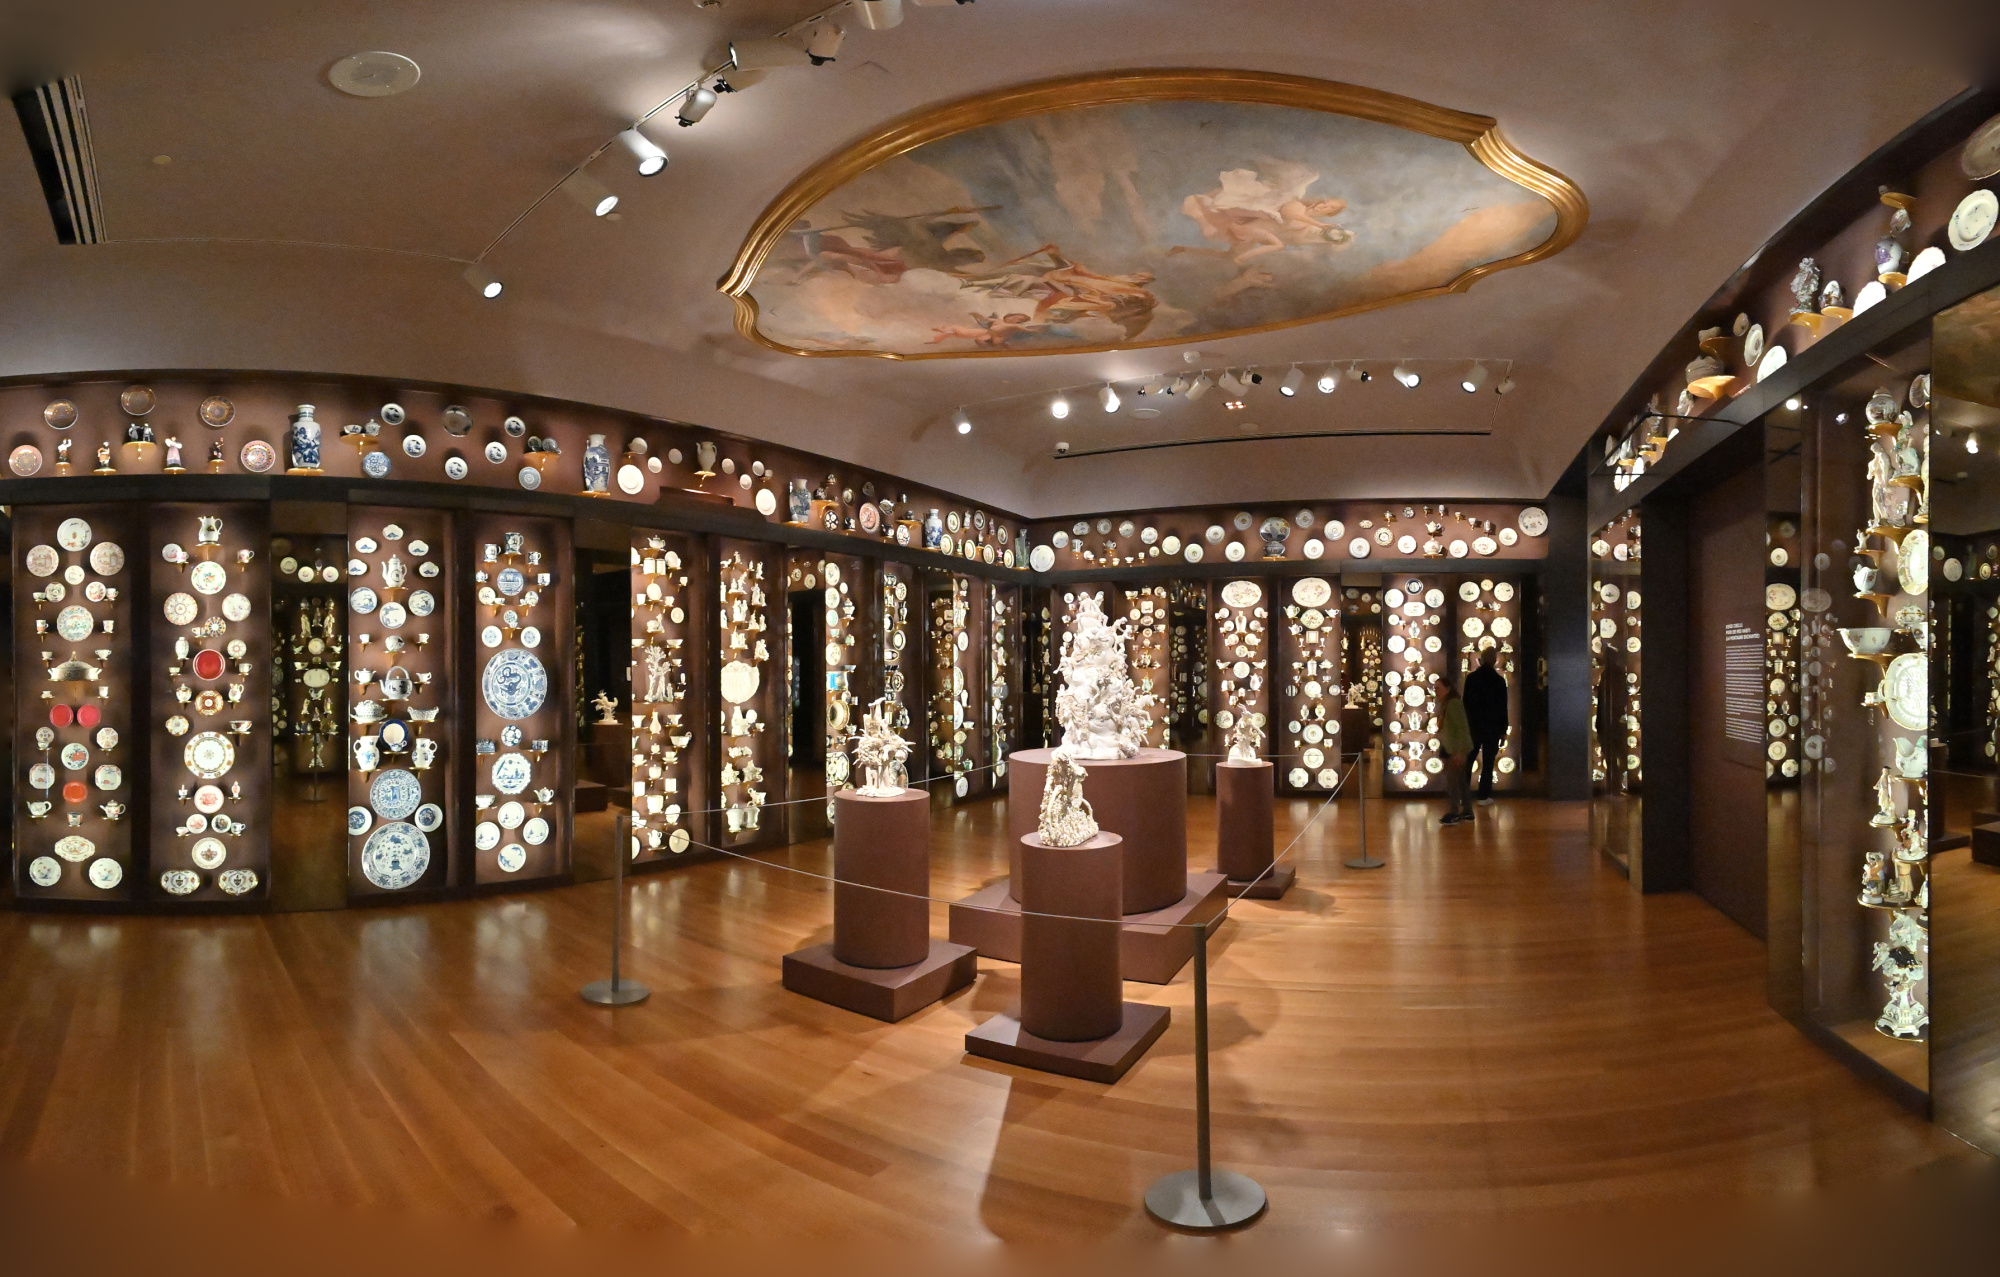
Porcelain Room
1/50s f/5,6 ISO 8000/40° f=7,5mm
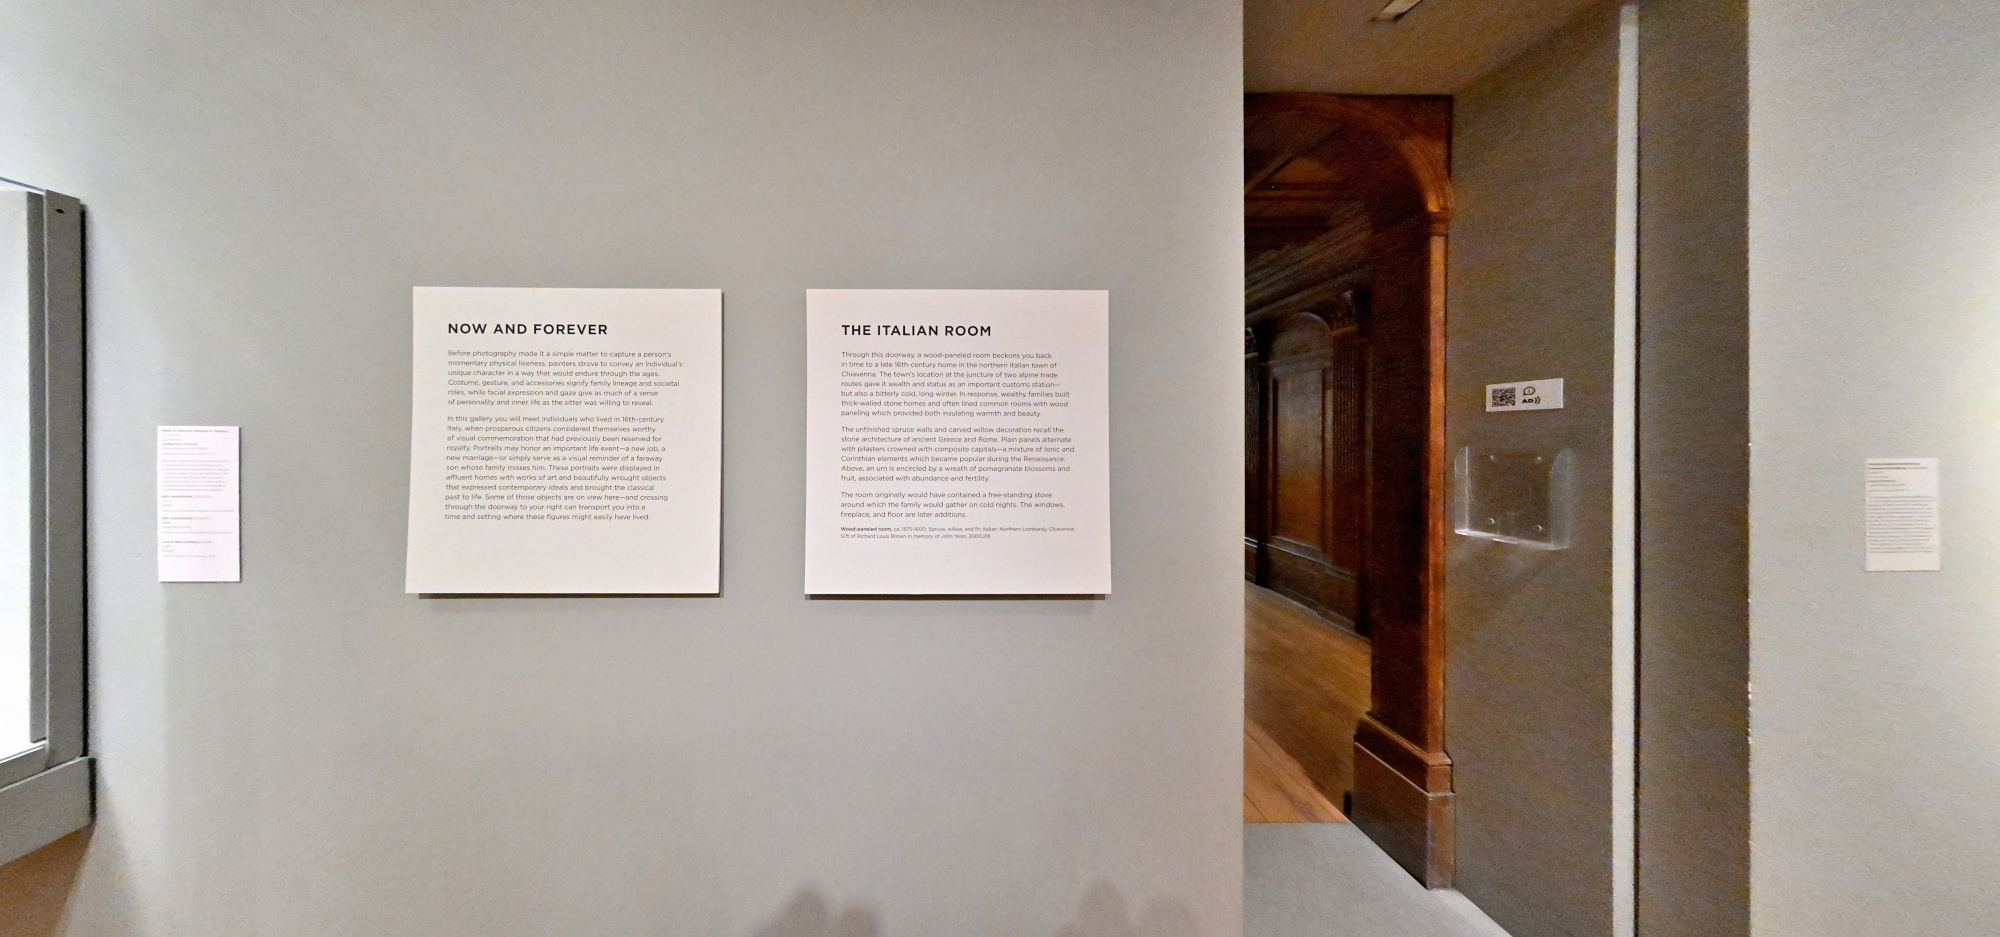
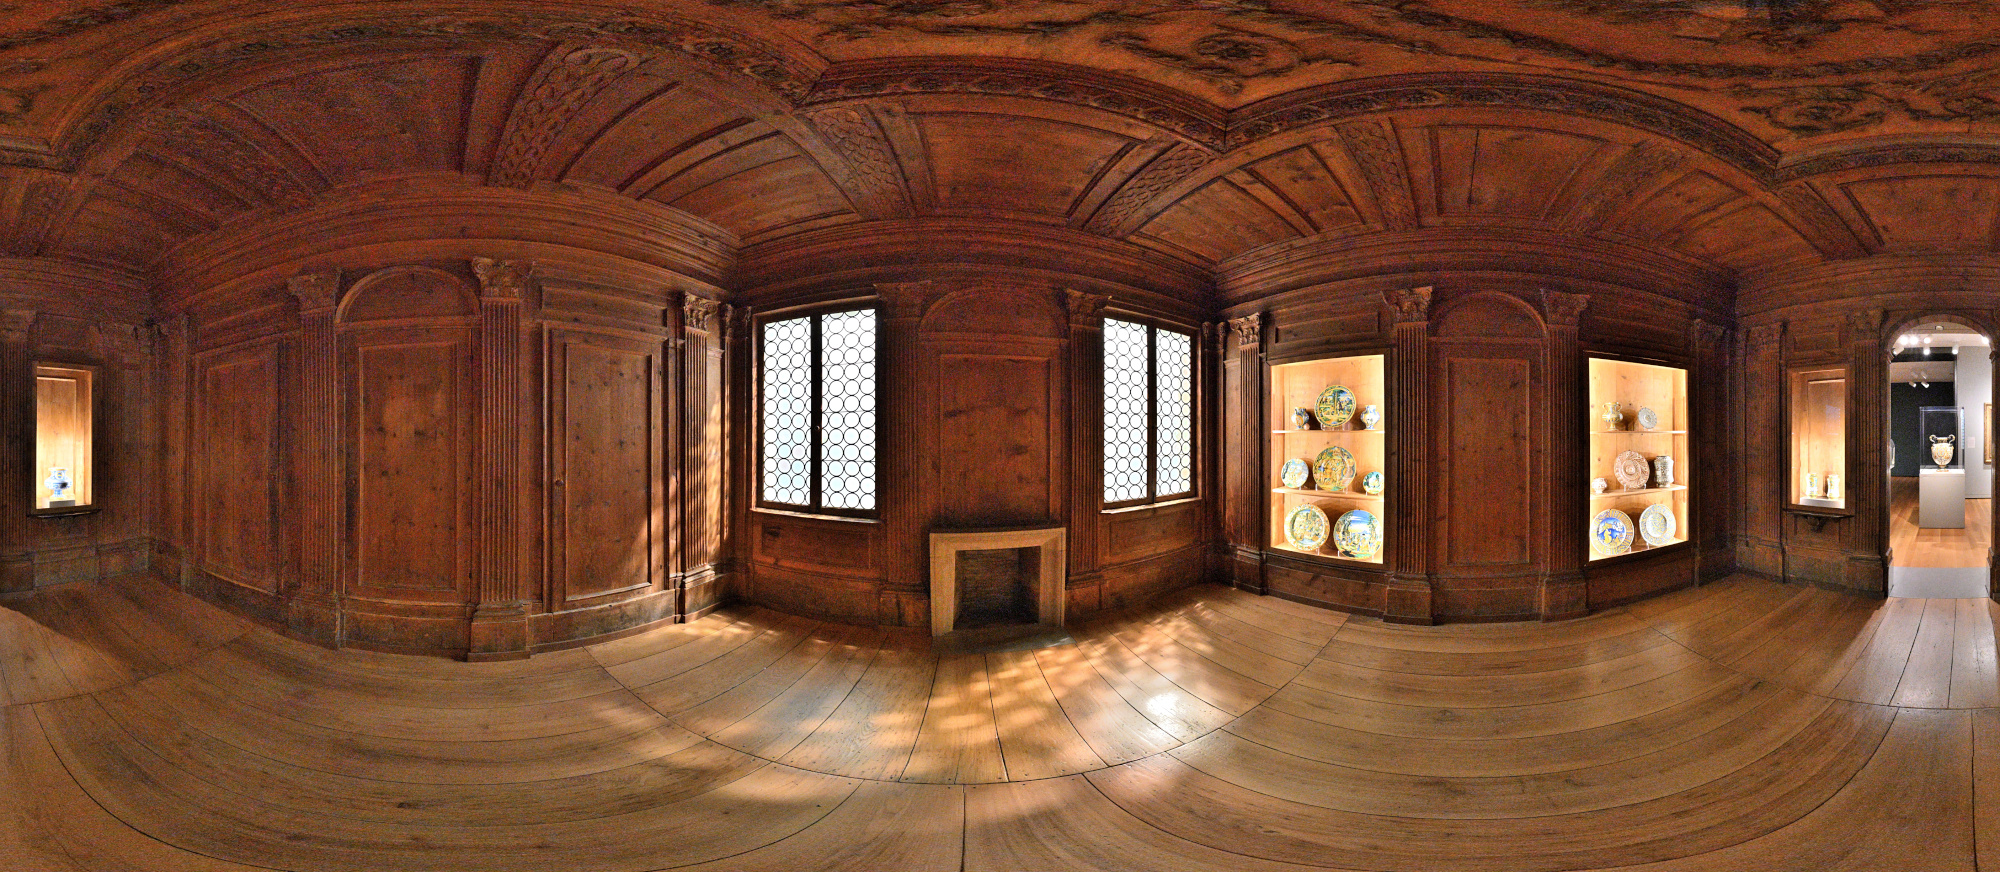
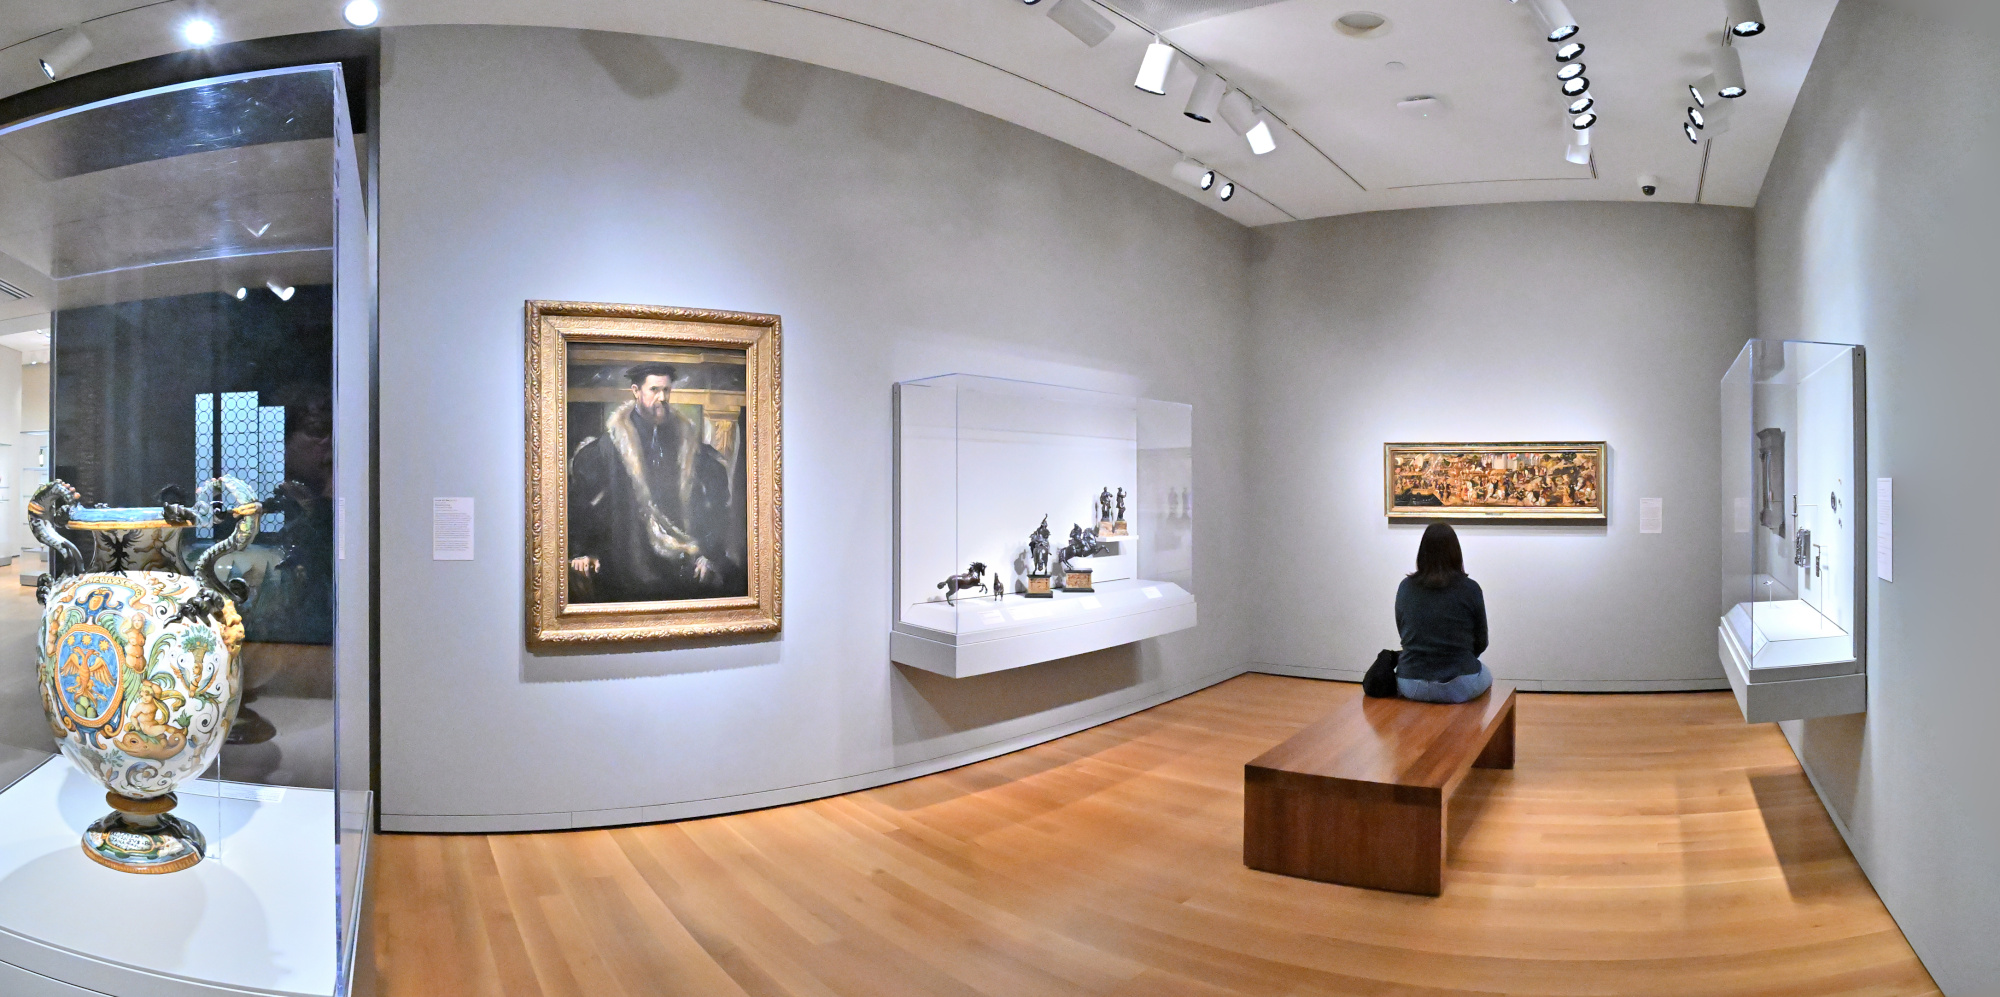
The Italian Room
SAM Stories and SAM's collection
1/50s f/5,6 ISO 8000/40° f=7,5mm
Interactive Panorama The Italian Room
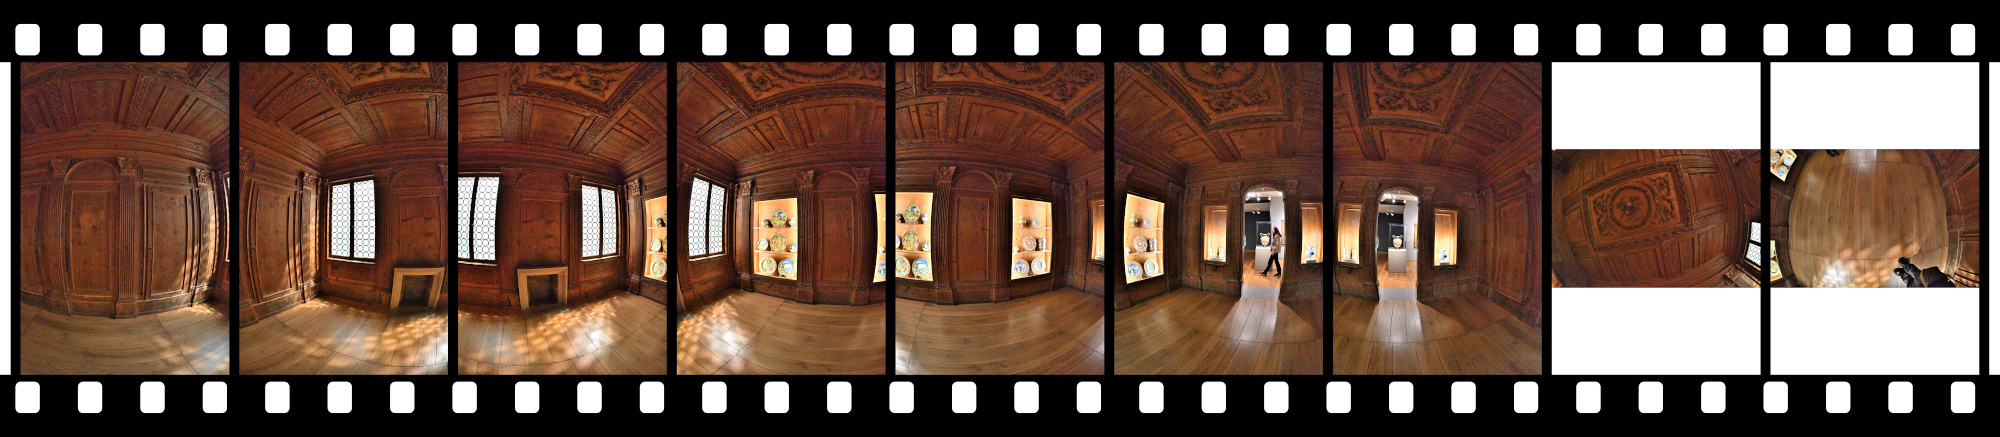
Noise reduction was not applied to retain details; the images were only graded7.
There was no time for multiple exposures for HDR, and of course no tripod because we were in a museum. I only had a brief moment when the room was empty to capture a 360°×180° panorama.1/50s f/5,6 ISO 8000/40° f=7,5mm
It was really dark in this room. Here are the ungraded raw images:
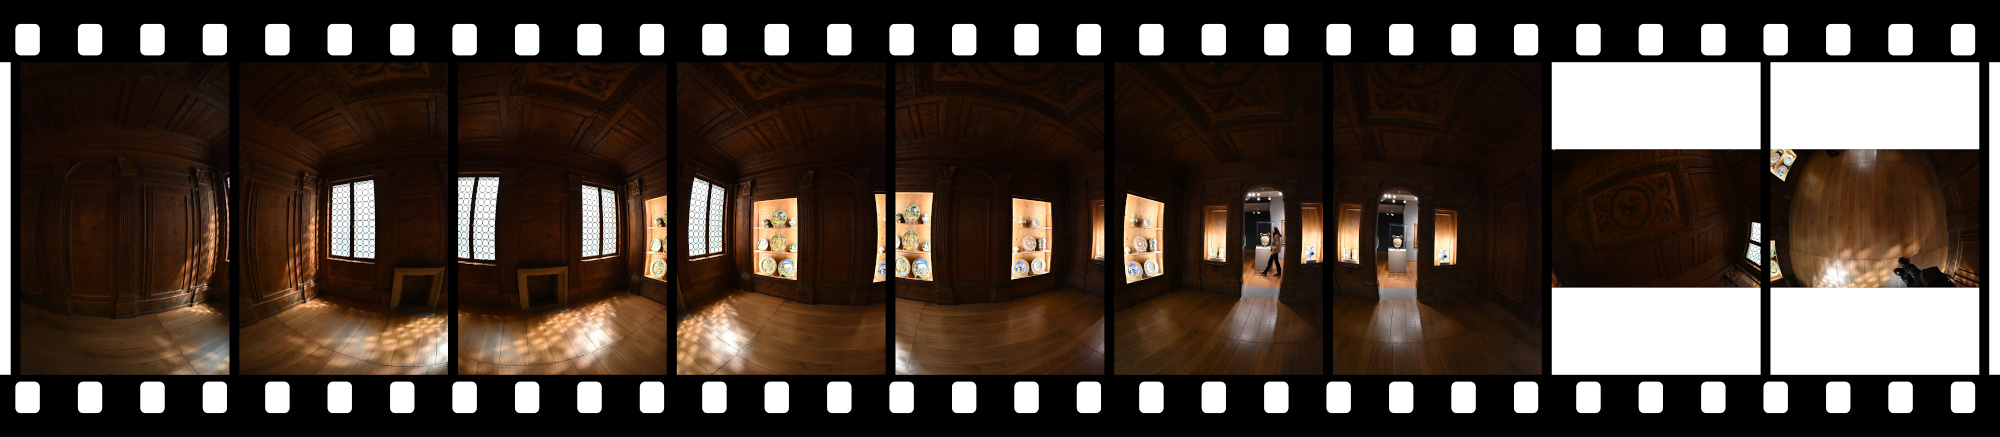
1/50s f/5,6 ISO 8000/40° f=7,5mm
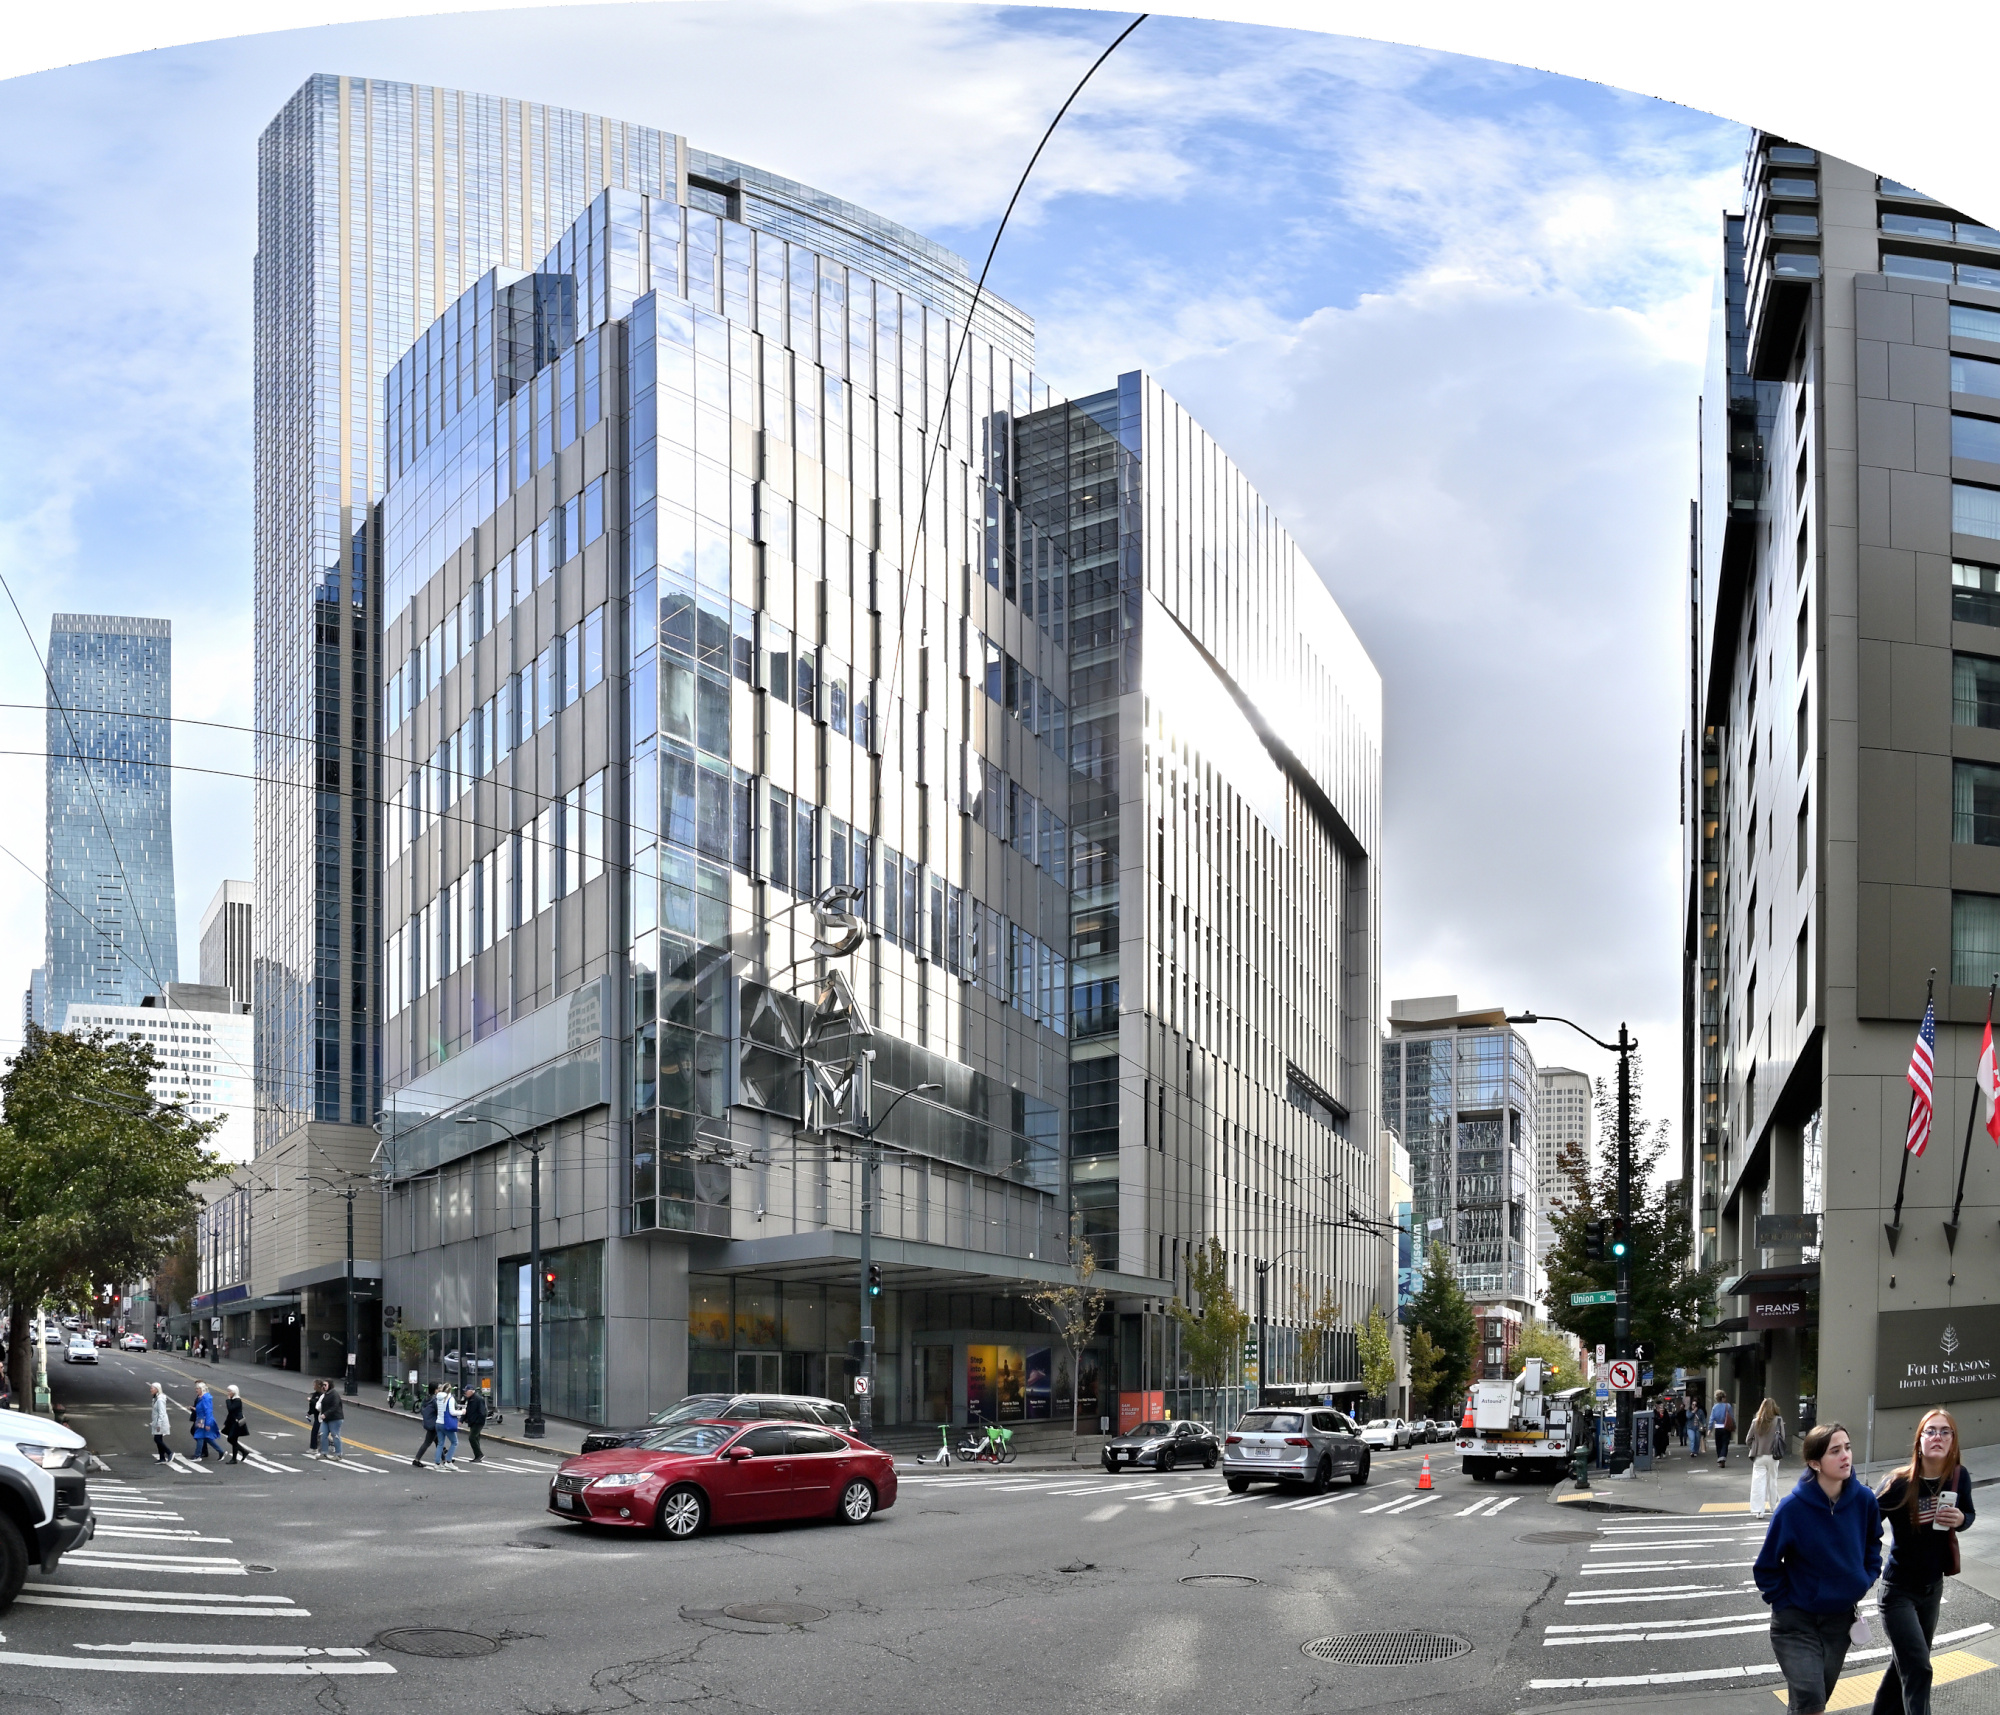
From Galleries to Sidewalks
When we left the museum, it was only partly cloudy with a hint of sunshine. The Pacific Northwest's quiet way of saying thanks for staying.
1/400s f/5,6 ISO 100/21° f=7,5mm
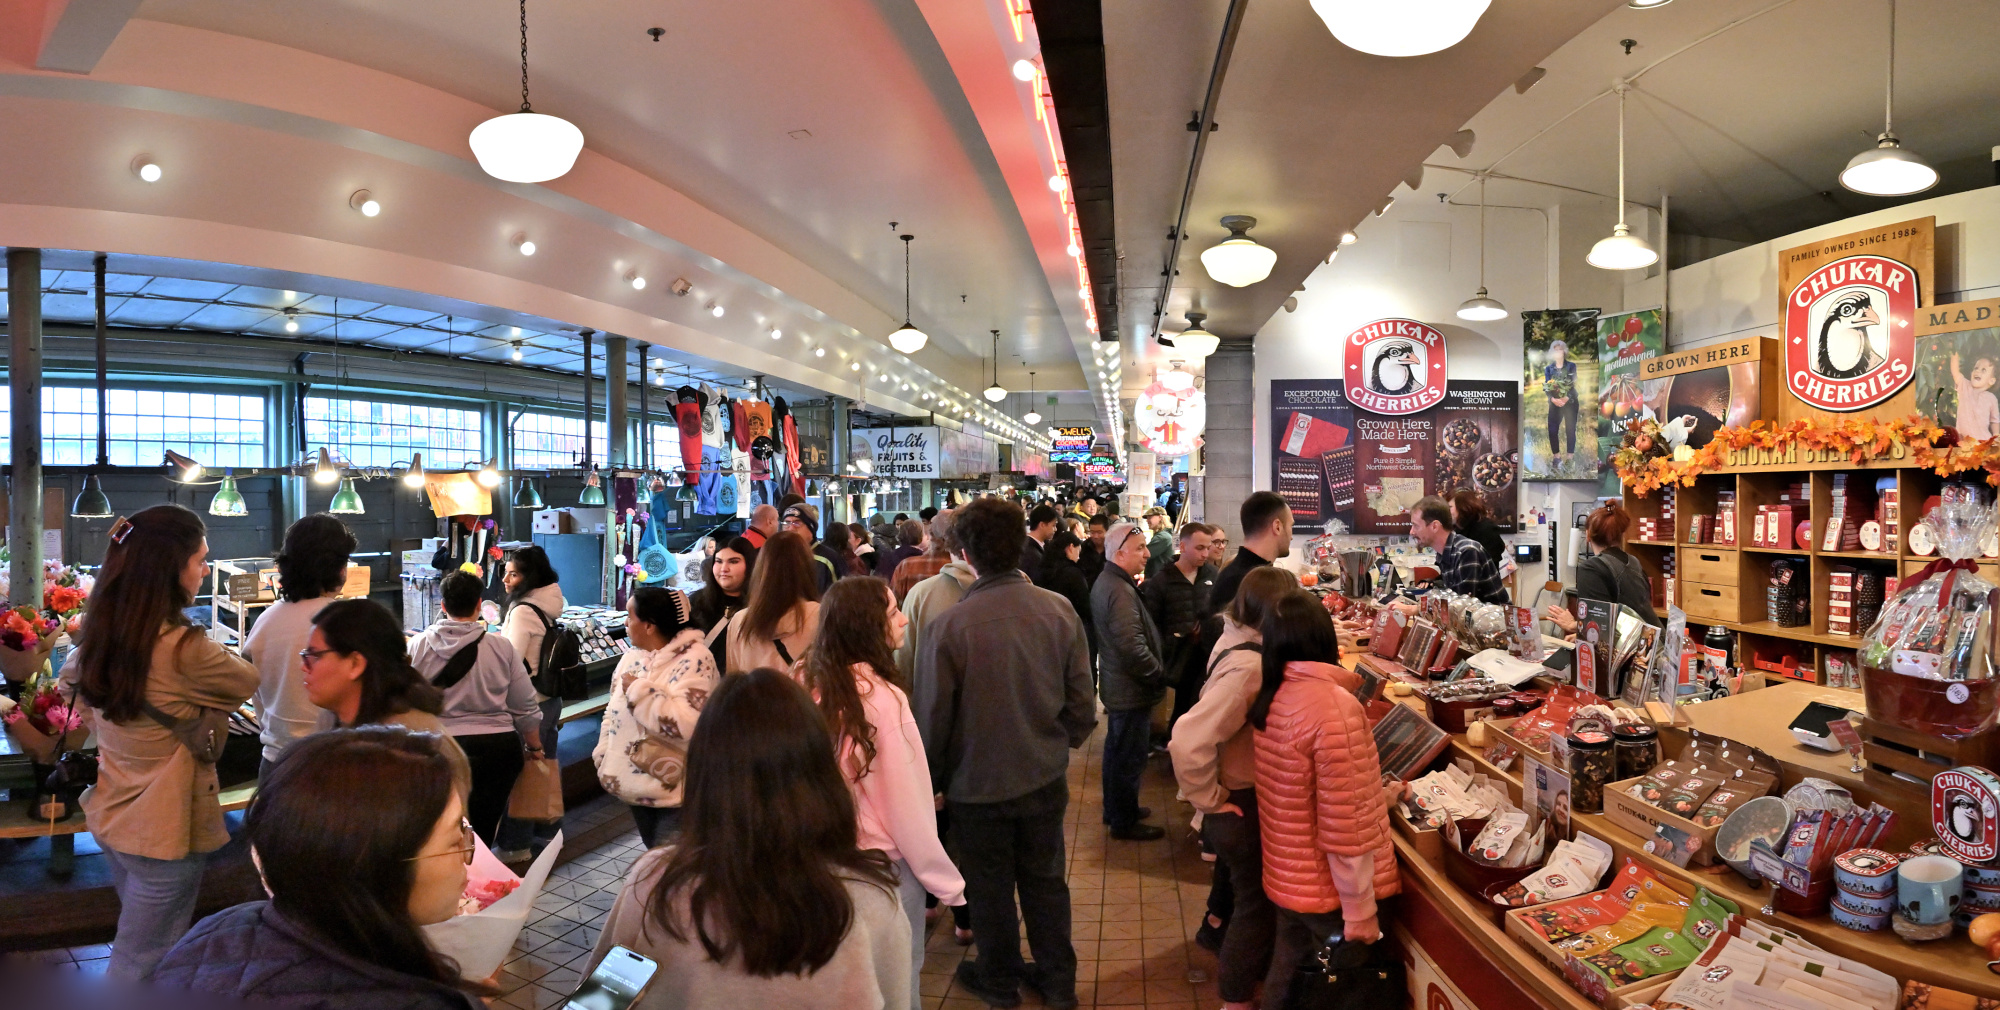
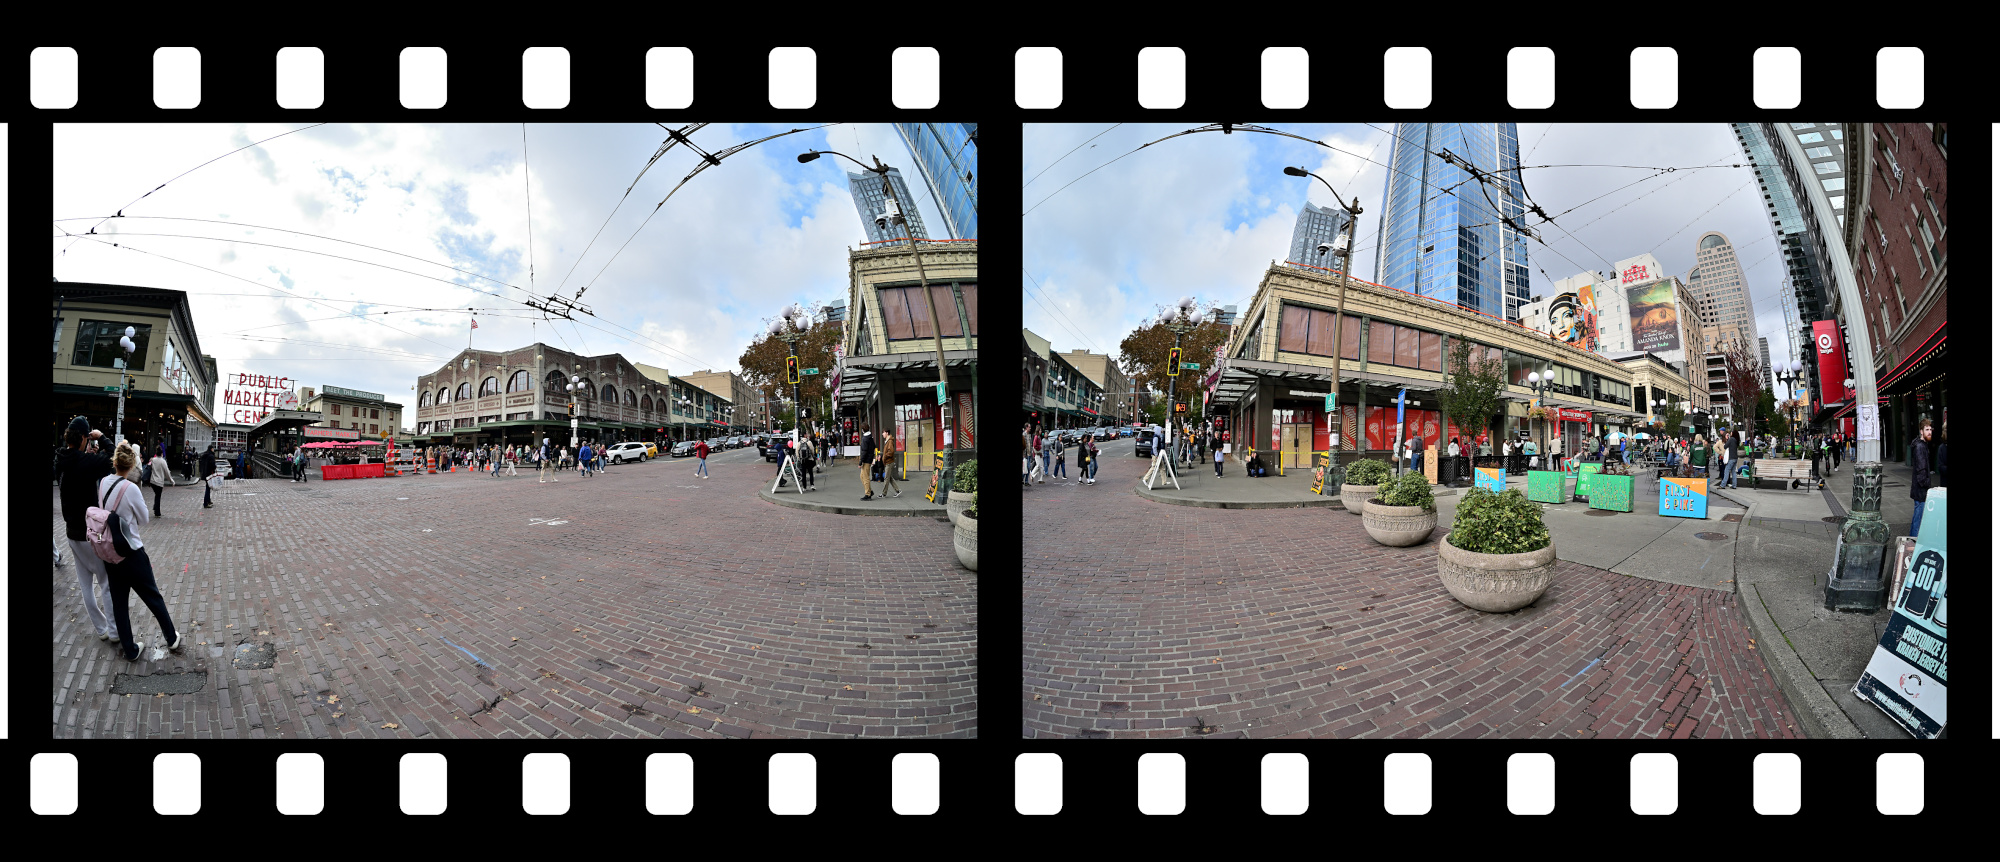
From the calm of the galleries to the vibrant pulse of Pike Place Market
1/125s f/5,6 ISO 2500/35° f=7,5mm
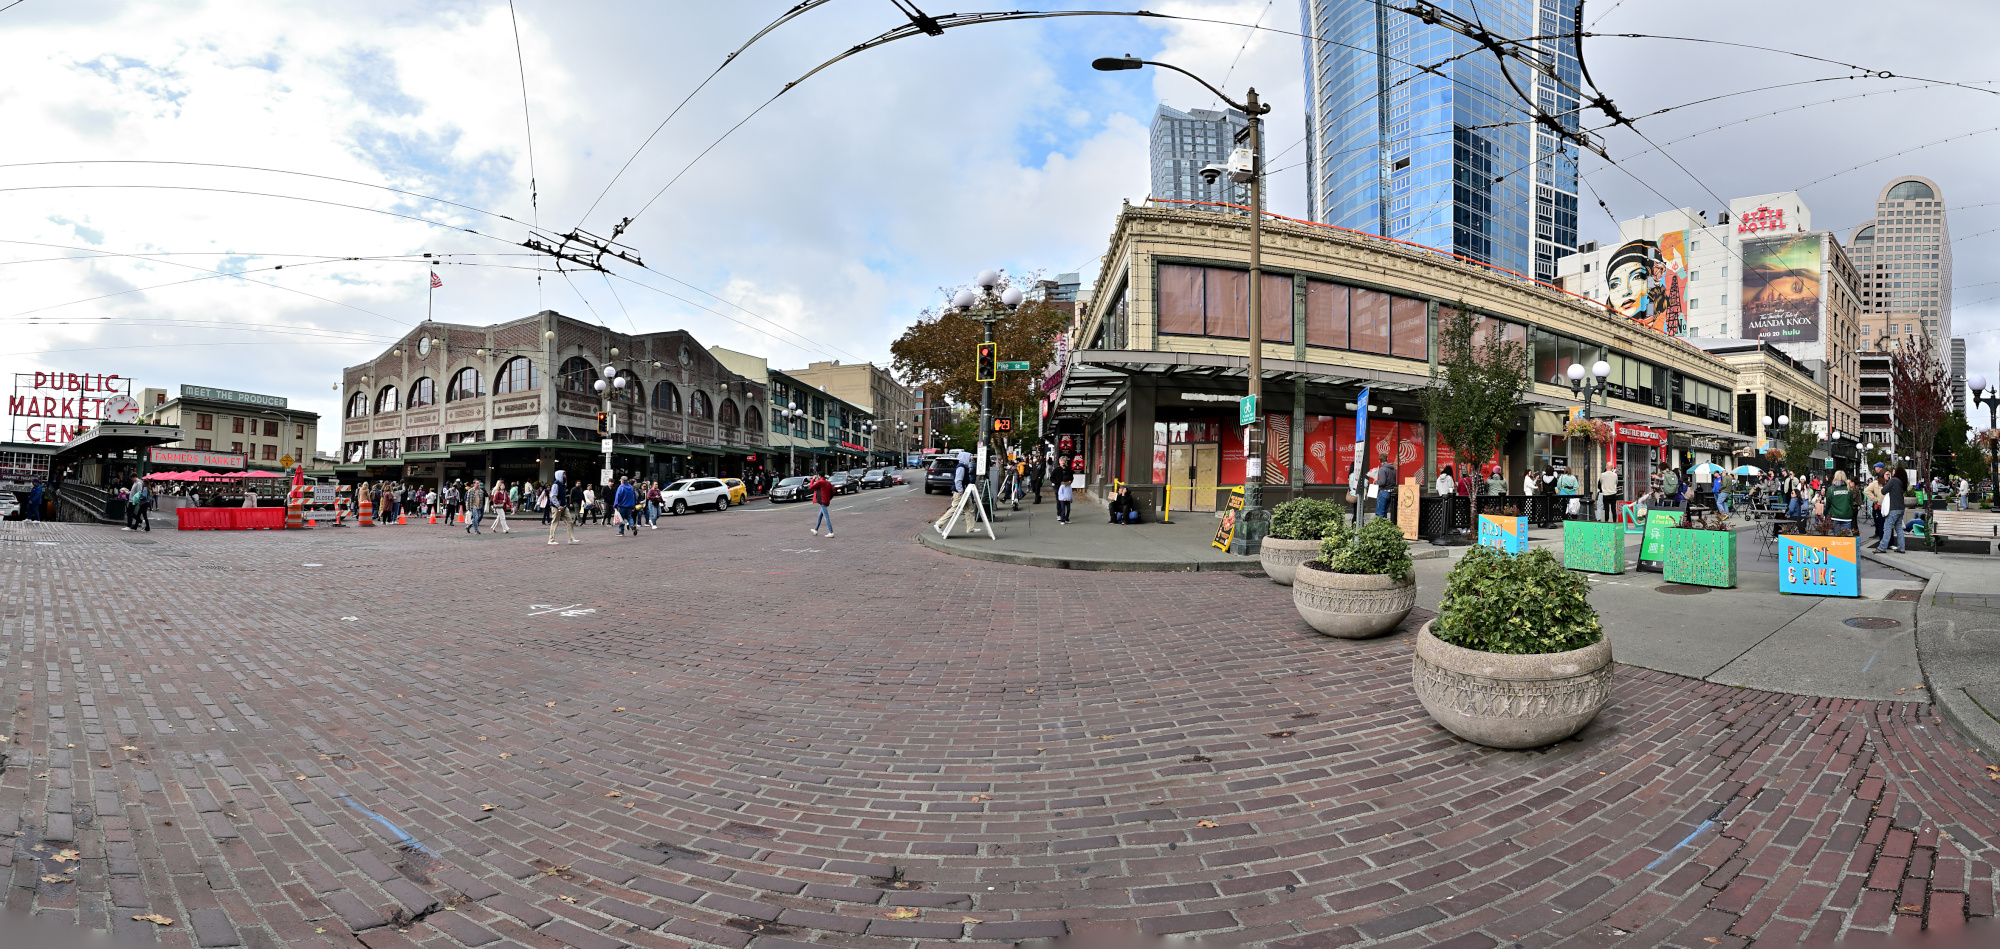
1/125s f/5,6 ISO 100/21° f=7,5mm
-
List of Exhibitions for 2025:
• FriendsWithYou: Little Cloud Sky – Jun 27, 2025 – ongoing
• Ash-Glazed Ceramics from Korea and Japan – Jul 9, 2025 – Jul 12, 2027
• Diego Cibelli: Fiori dei Miei Habiti / La Montagne Enchantée – May 31, 2024 – May 10, 2026
• Yirrkala: Art from Australia's Top End – May 10, 2024 – ongoing
• Lessons from the Institute of Empathy – Mar 31, 2018 – ongoing
• Impressionisms: The Global Nineteenth Century – Mar 27, 2024 – ongoing
• American Art: The Stories We Carry – Oct 20, 2022 – ongoing
• Chronicles of a Global East – Oct 20, 2022 – ongoing
• Pacific Species – Dec 22, 2022 – ongoing
• Cosmic Beings in Mesoamerican and Andean Art – Nov 10, 2018 – ongoing
• Art and Life Along the Northwest Coast – Nov 26, 2014 – ongoing
• Only Connect: The Art of Devotion – Apr 29, 2011 – ongoing
• Porcelain Room – May 5, 2007 – ongoing
↩ -
In this context, graded refers to applying tone curve adjustments to brighten dark areas and make details more visible. ↩
-
-
Chang Jiang Unlimited Archive – Original Content Restored
For years, Chang Jiang Unlimited (CJU) was the go-to resource for owners and enthusiasts of the legendary Chang Jiang 750 motorcycles. It offered technical documentation, restoration tips, parts information, and a wealth of knowledge that kept these classic sidecar bikes on the road.
❓ What Happened
The original CJU website changjiangunlimited.com disappeared years ago. The domain went offline, and most of its content was lost to time. Even the Wayback Machine only preserved fragments. For many in the community, this meant losing an irreplaceable source of information.
✅ The Good News
Back when CJU was still online, site owner Dan Crossman offered to share the entire site content with anyone willing to preserve it. I accepted that offer and secured the complete dataset, which takes up about 10 GB of disk space across nearly 60k files.
Not sure if there is another copy, but anyway, here it is.This archive includes:
- Original technical guides and toolbox resources
- Historical documentation for CJ750 models
- Restoration and customization guides
- Community knowledge
The content is now fully integrated into the new site and is freely available here8:
https://bitfabrik.io/cju
Everything is preserved in its original structure and format, including the classic gold-and-red colors we would never dare to put on a bike.
-
See also my restoration projects, technical details, and riding experiences with the Chang Jiang 750 ↩