-
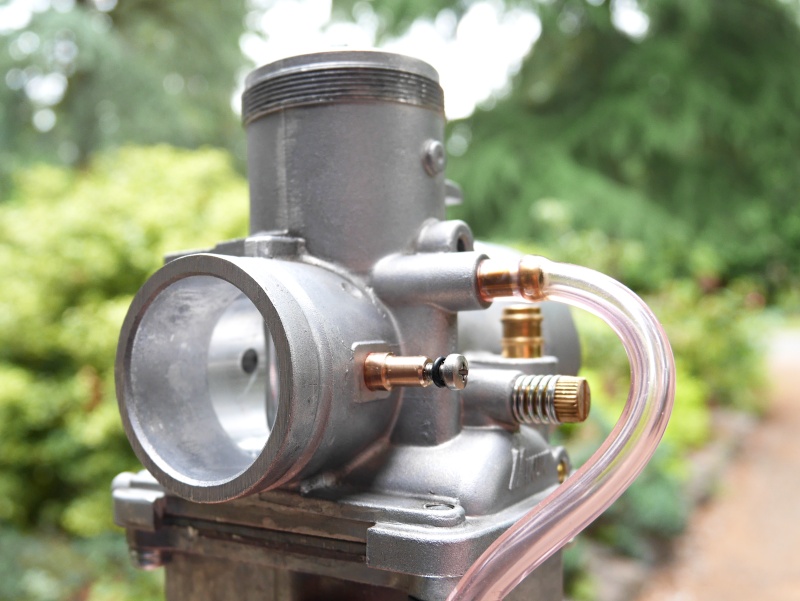
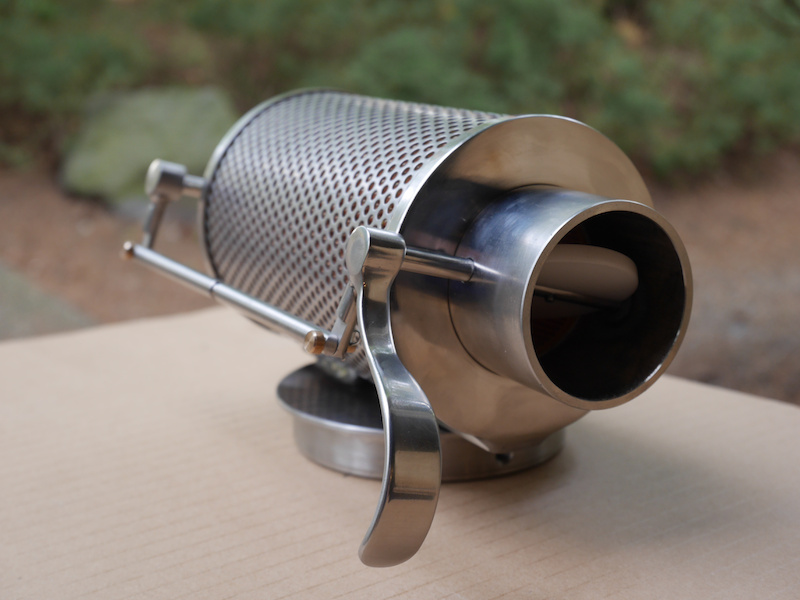
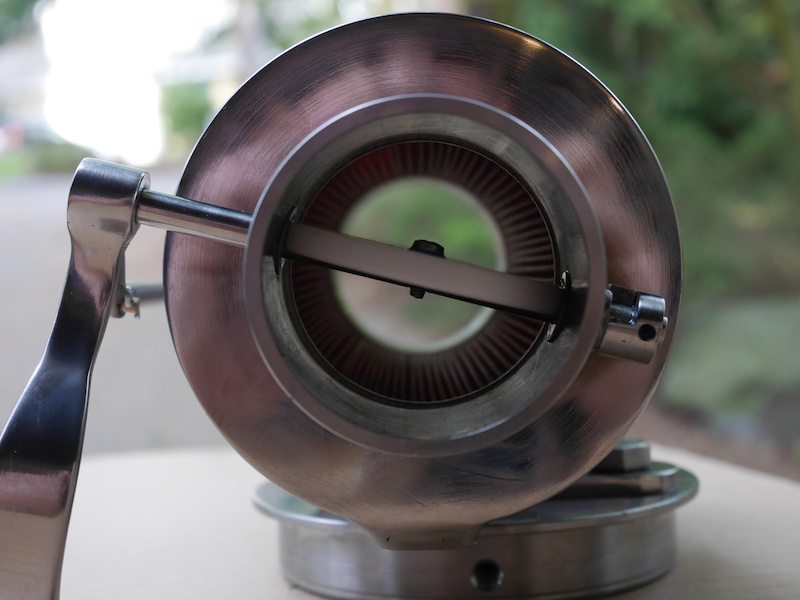
Carburetor vacuum ports
The Mikuni carbs do not have a vacuum port to sync carbs.
Carburetor synchronization is important for a smooth running engine, and if you follow the simple steps, you can easily add a sync port to the Mikuni carbs.
The flat spot is perfect for the connector port.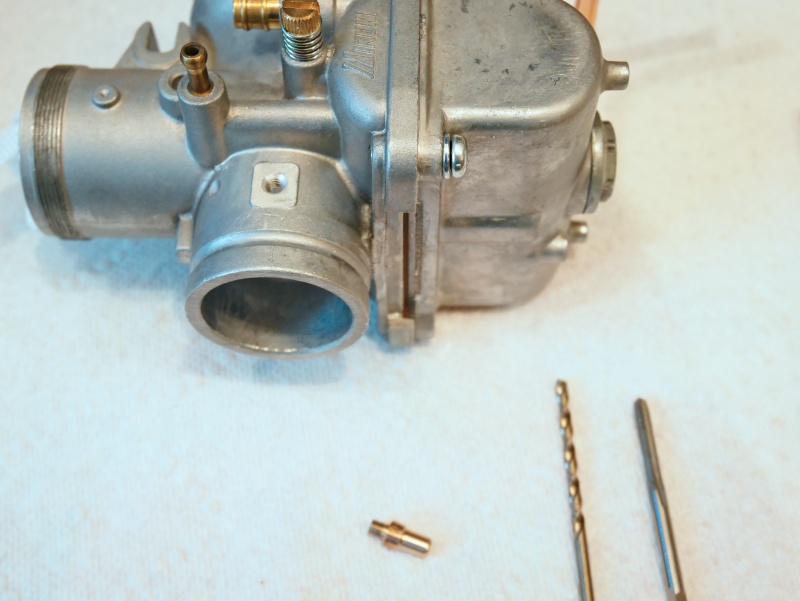
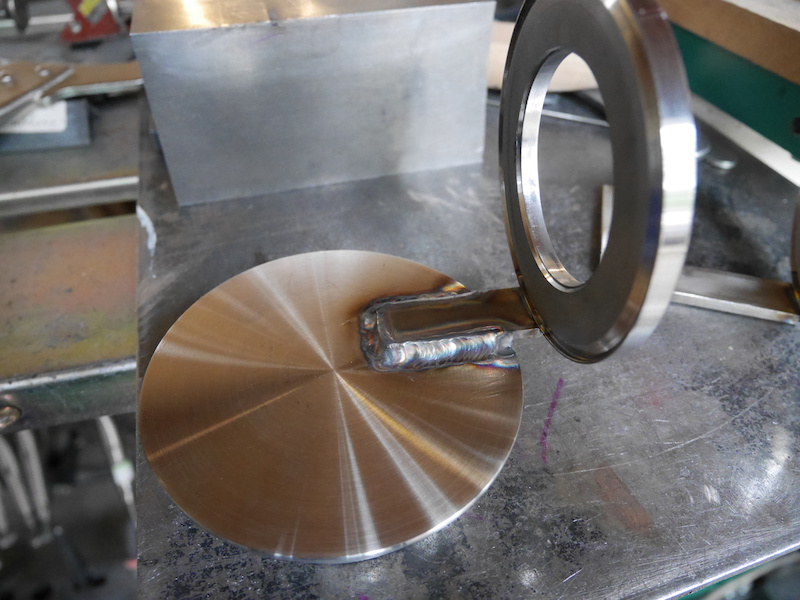
I made the connector out of bronze with M4 on the outside and M3 for the cap screw. Use a 3mm or 1/8" drill bit for M4 as this material is very soft.

Depth is about 5mm.
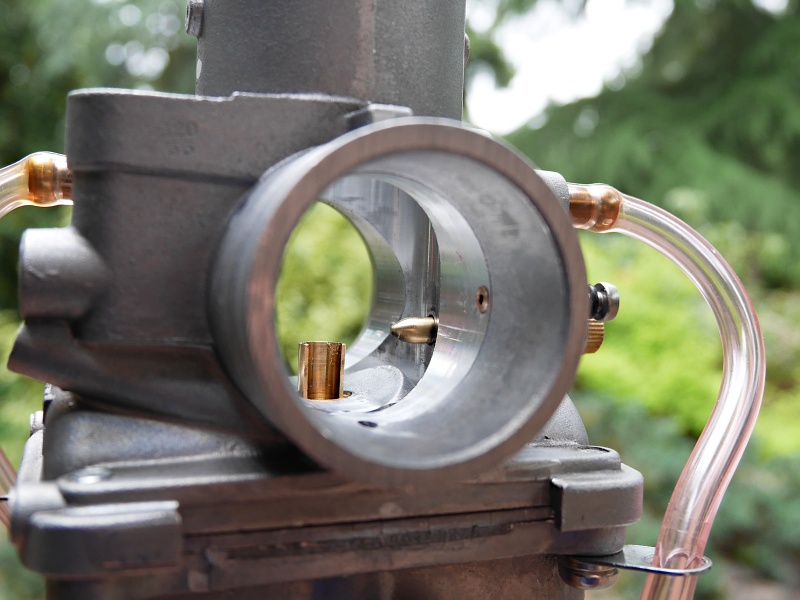
The outside diameter of the connector is 4.5mm.

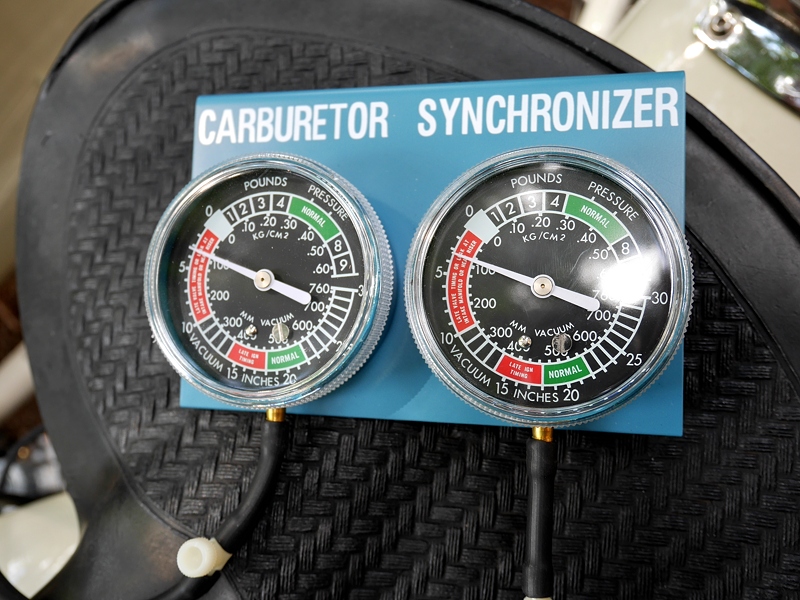
Connecting a simple vacuum gauge shows the negative pressure for each side. Use the idle adjustment screw to set for an equal value.
-
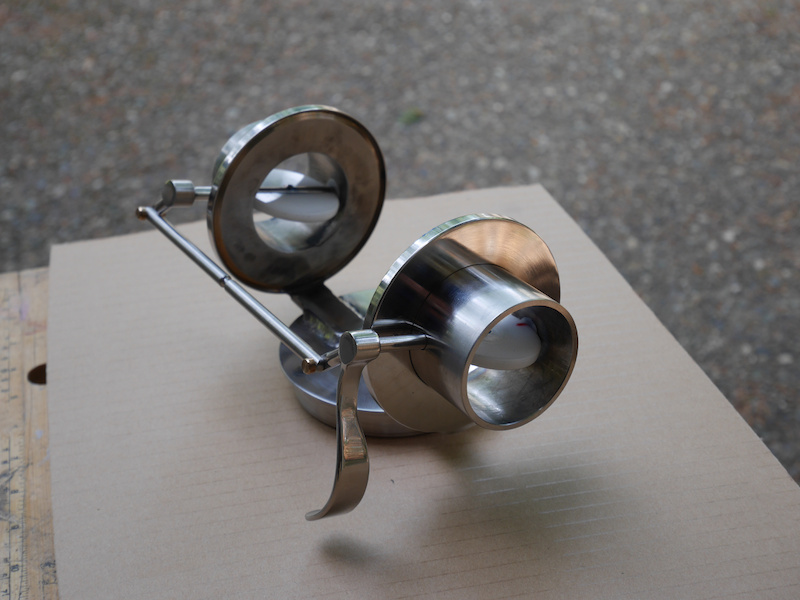
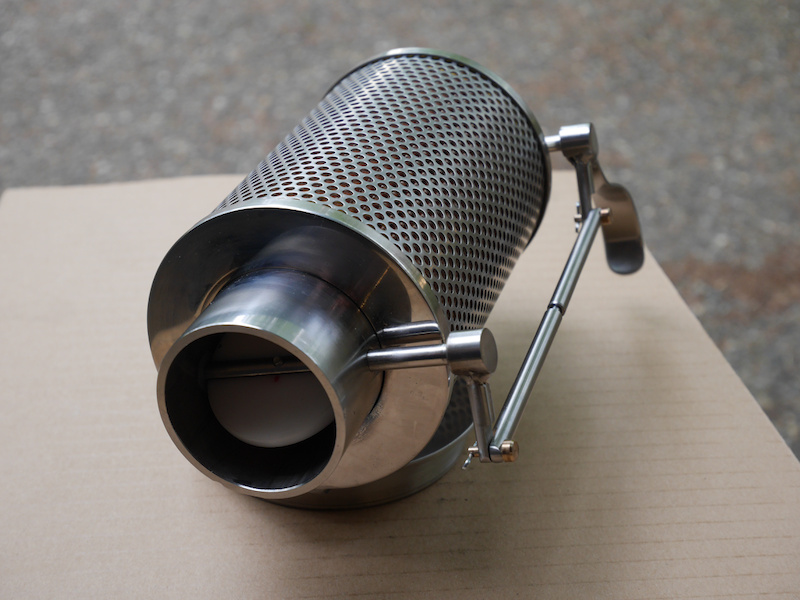
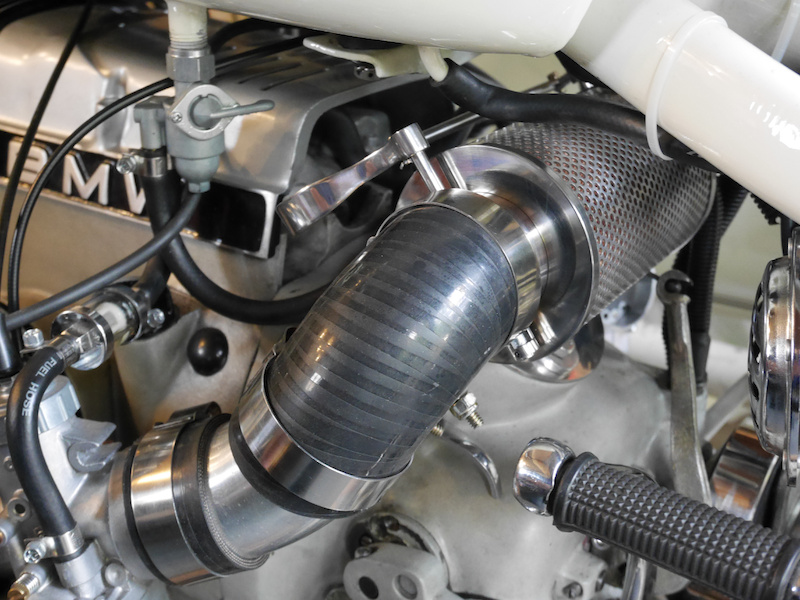
Custom airfilter box version 3.0
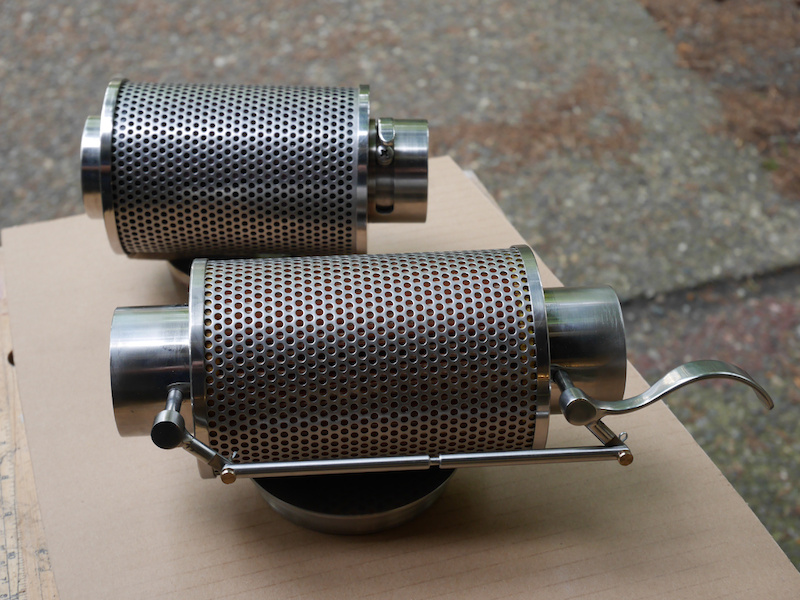
This is the third version of my custom air filter box for my M72 using a paper air filter C1041.
The previous version with the K&N was OK, but using a paper filter seems to work better with the Mikuni's.
Parts are ready to assemble:


Previous version with latest version:
Assembled at the bike:
-
use TLS1.2
If you found that your code to download from a website started failing with an error like:
The request was aborted: Could not create SSL/TLS secure channel.or
Ausnahme beim Aufrufen von "DownloadFile" mit 2 Argument(en):  "Die Anfrage wurde abgebrochen: Es konnte kein
geschützter SSL/TLS-Kanal erstellt werden."
+ $webclient.DownloadFile($file, $toZipFile)
+ ~~~~~~~~~~~~~~~~~~~~~~~~~~~~~~~~~~~~~~~~~~
    + CategoryInfo          : NotSpecified: (:) [], MethodInvocationException
    + FullyQualifiedErrorId : WebException
then your webserver security is updated and now requires TLS1.2.
Tls is a security protocol to transfer data over the Internet. To solve this issue, simply set the security protocol to Tls1.2.For example in PowerShell:
$webclient = New-Object System.Net.WebClient [Net.ServicePointManager]::SecurityProtocol = [Net.SecurityProtocolType]::Tls12 $webclient.DownloadFile($file, $toZipFile) -
Math Question #4
The final one:

To evaluate the limit, we apply standard trigonometric identities to decompose the expression into terms involving sin(x)/x for which a limit for x→0 exists.
While algebraic manipulation to eliminate the denominator is sometimes effective, it is not applicable in this case.
Instead, recognizing and leveraging this fundamental limit allows for a straightforward and elegant solution.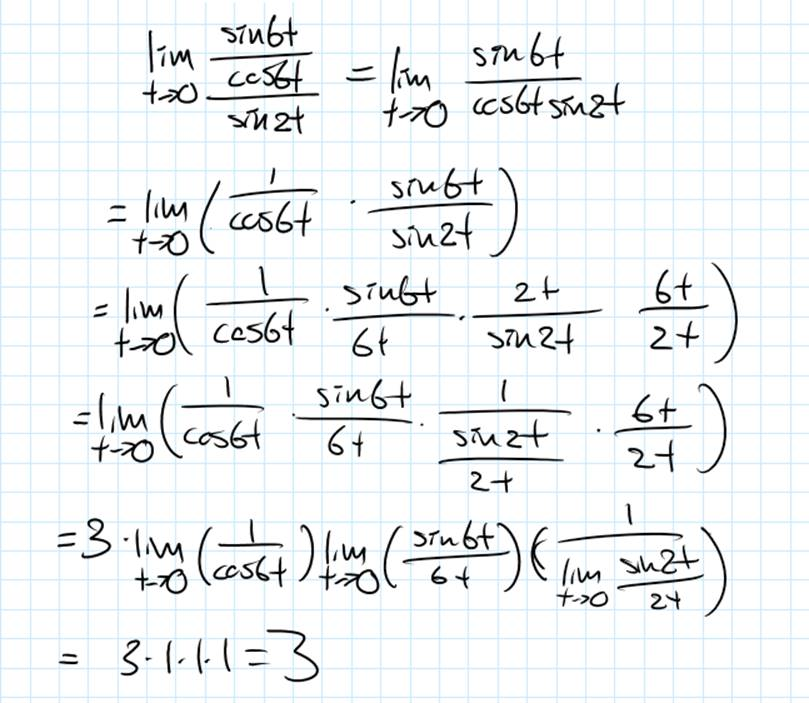
-
Math Question #3
Here is the third one:

Option c) leads to the solution. The expression
f(x) + f(y) + x²y + xy²
is part of the expansion of the binomial
(x+y)³
If f(x) corresponds to the first or last term of the binomial expansion, the equation can be solved.